Compare drawing revisions and highlighted differences
Use the comparison viewer to visually compare drawing revisions and review highlighted changes between them.
This guide is designed for project manager.
Steps
Step 1: Open a drawing that has been compared
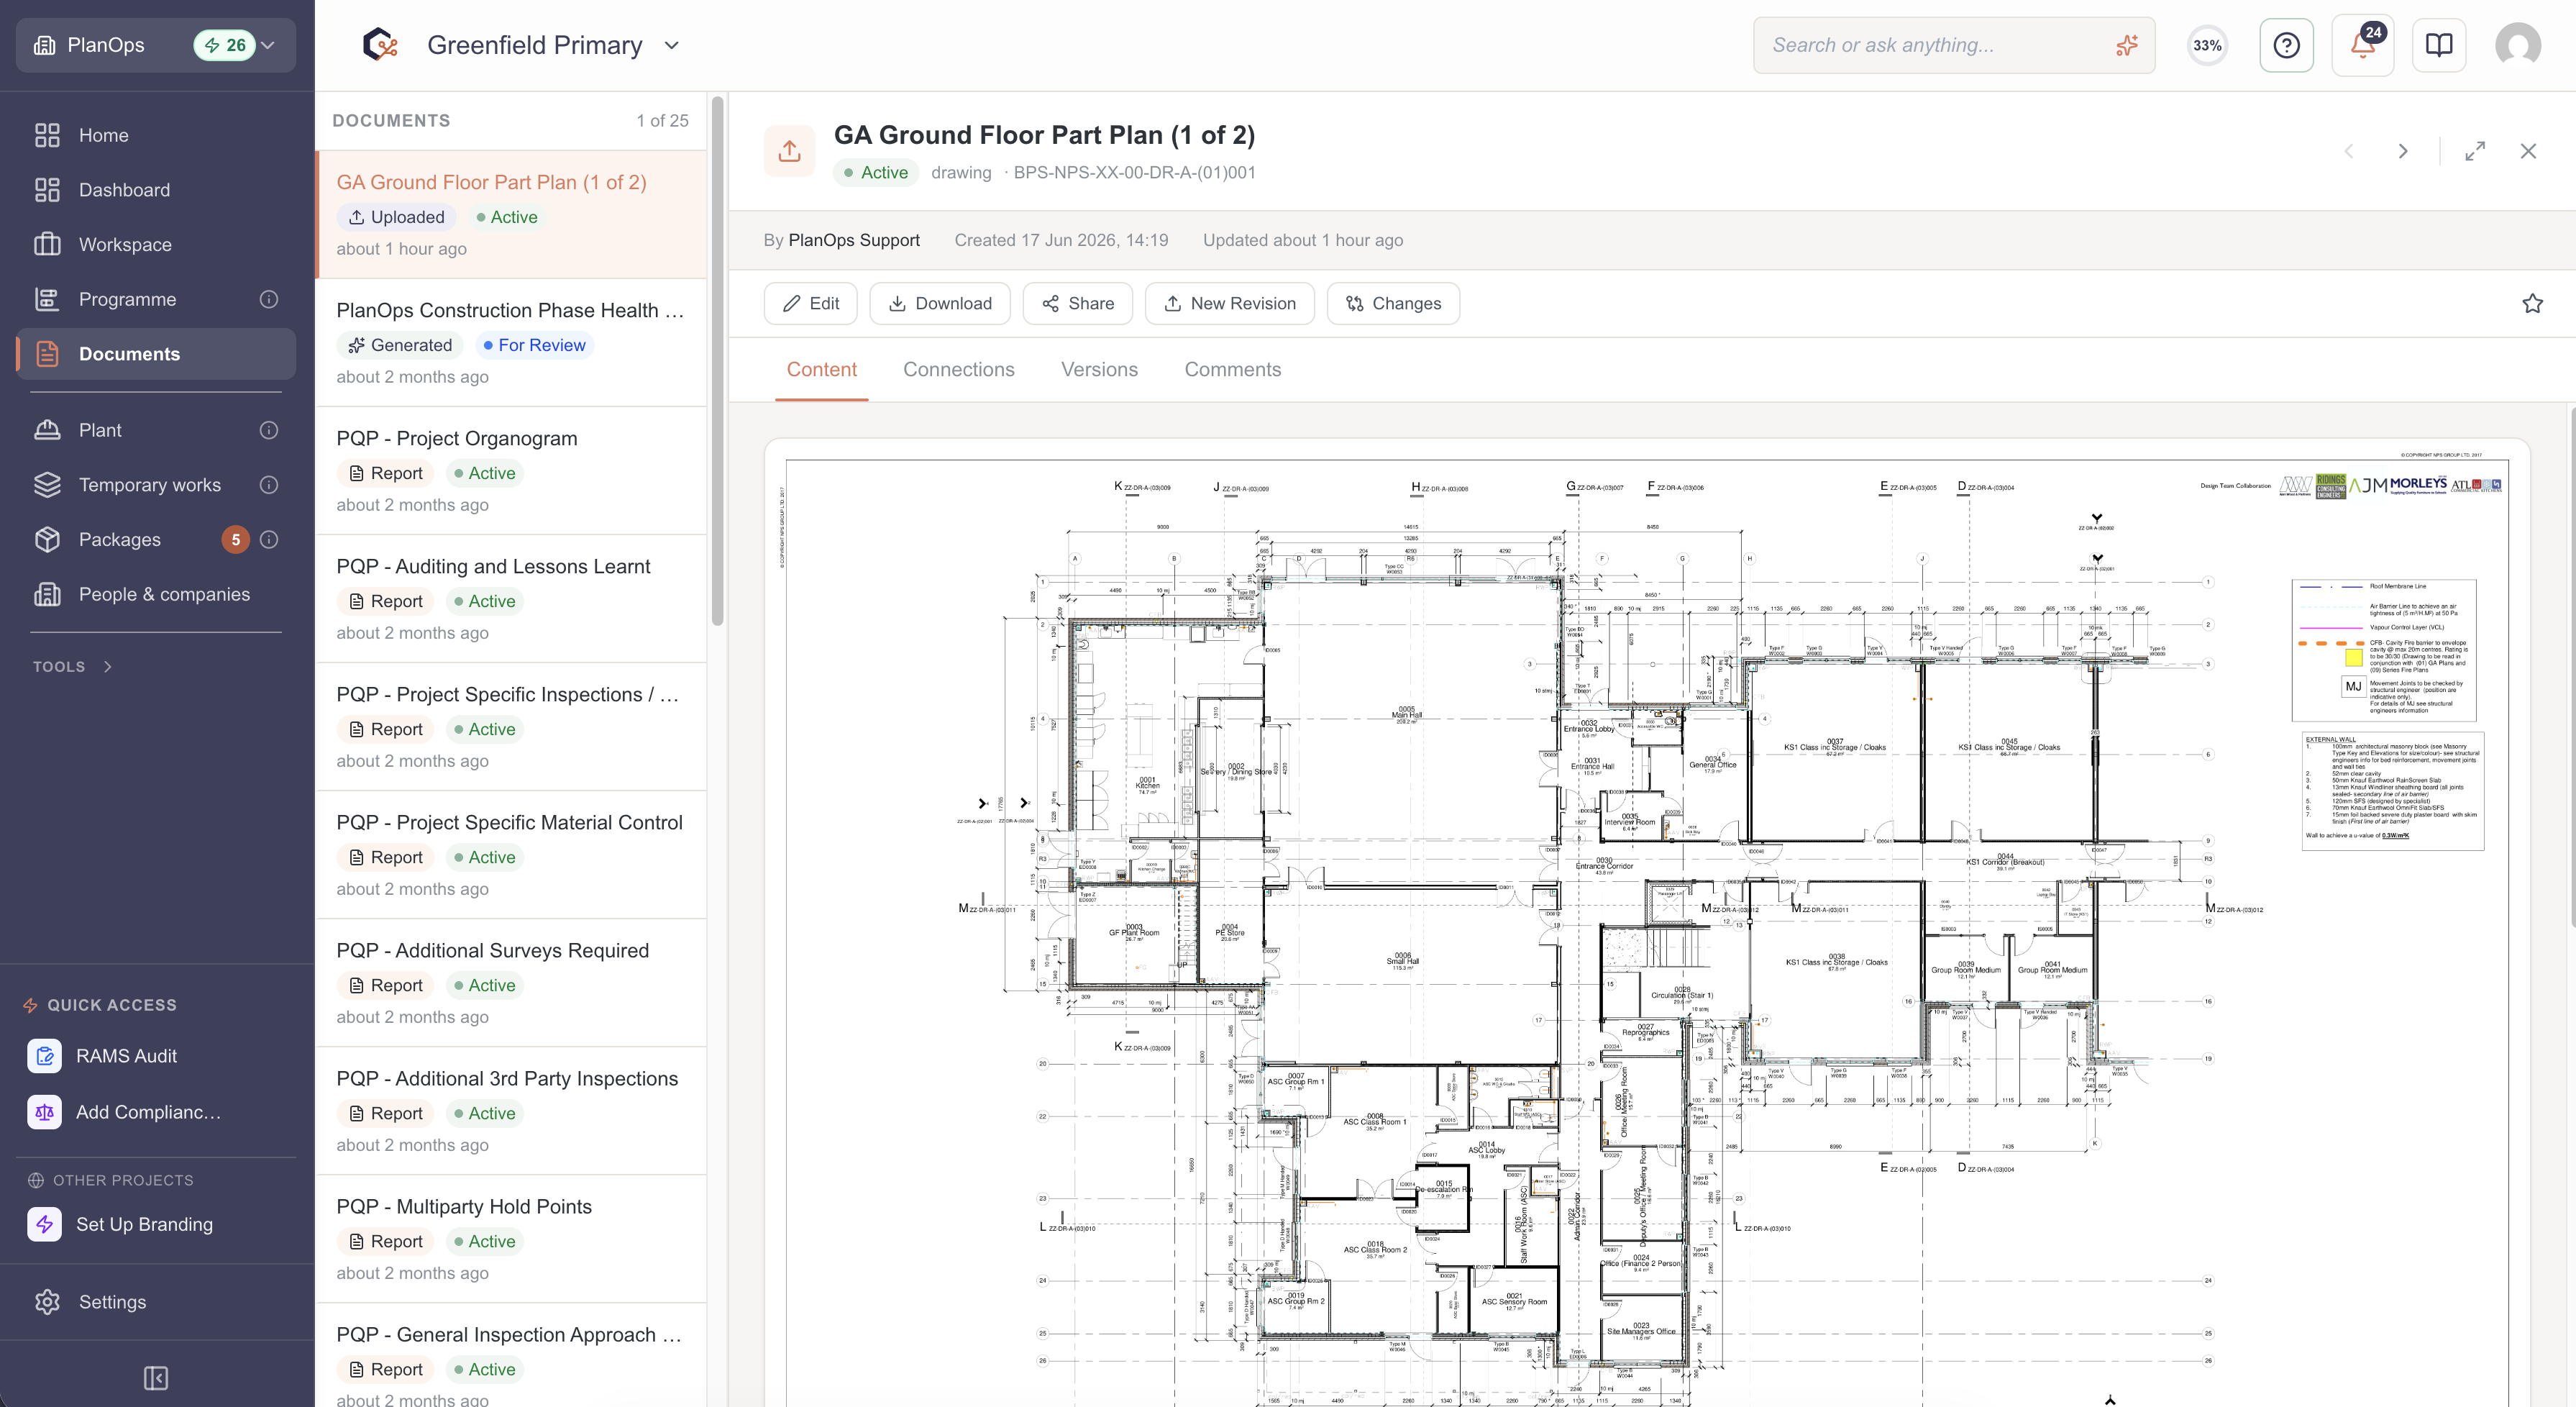
Navigate to a drawing that has a previous revision. Click on the document to open the drawing.
Step 2: Open the comparison viewer
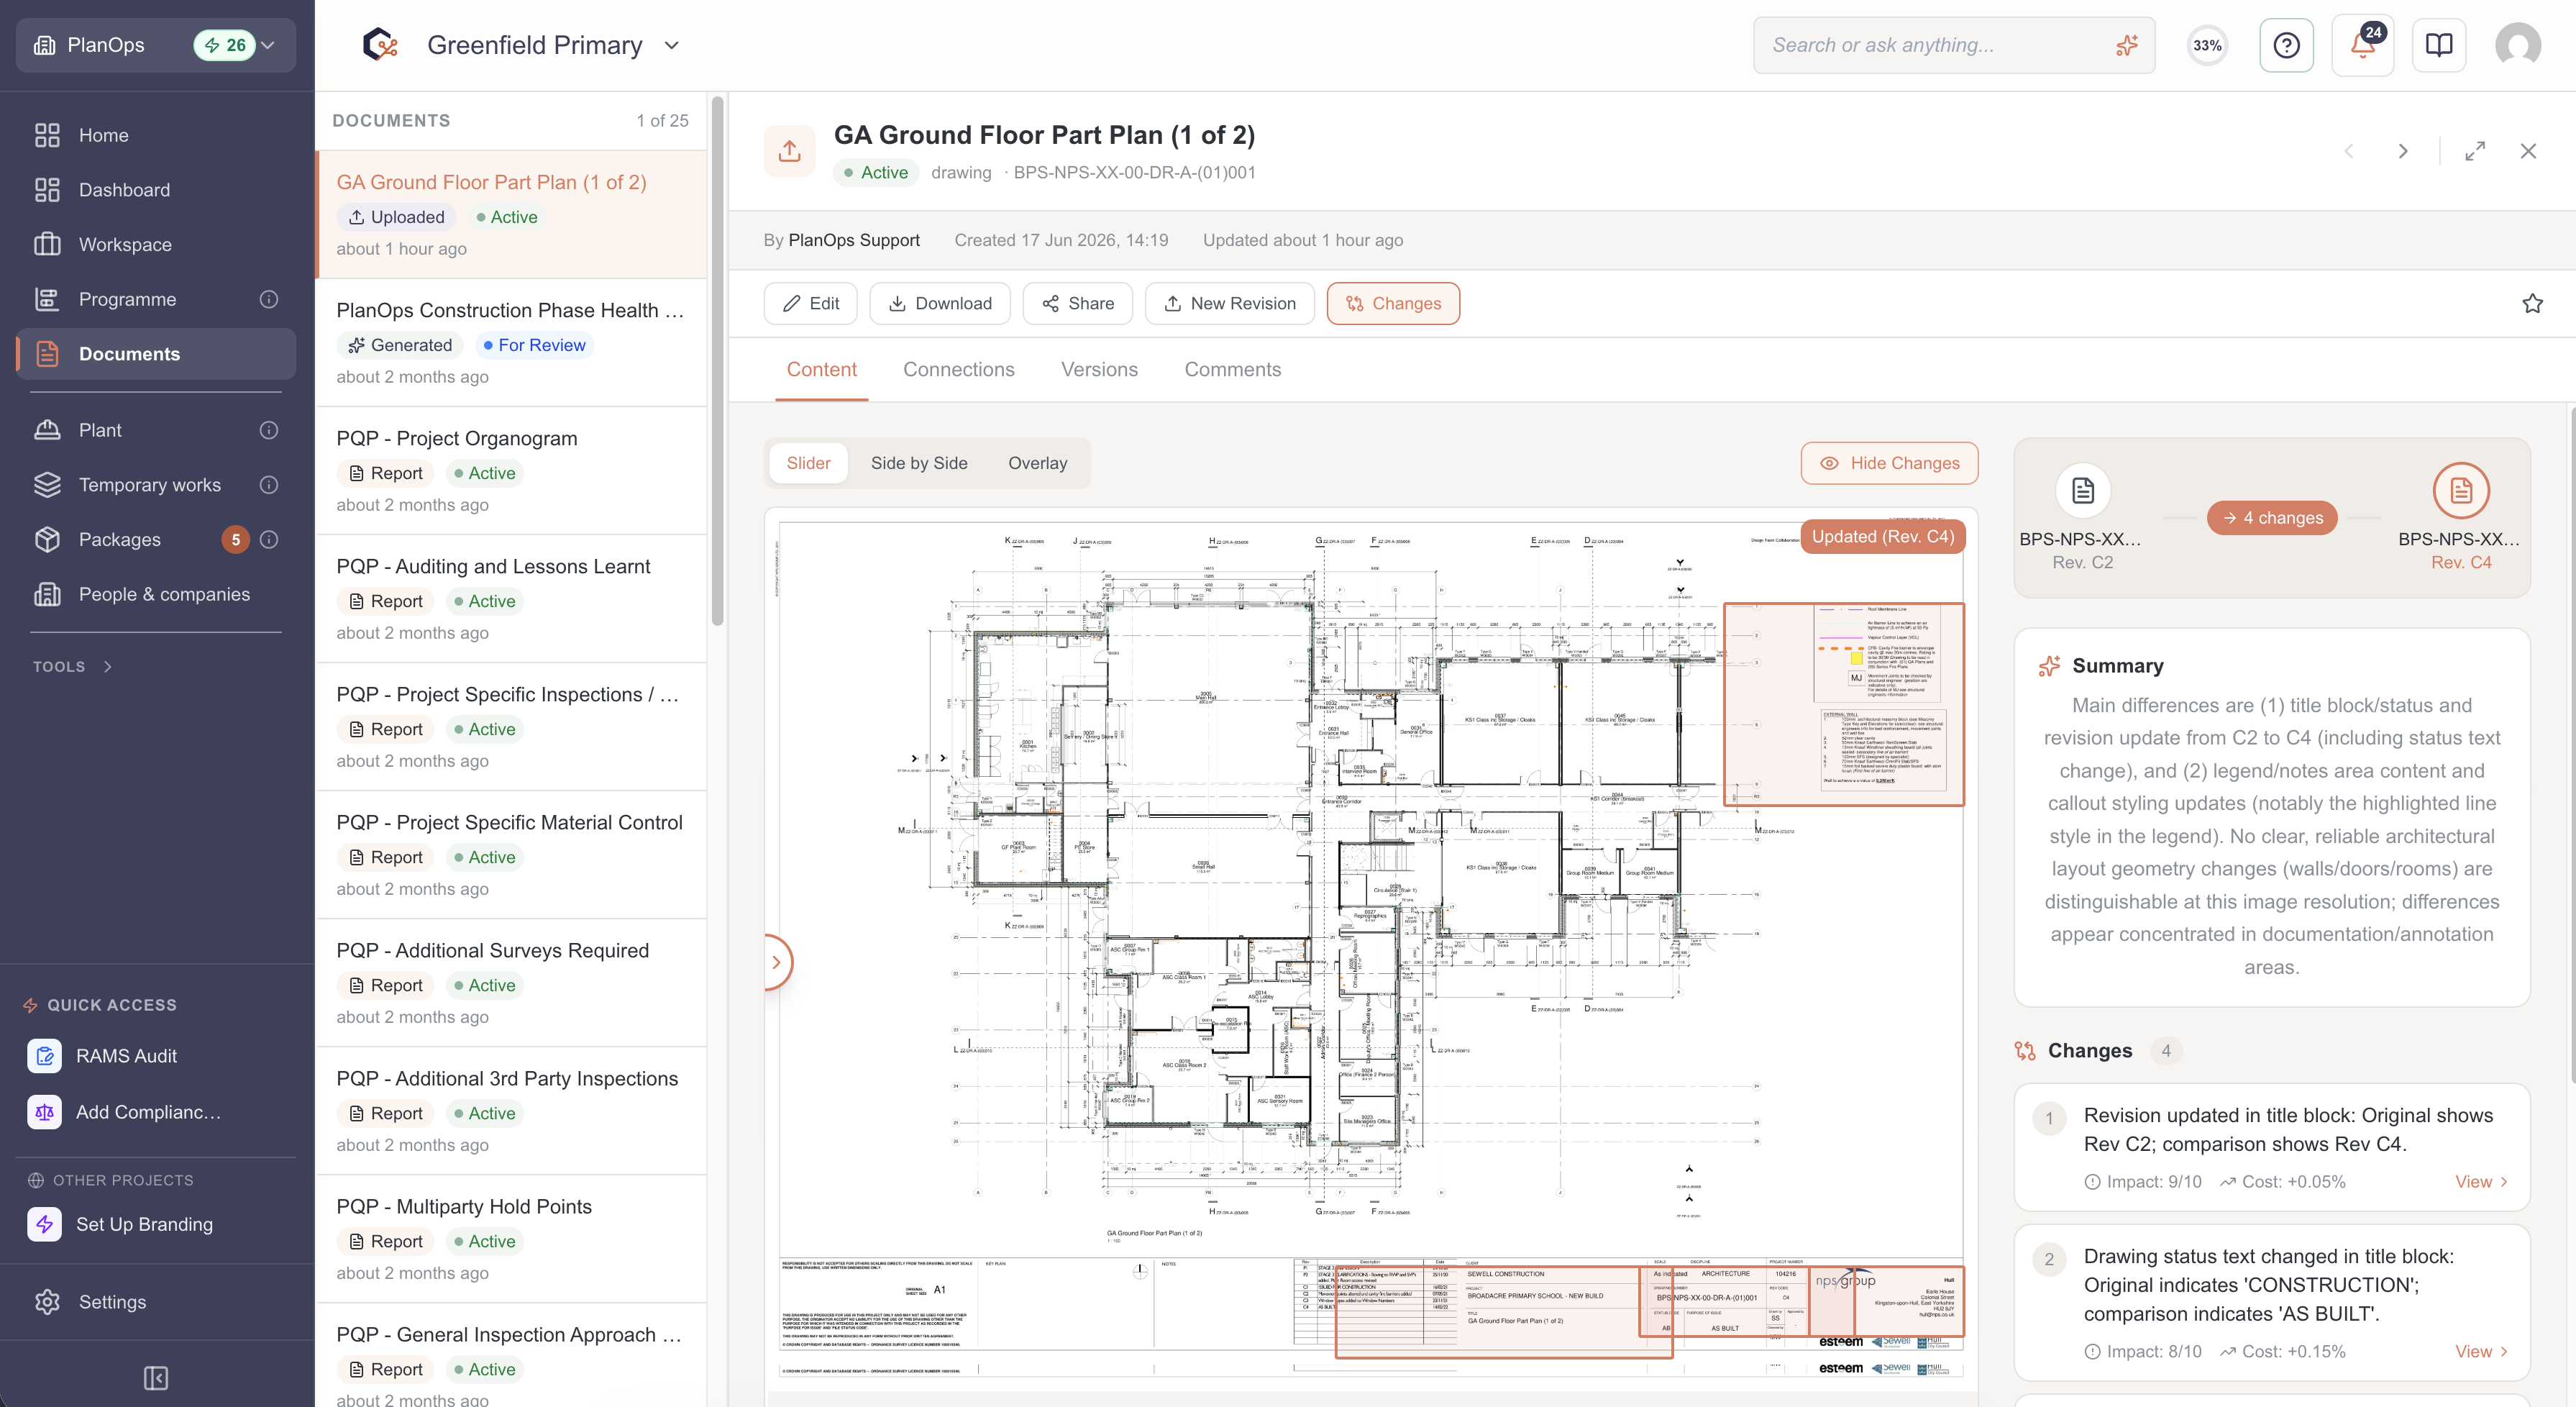
Click on changes to open the comparison view so that the current revision and its comparison image can be viewed.
Step 3: Review highlighted change boxes
Look at the comparison image with bounding boxes overlaid to see where changes have been detected between the two revisions; each box outlines an area that differs.
Step 4: Adjust the view and layout mode
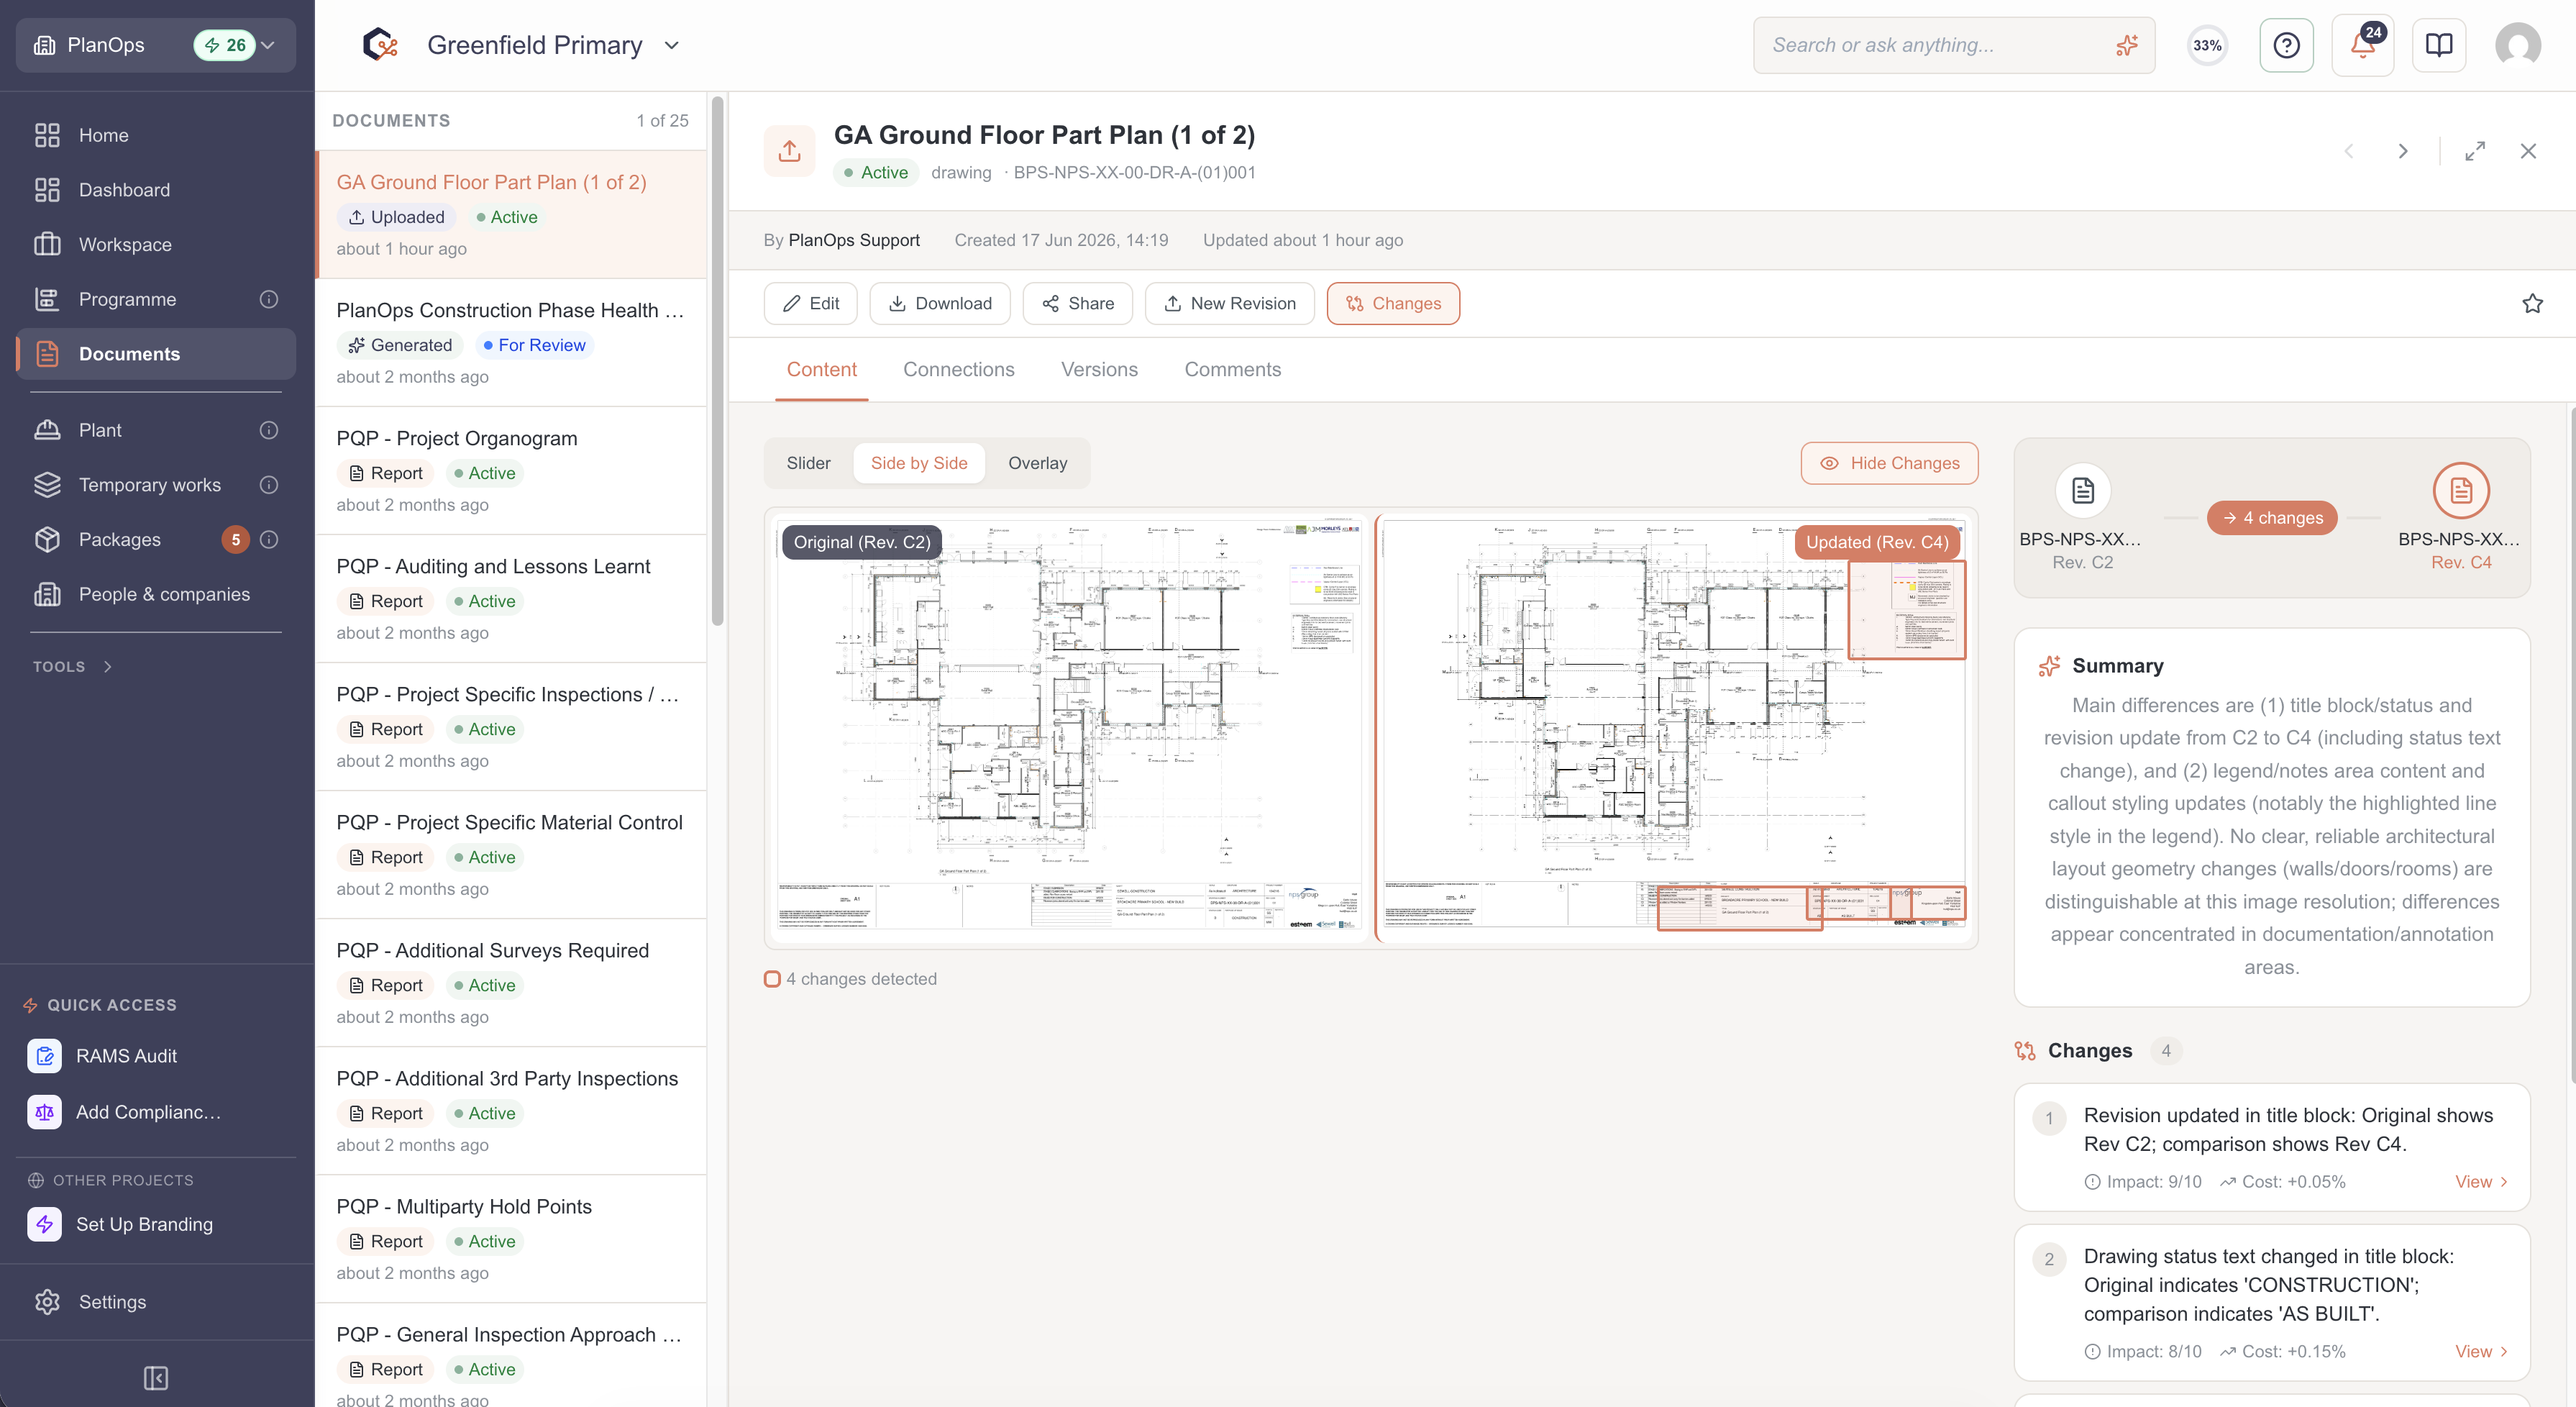
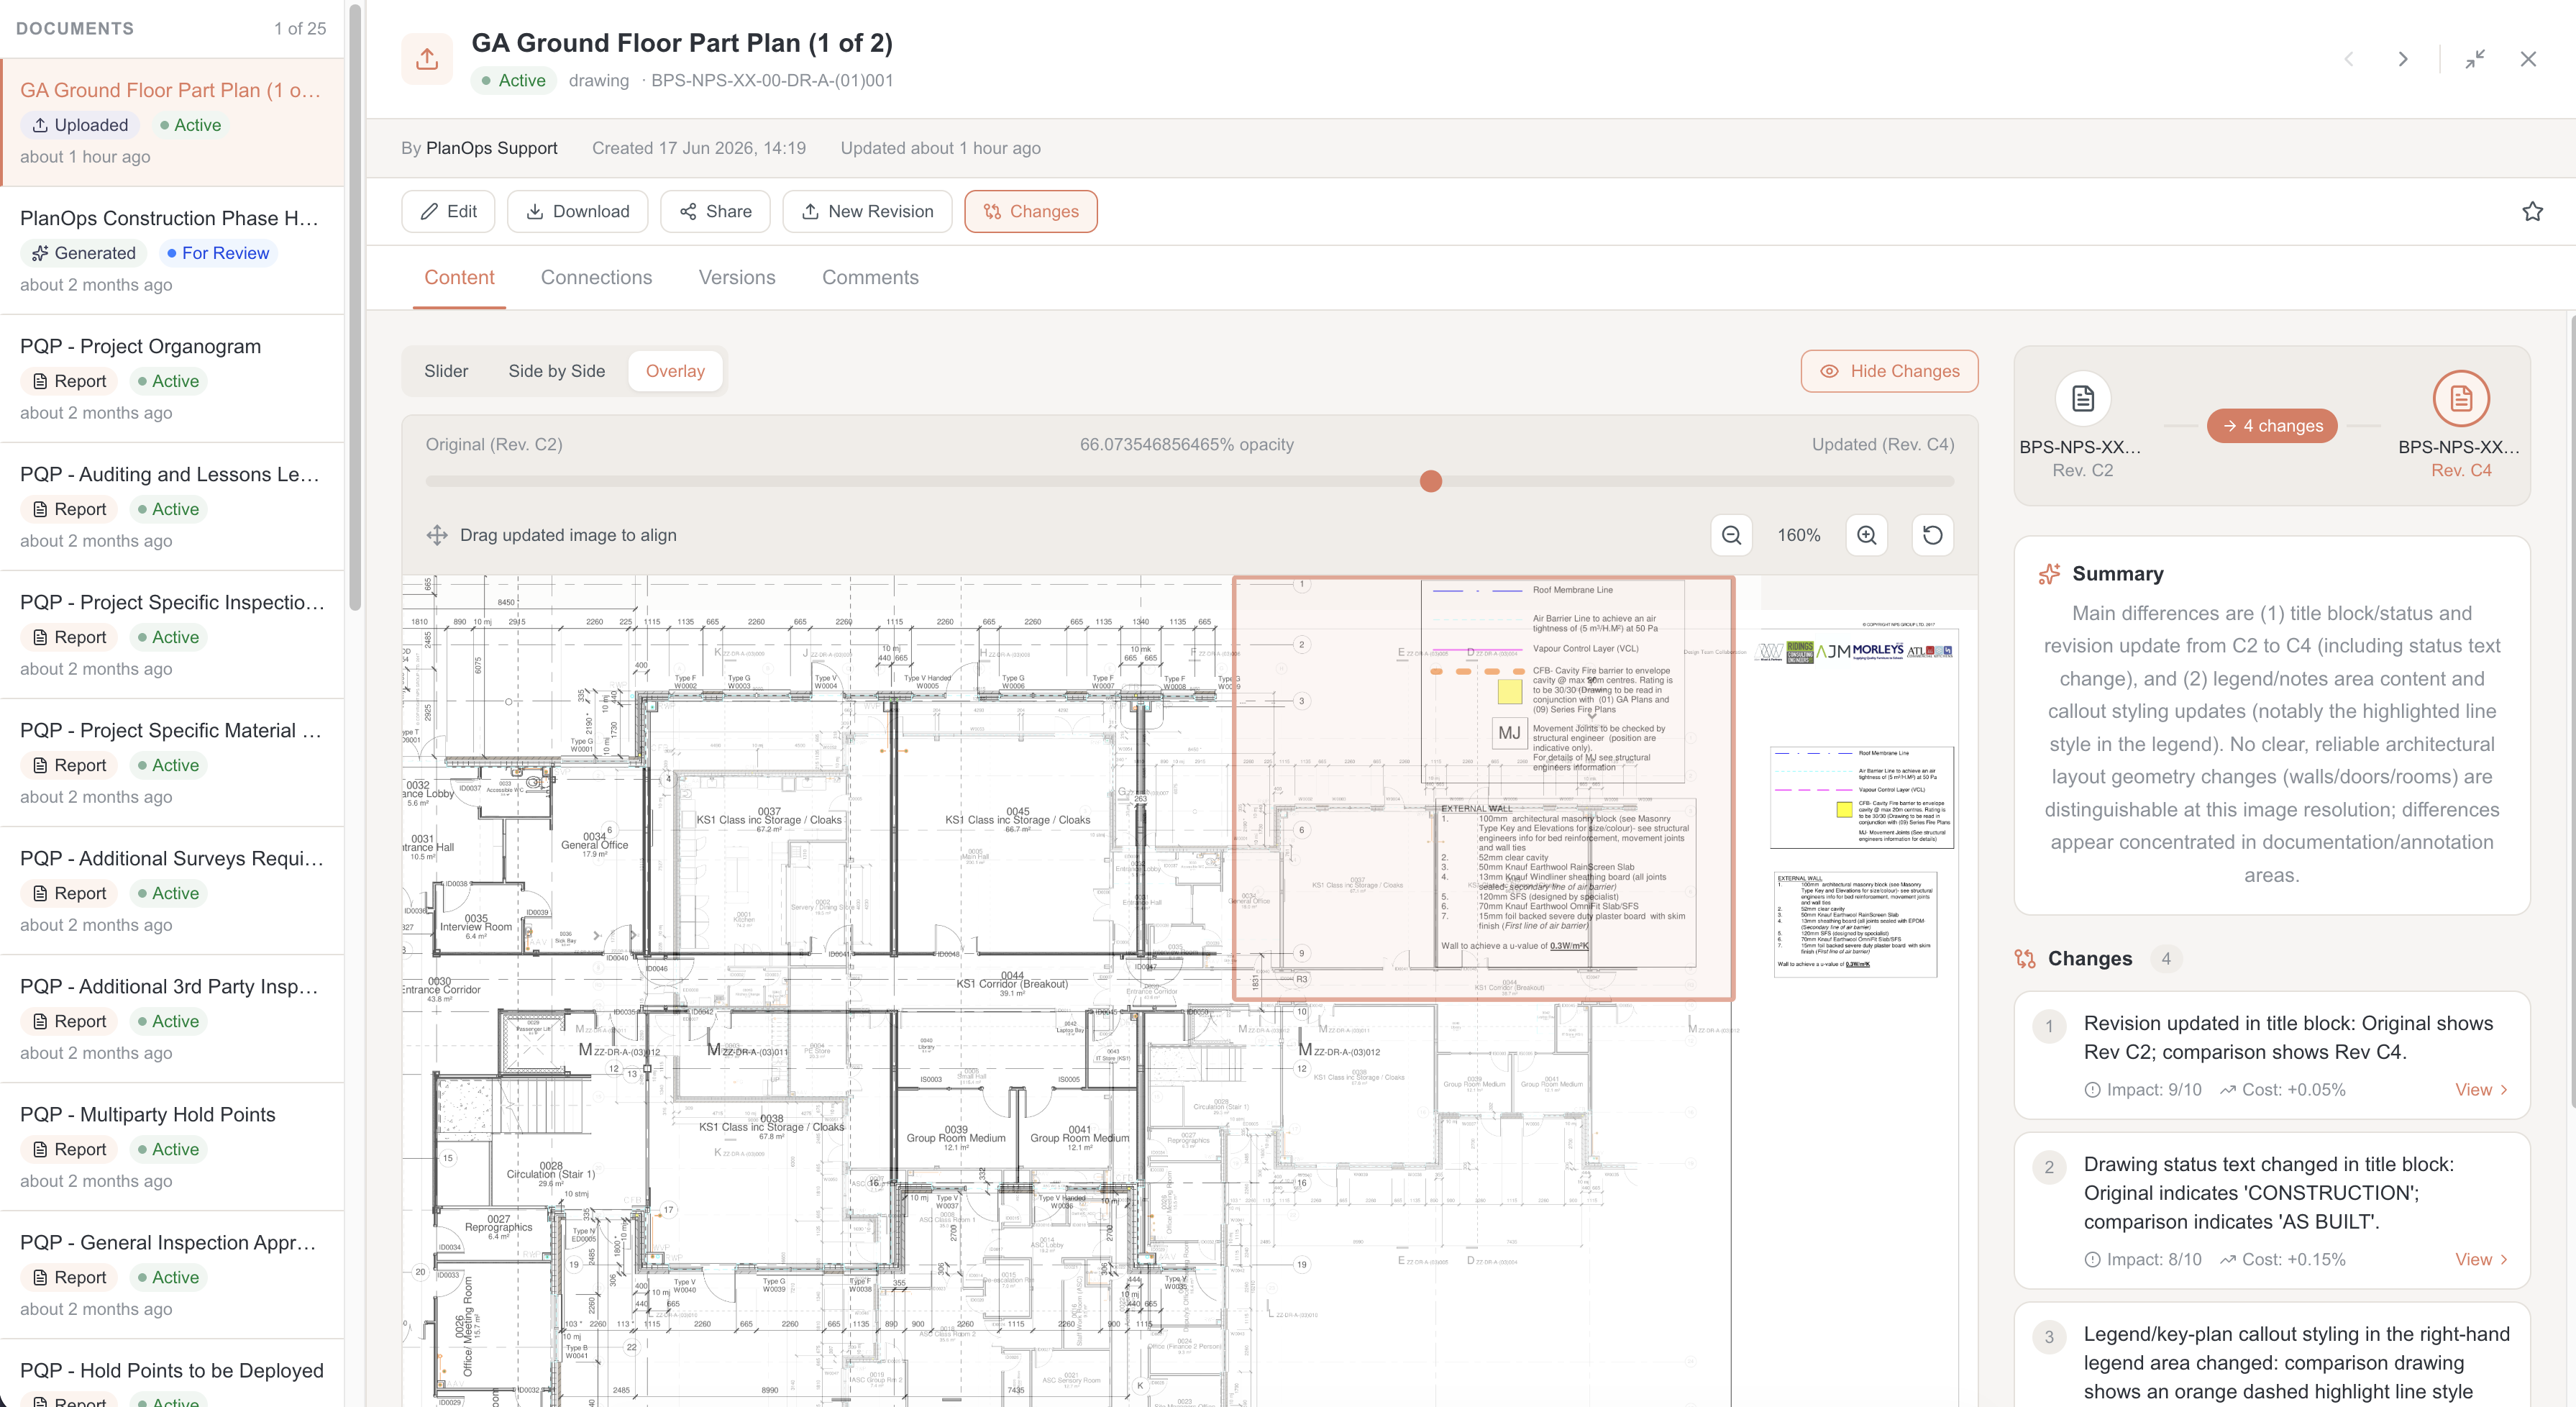
Switch between available view modes (such as slider, side-by-side, or overlay) to find the layout that makes changes easiest to review on your screen.
Step 5: Pan around the drawing
Click and drag with your mouse or use touch gestures on the image area to move around the drawing and inspect changes in specific regions.
Step 6: Zoom in to inspect details
Use the zoom controls or gestures to zoom in on areas of interest so you can closely inspect the highlighted differences and confirm what has changed.
Step 7: Reset the view if needed
Use the reset or fit-to-screen control to return the comparison view to its default position and zoom level after panning and zooming.
Related Tasks
Last updated: 2026-02-10T00:00:00.000Z