Upload a new revision of an existing document
Upload an updated version of an existing project document so that the latest revision is stored and processed in the system.
This guide is designed for project-manager, design-manager.
Steps
Step 1: Open the revision upload dialog
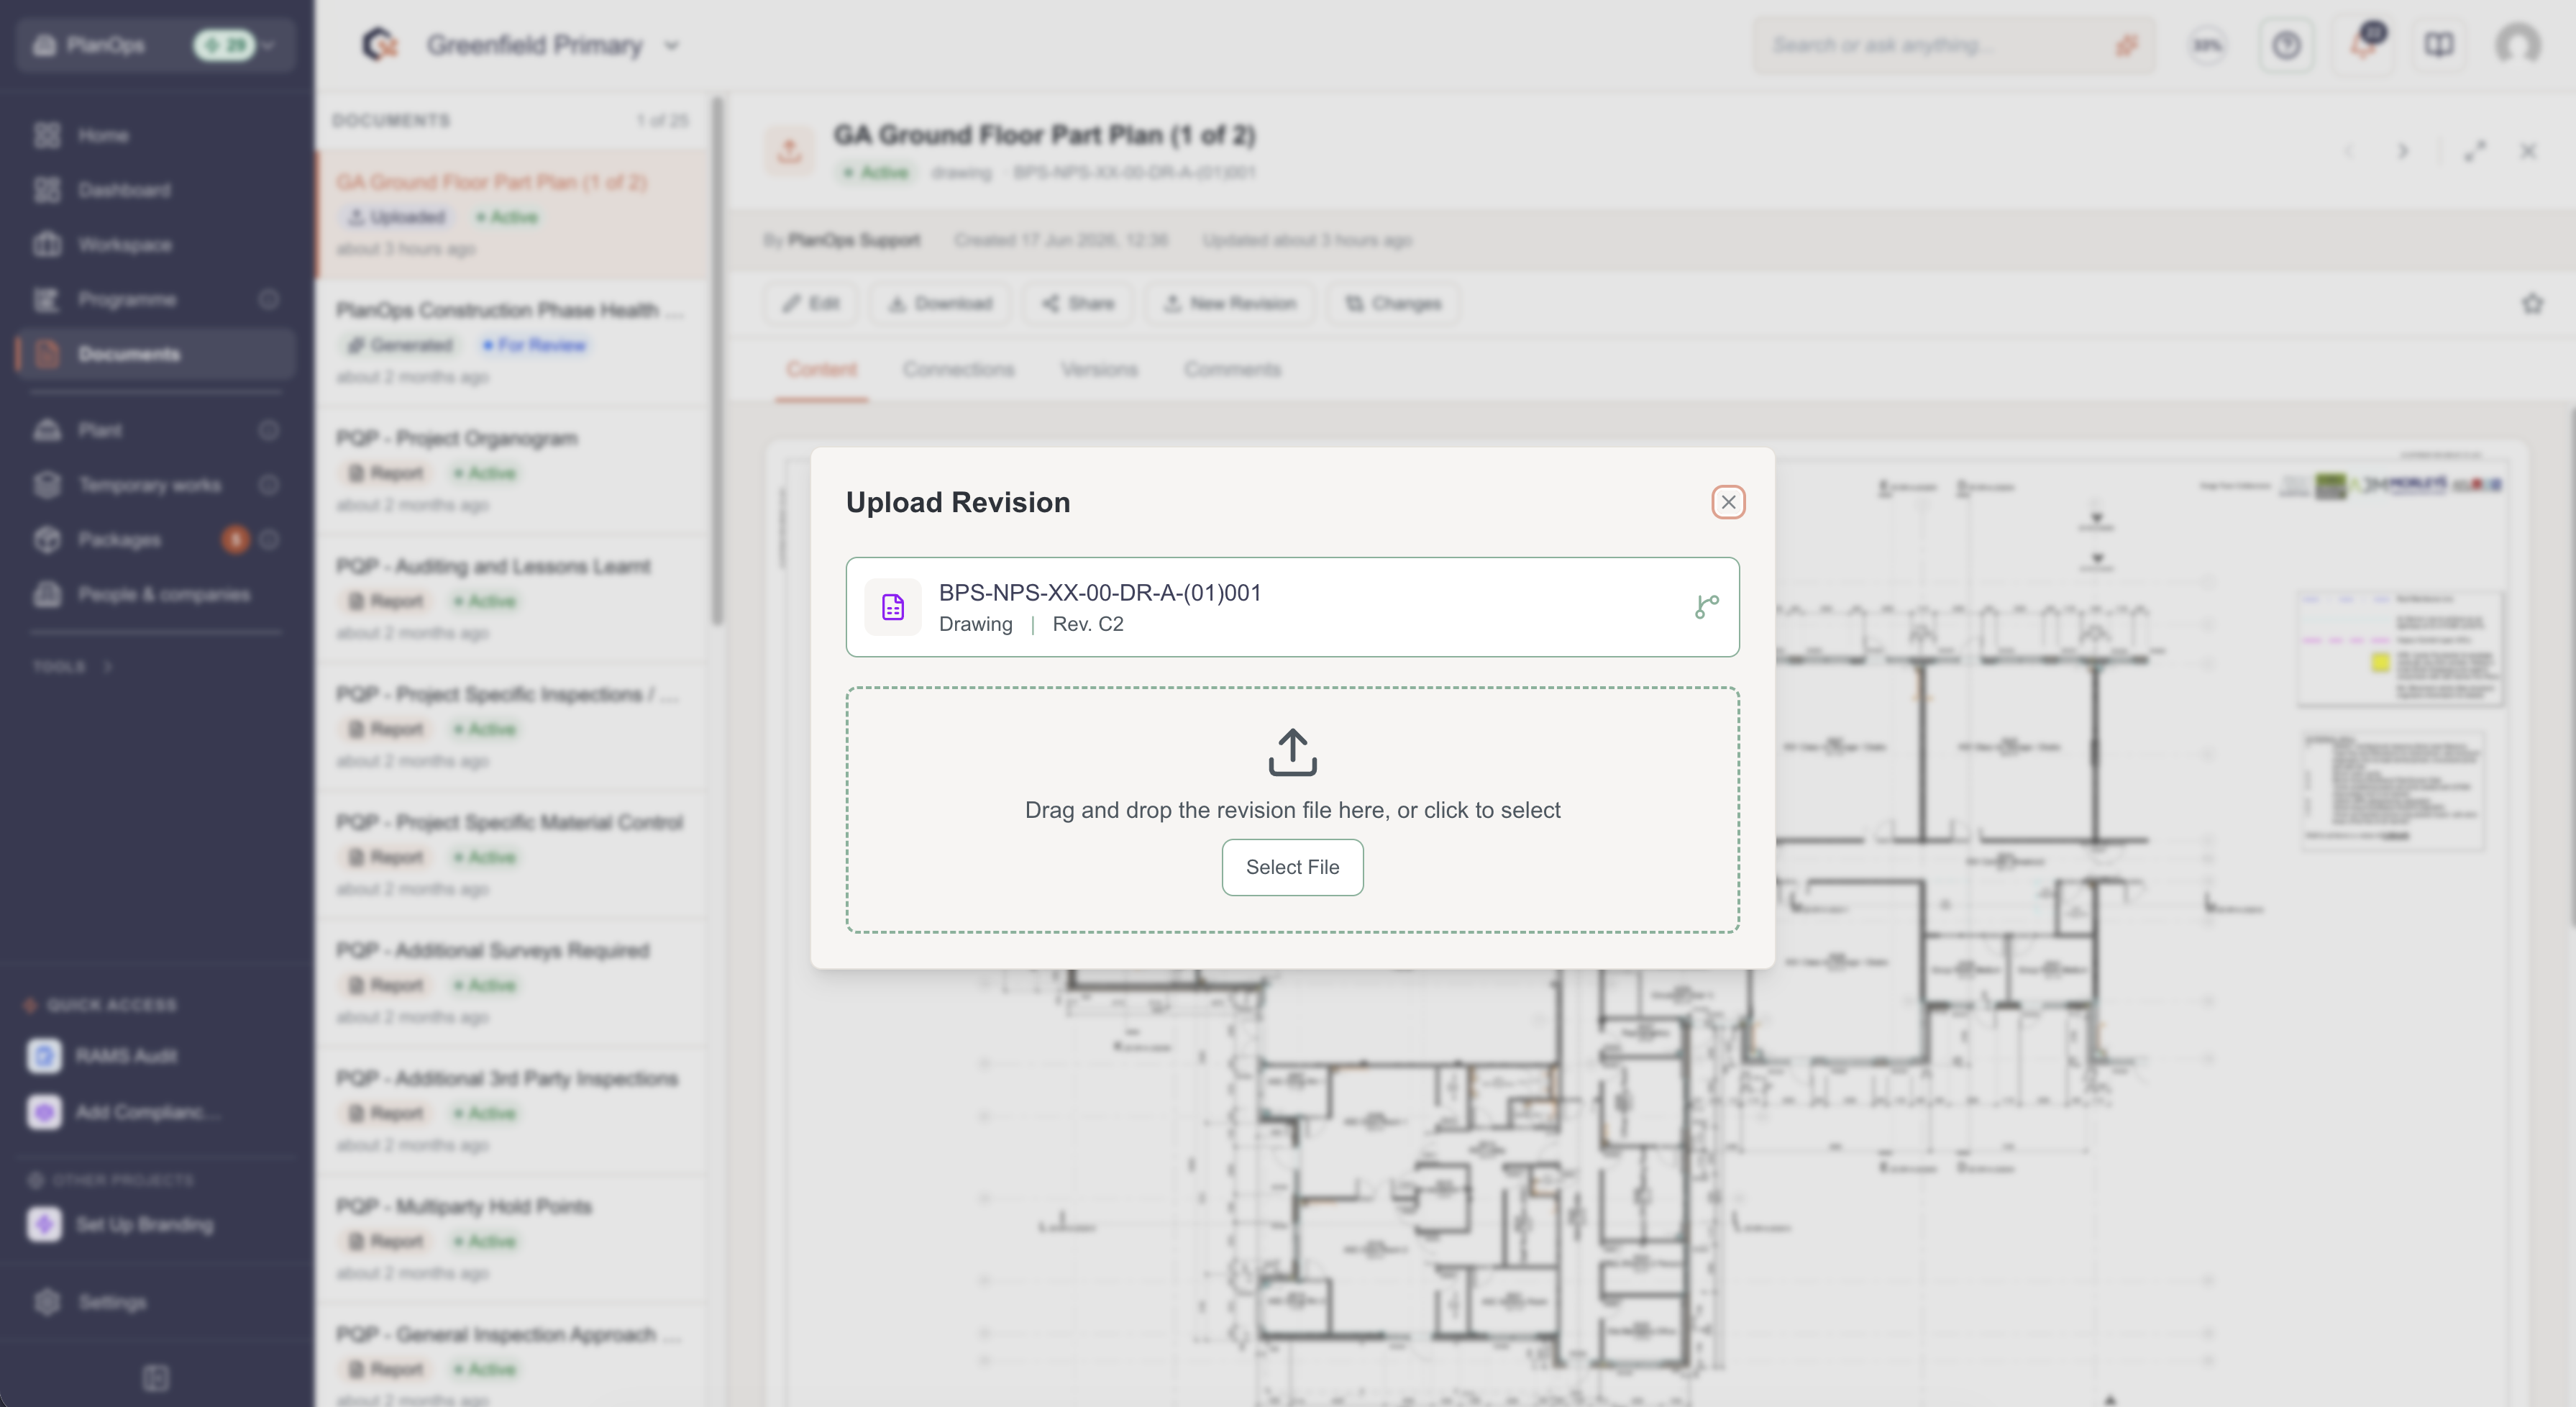
Locate the existing document in your project and select the option to upload a revision; the revision upload dialog opens showing the current document name, type and details.
Step 2: Review allowed file types and size limits
In the dialog, check the information about supported file types and handling tiers so you understand which documents can be uploaded and how they will be processed.
Step 3: Select or drag-and-drop the new file
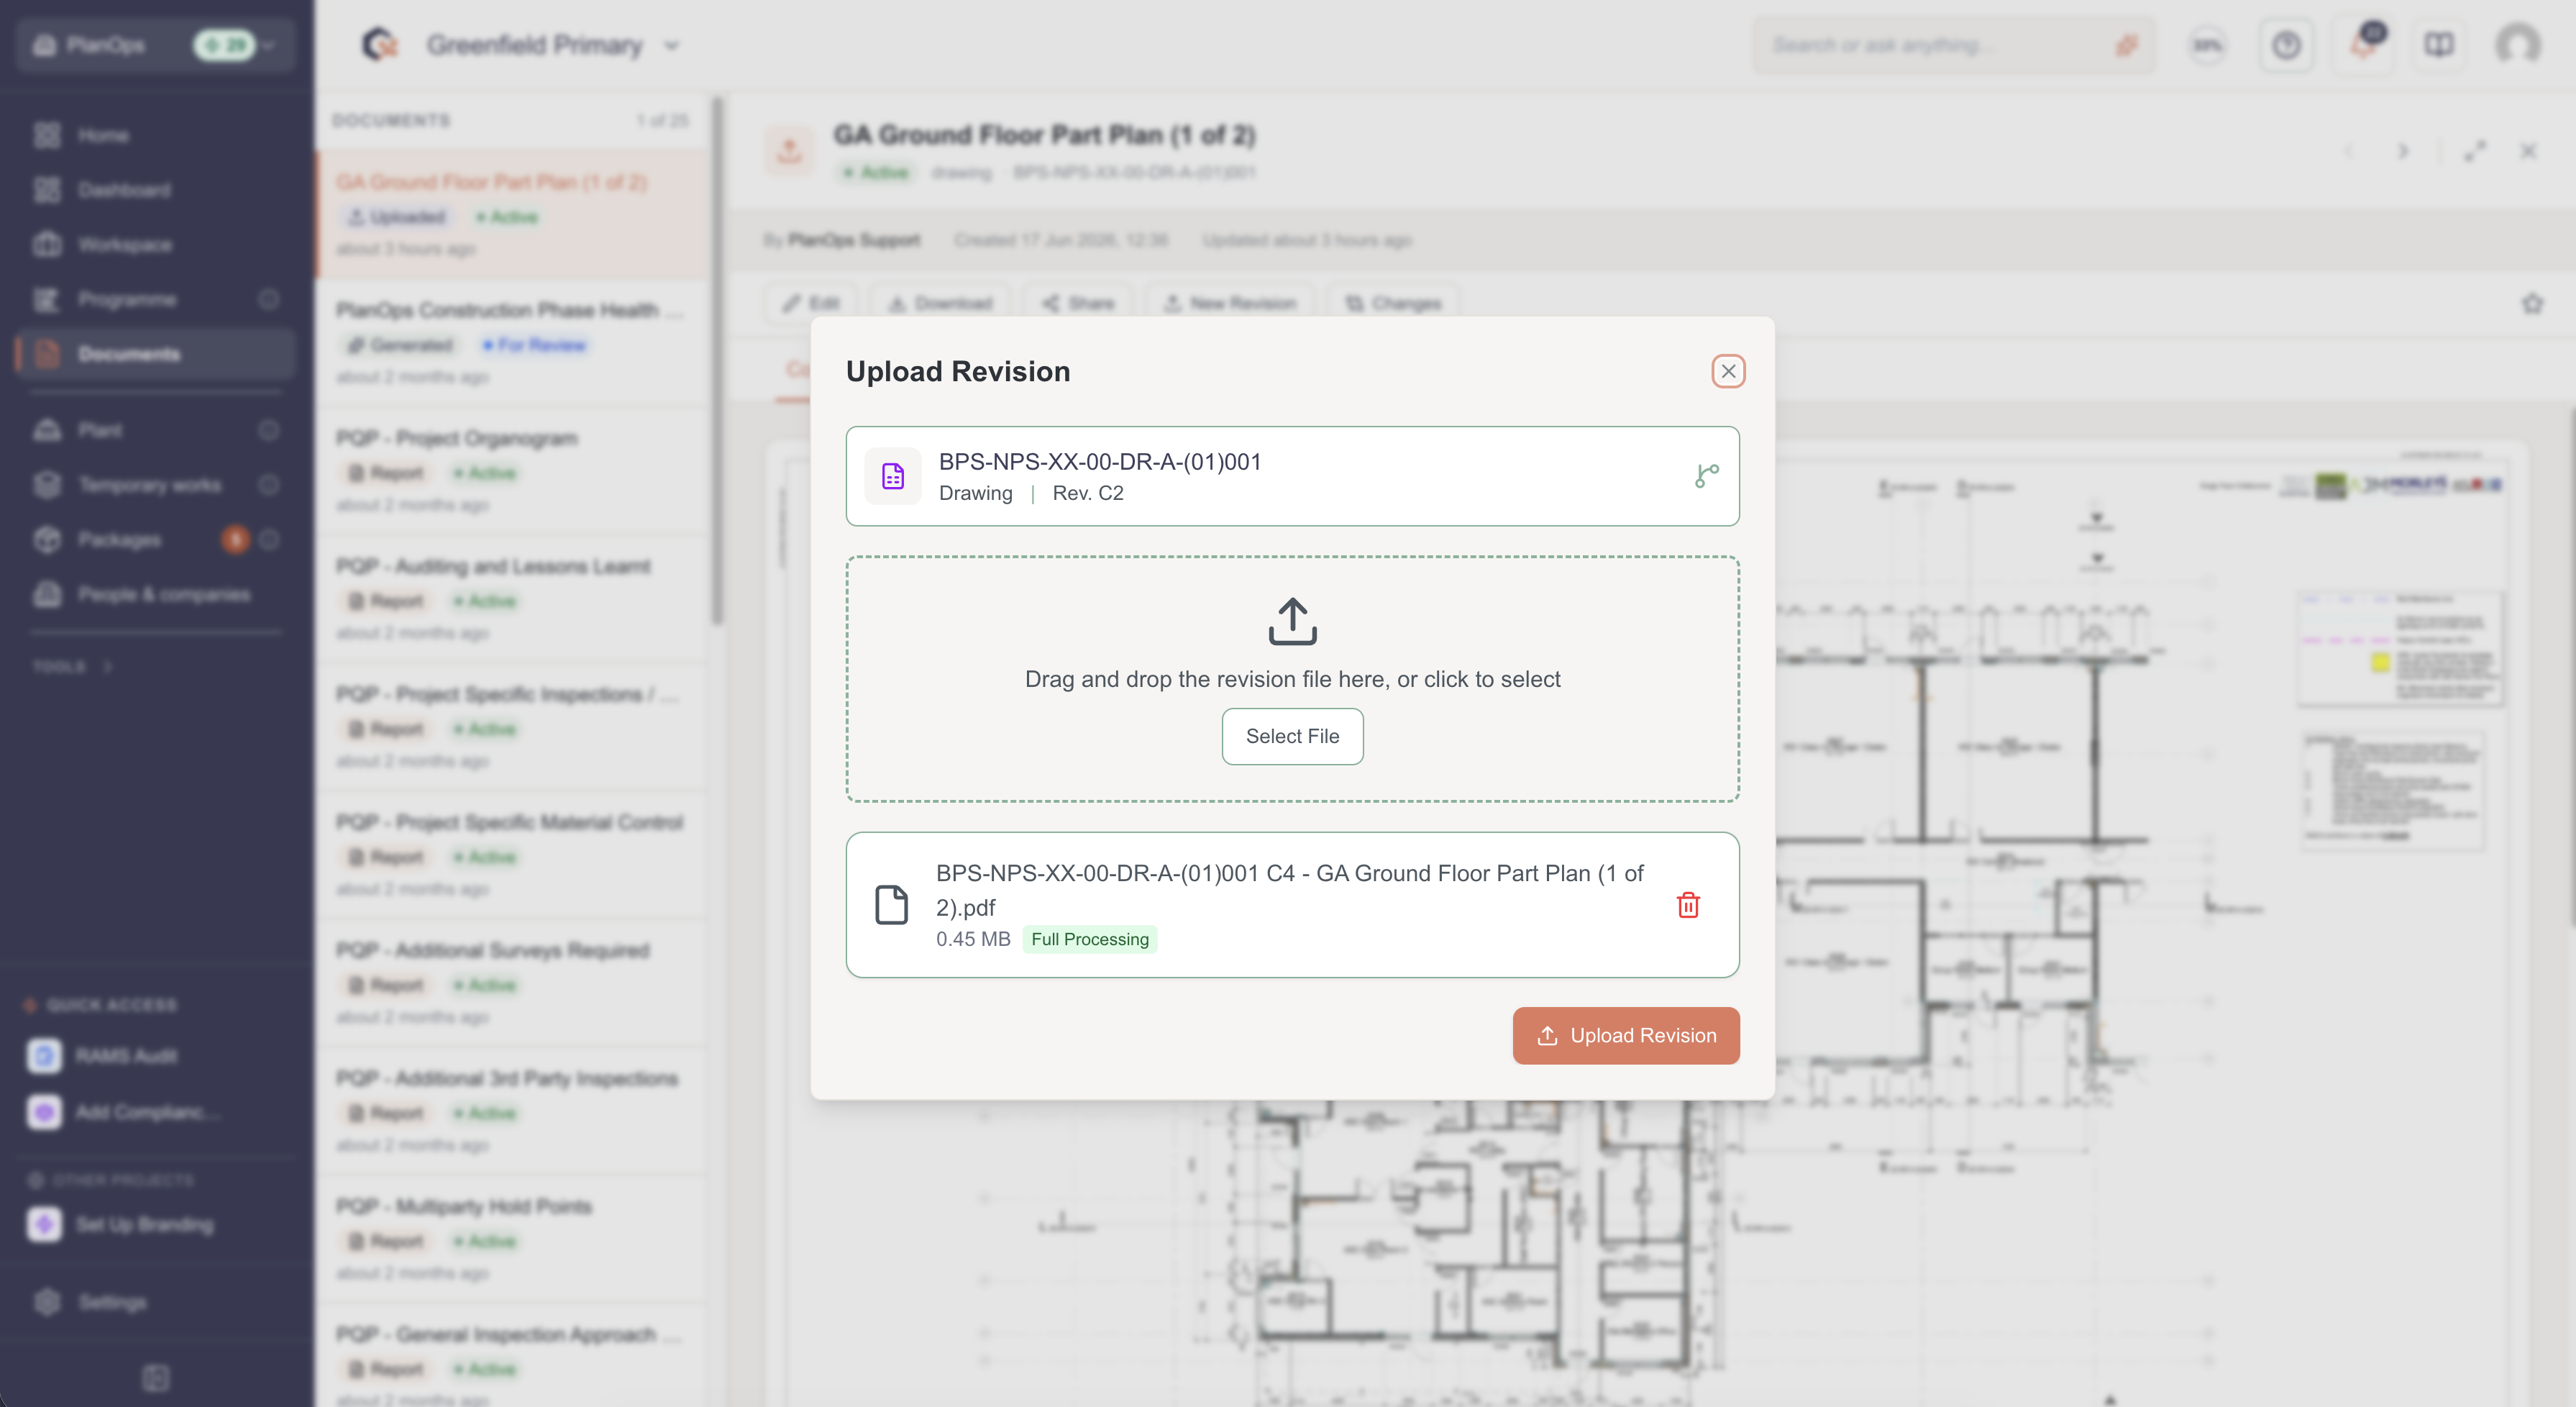
Either click the upload area to browse and choose the new revision from your computer, or drag and drop the file into the highlighted drop zone; the selected file appears in the list ready for upload.
Step 4: Start the revision upload
Click the upload button to begin sending the new document revision for processing; a loading indicator appears while the upload is in progress.
Step 5: Confirm upload completion
After the upload finishes, check for the success message or toast notification; the document list now shows the new revision. When processing has been completed the new document will be combined into the existing document.
Related Tasks
Last updated: 2026-02-04T00:00:00.000Z