Upload project files
Upload one or more files to a project using drag-and-drop or your file browser, so they can be processed and used within the system.
This guide is designed for project manager.
Steps
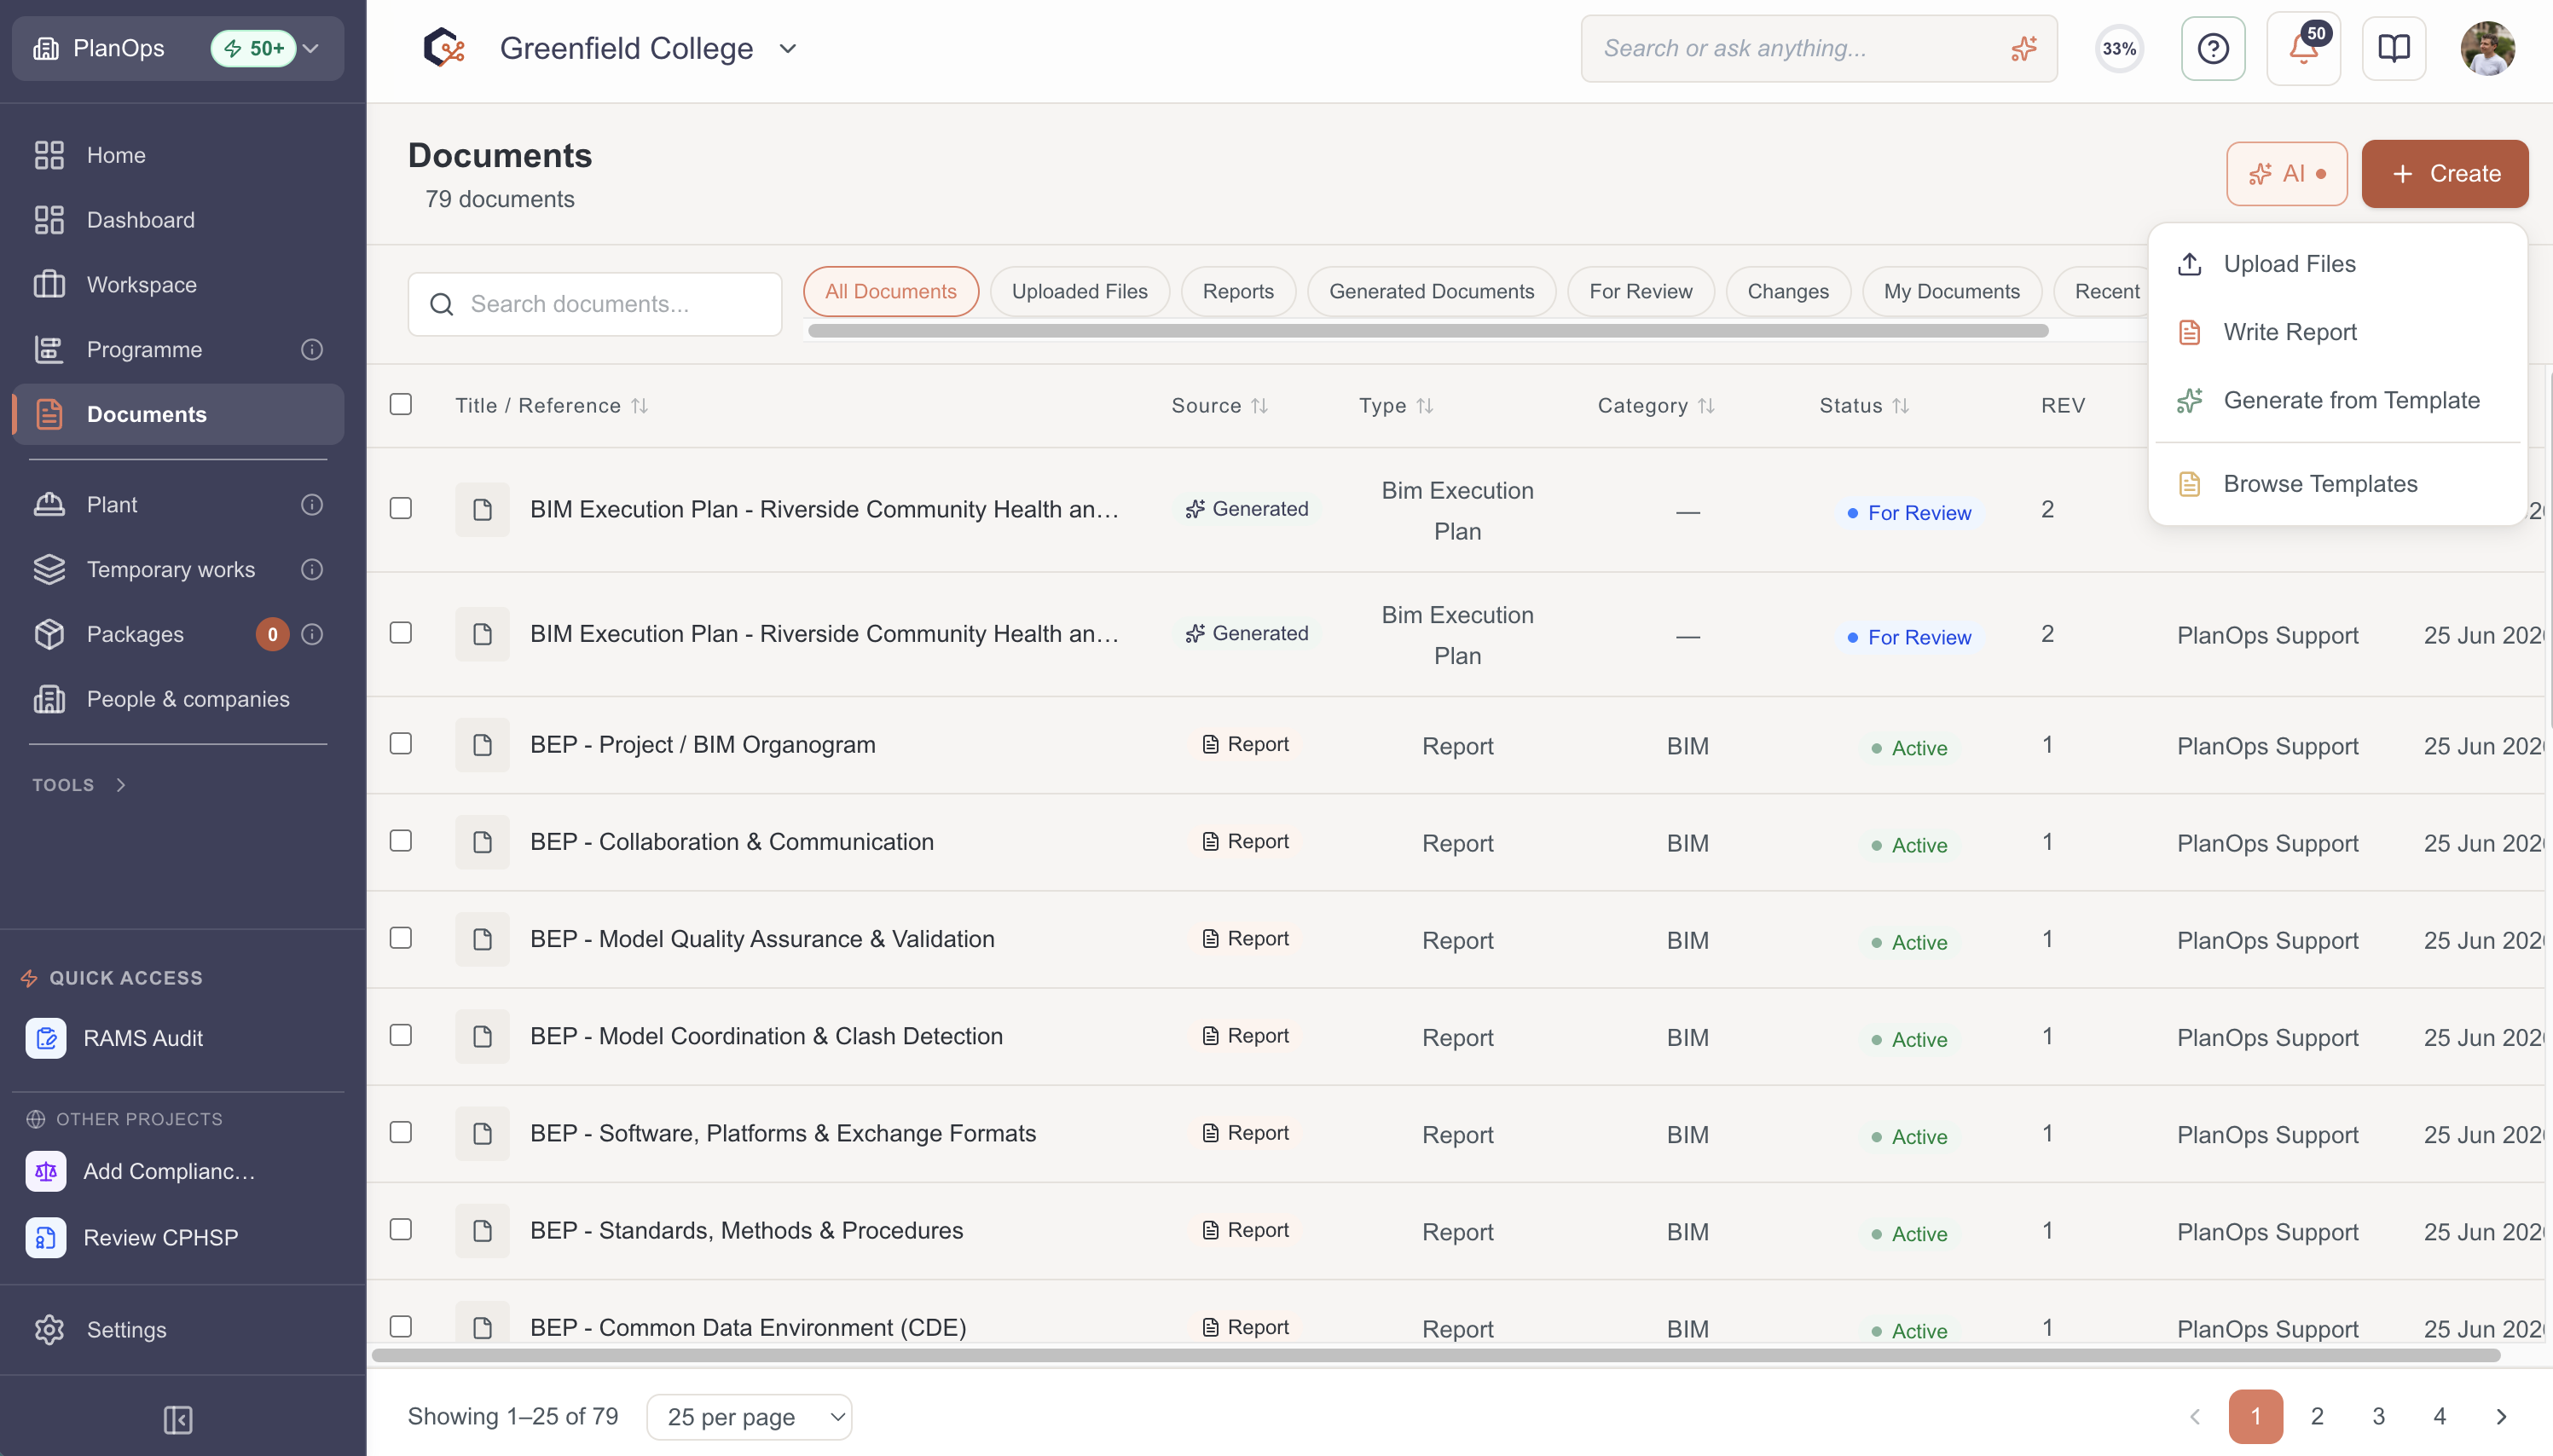
Step 1: Open the file uploader
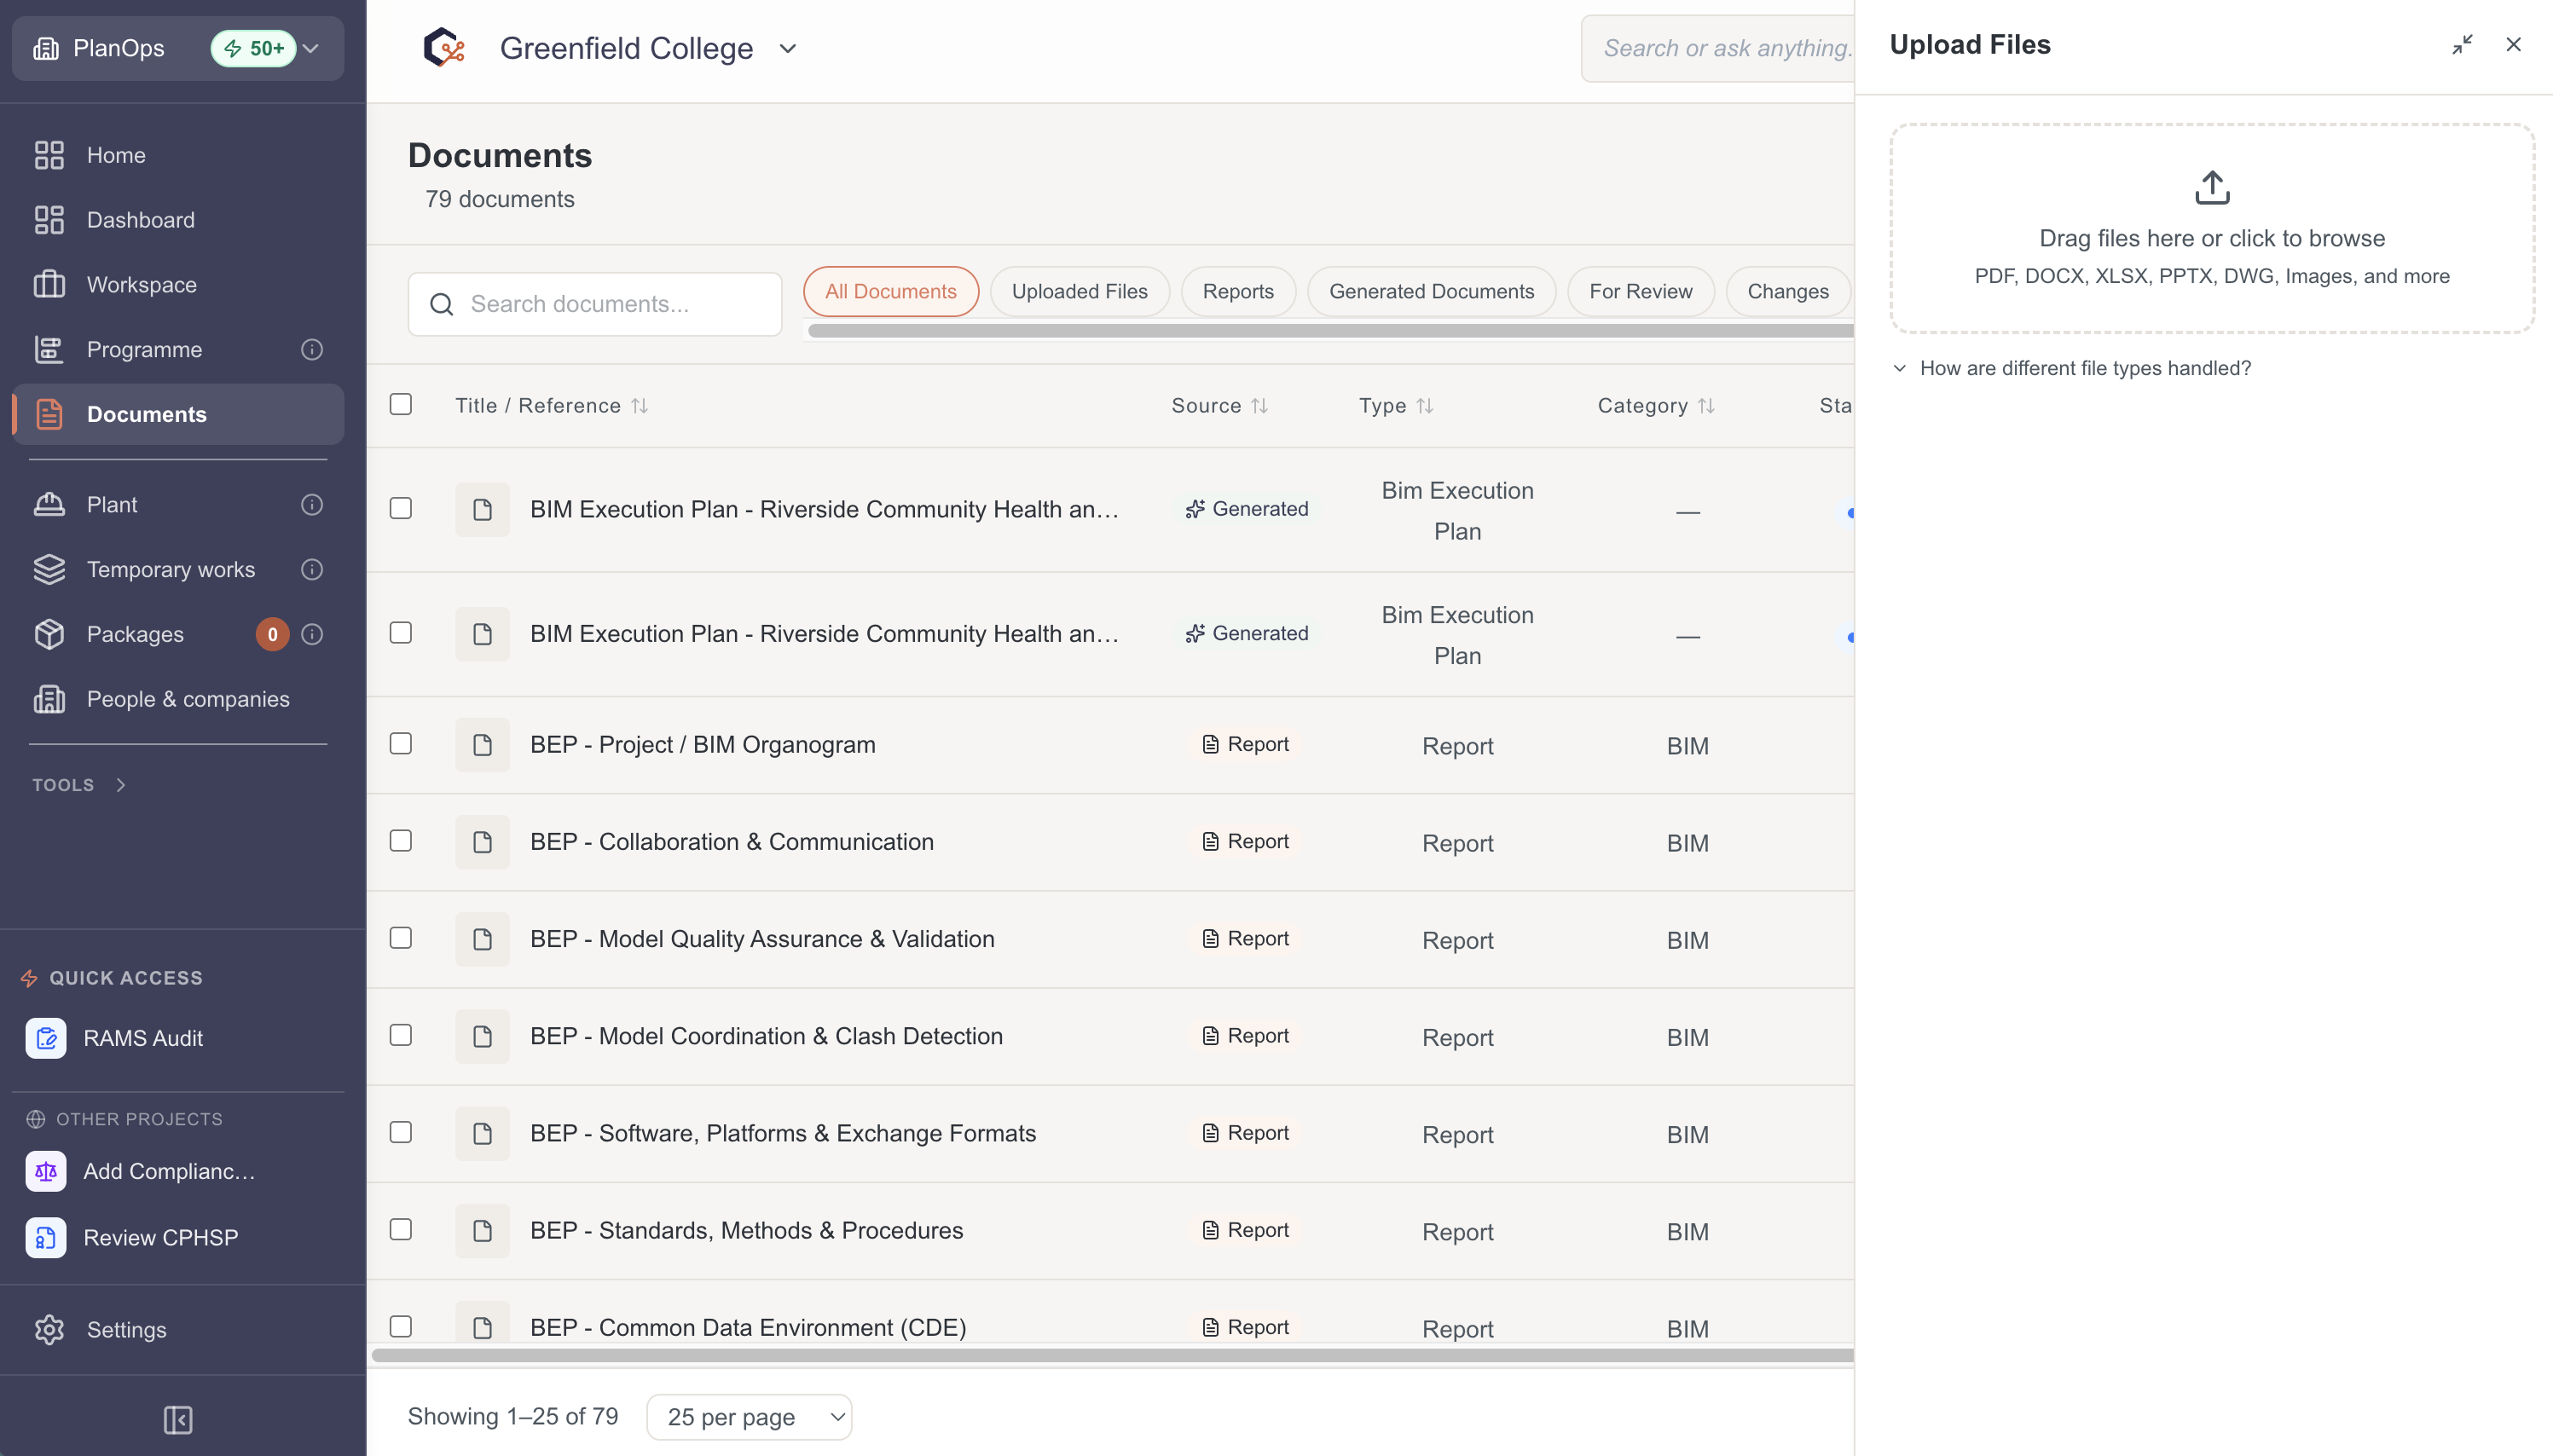
Open the file upload dialog for your chosen project; the upload panel appears, showing a drop area for files and an option to browse from your computer.
Step 2: Add files by dragging and dropping
Drag one or more files from your computer and drop them onto the highlighted upload area; each file is added to the list with a pending status.
Step 3: Or choose files from your computer
Select the button or link to browse for files, then choose one or more files in your file picker; the selected files appear in the upload list ready for processing.

Step 4: Review pending files
Check the list of pending files to ensure you have added everything you need; you can see each file ready for upload with its initial processing status.
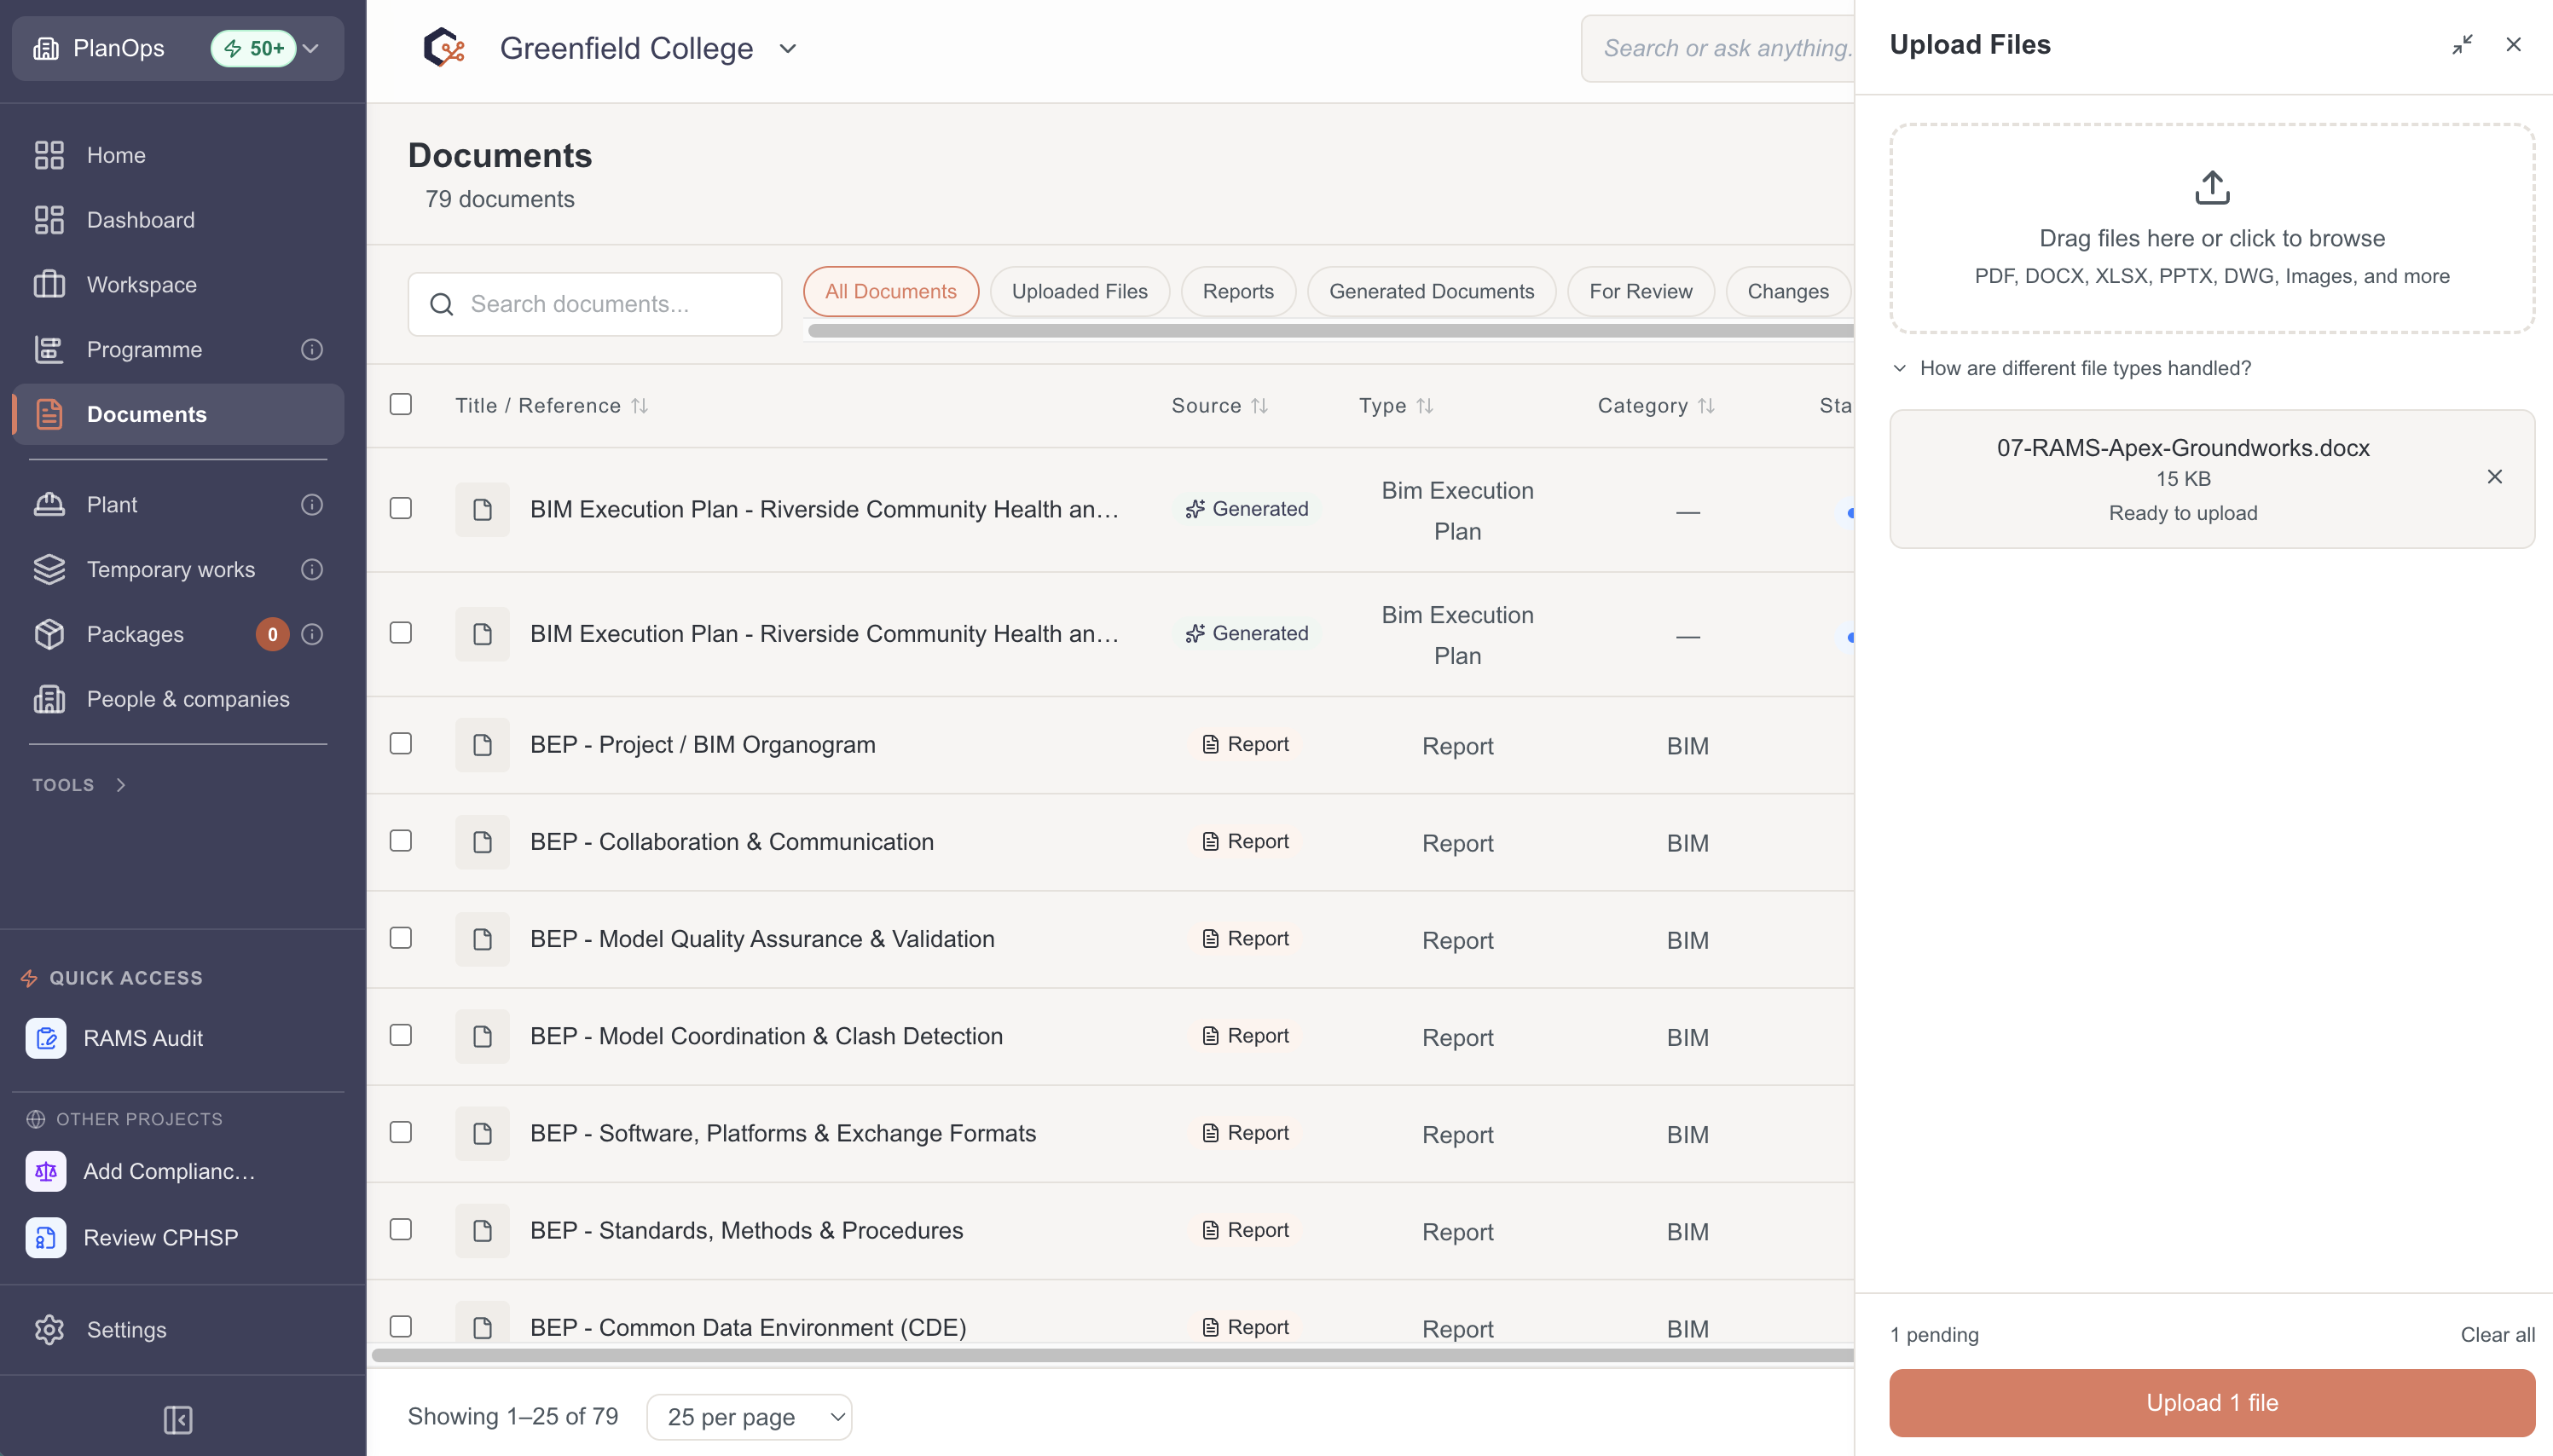
Step 5: Start the upload
Confirm and begin the upload so each file is sent for processing; you will see progress updates and statuses change as the upload completes.
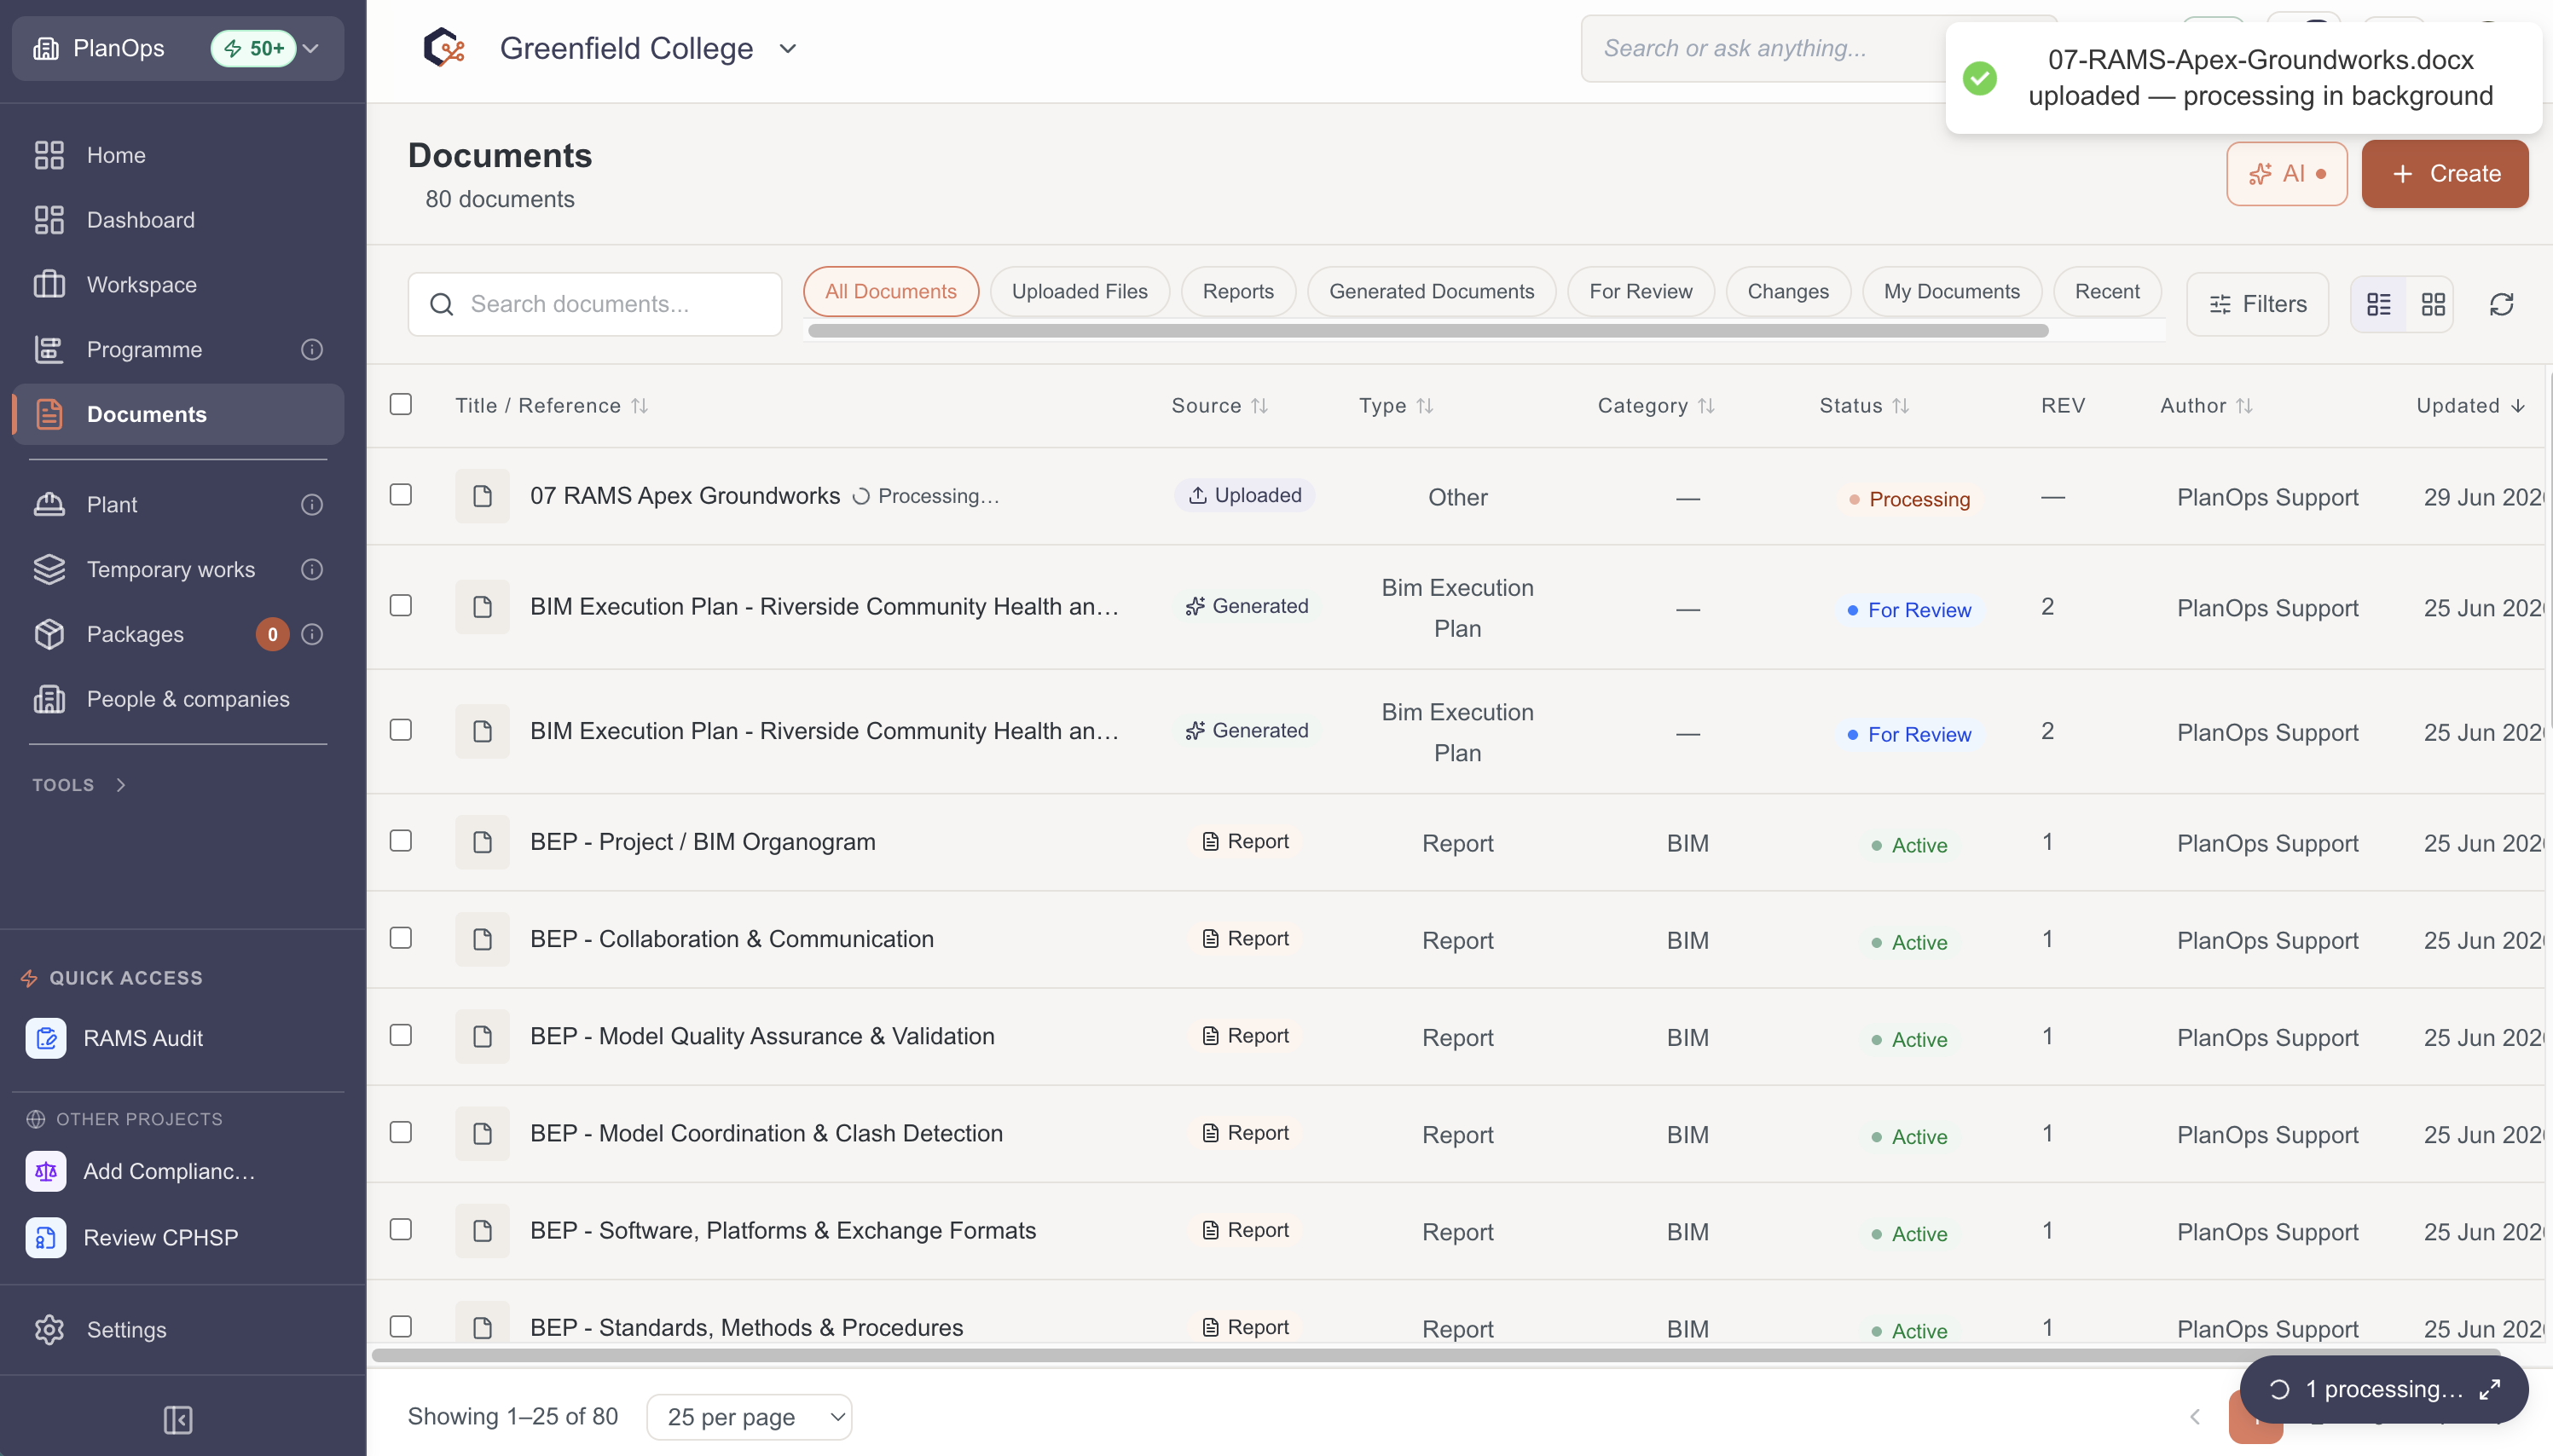
Step 6: Confirm upload completion
Wait for all files to complete processing; once finished, the dialog closes (if configured) and your project view updates to show the newly uploaded documents.
Related Tasks
Last updated: 2025-12-29T00:00:00.000Z