Manage organisation settings
Update your organisation’s details, branding, security settings, custom fields and integrations in one place.
This guide is designed for project manager.
Steps
Step 1: Open the organisation settings area
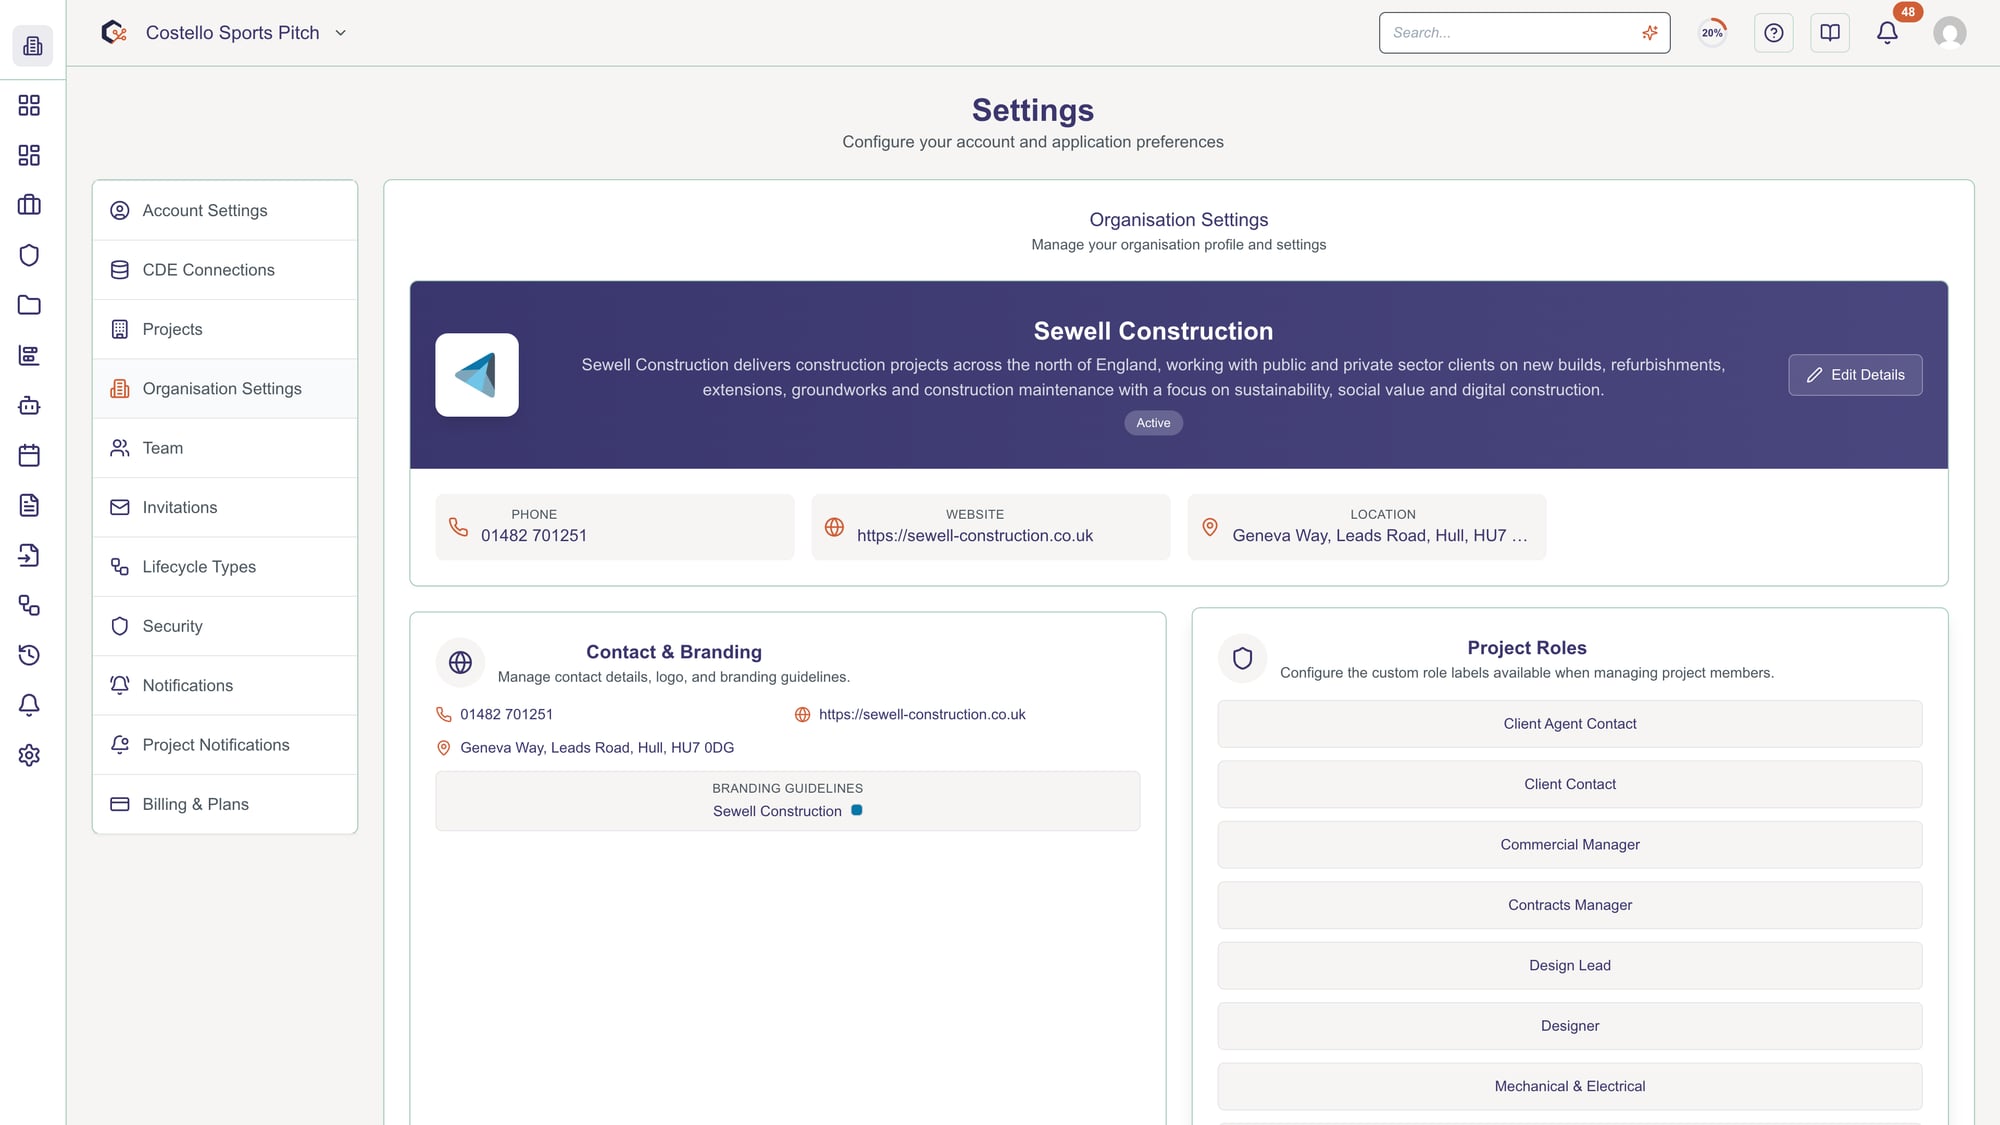
Open the settings menu in the application and navigate to the Organisation Settings section to view your current organisation configuration.
Step 2: Update organisation profile details
Edit core information such as organisation name, website, email, phone number and address using the provided form fields, then save your changes.

Step 3: Configure branding and logo
Upload or change the organisation logo, adjust branding options and preview how your branding will appear across reports and dashboards.

Step 4: Manage custom fields
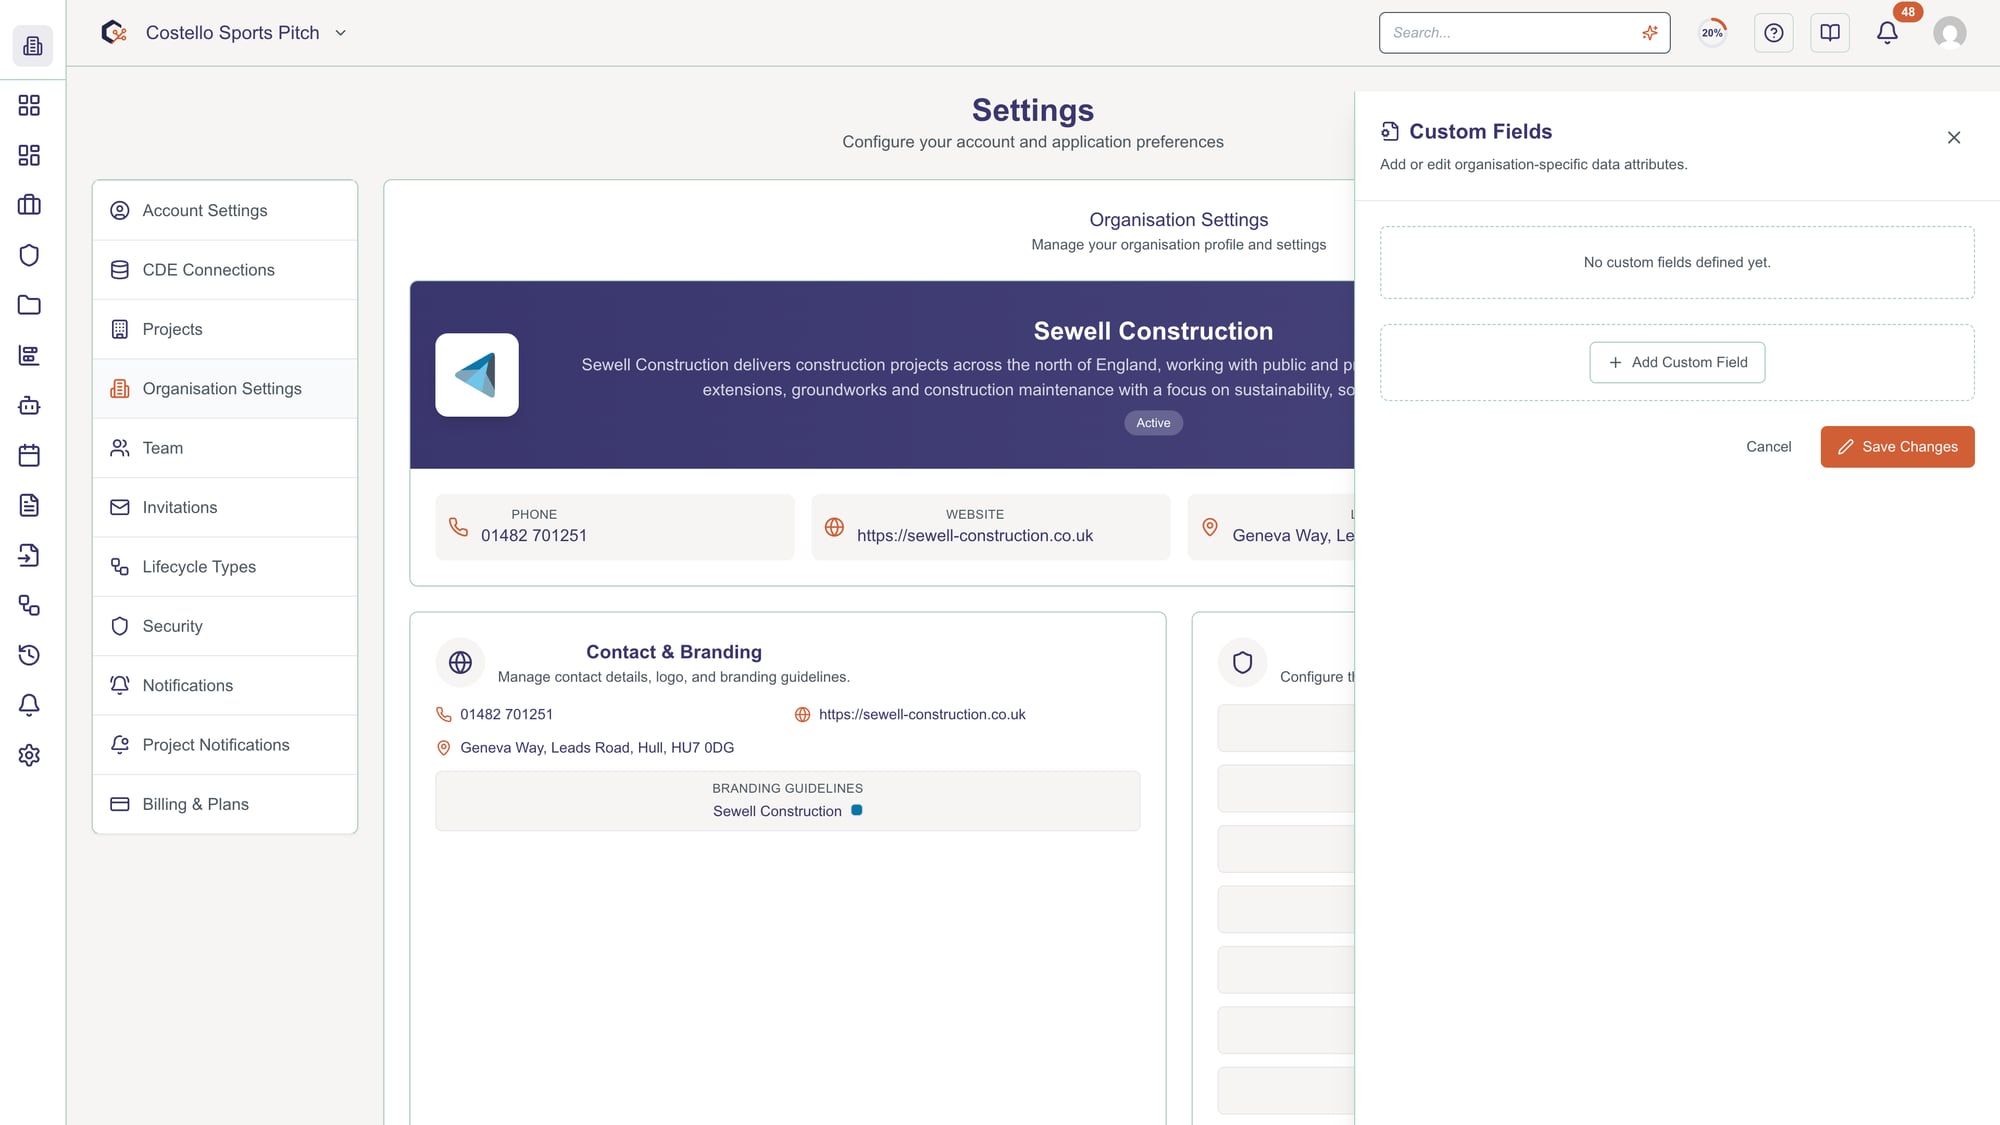
Add, edit or remove custom field definitions (for example text, number or choice fields) so projects and records can store the extra information your organisation needs.

Step 5: Set project defaults and templates
Configure default project settings, templates and report content modes so new projects start with the correct structure and configuration.
Step 6: Adjust security and compliance settings
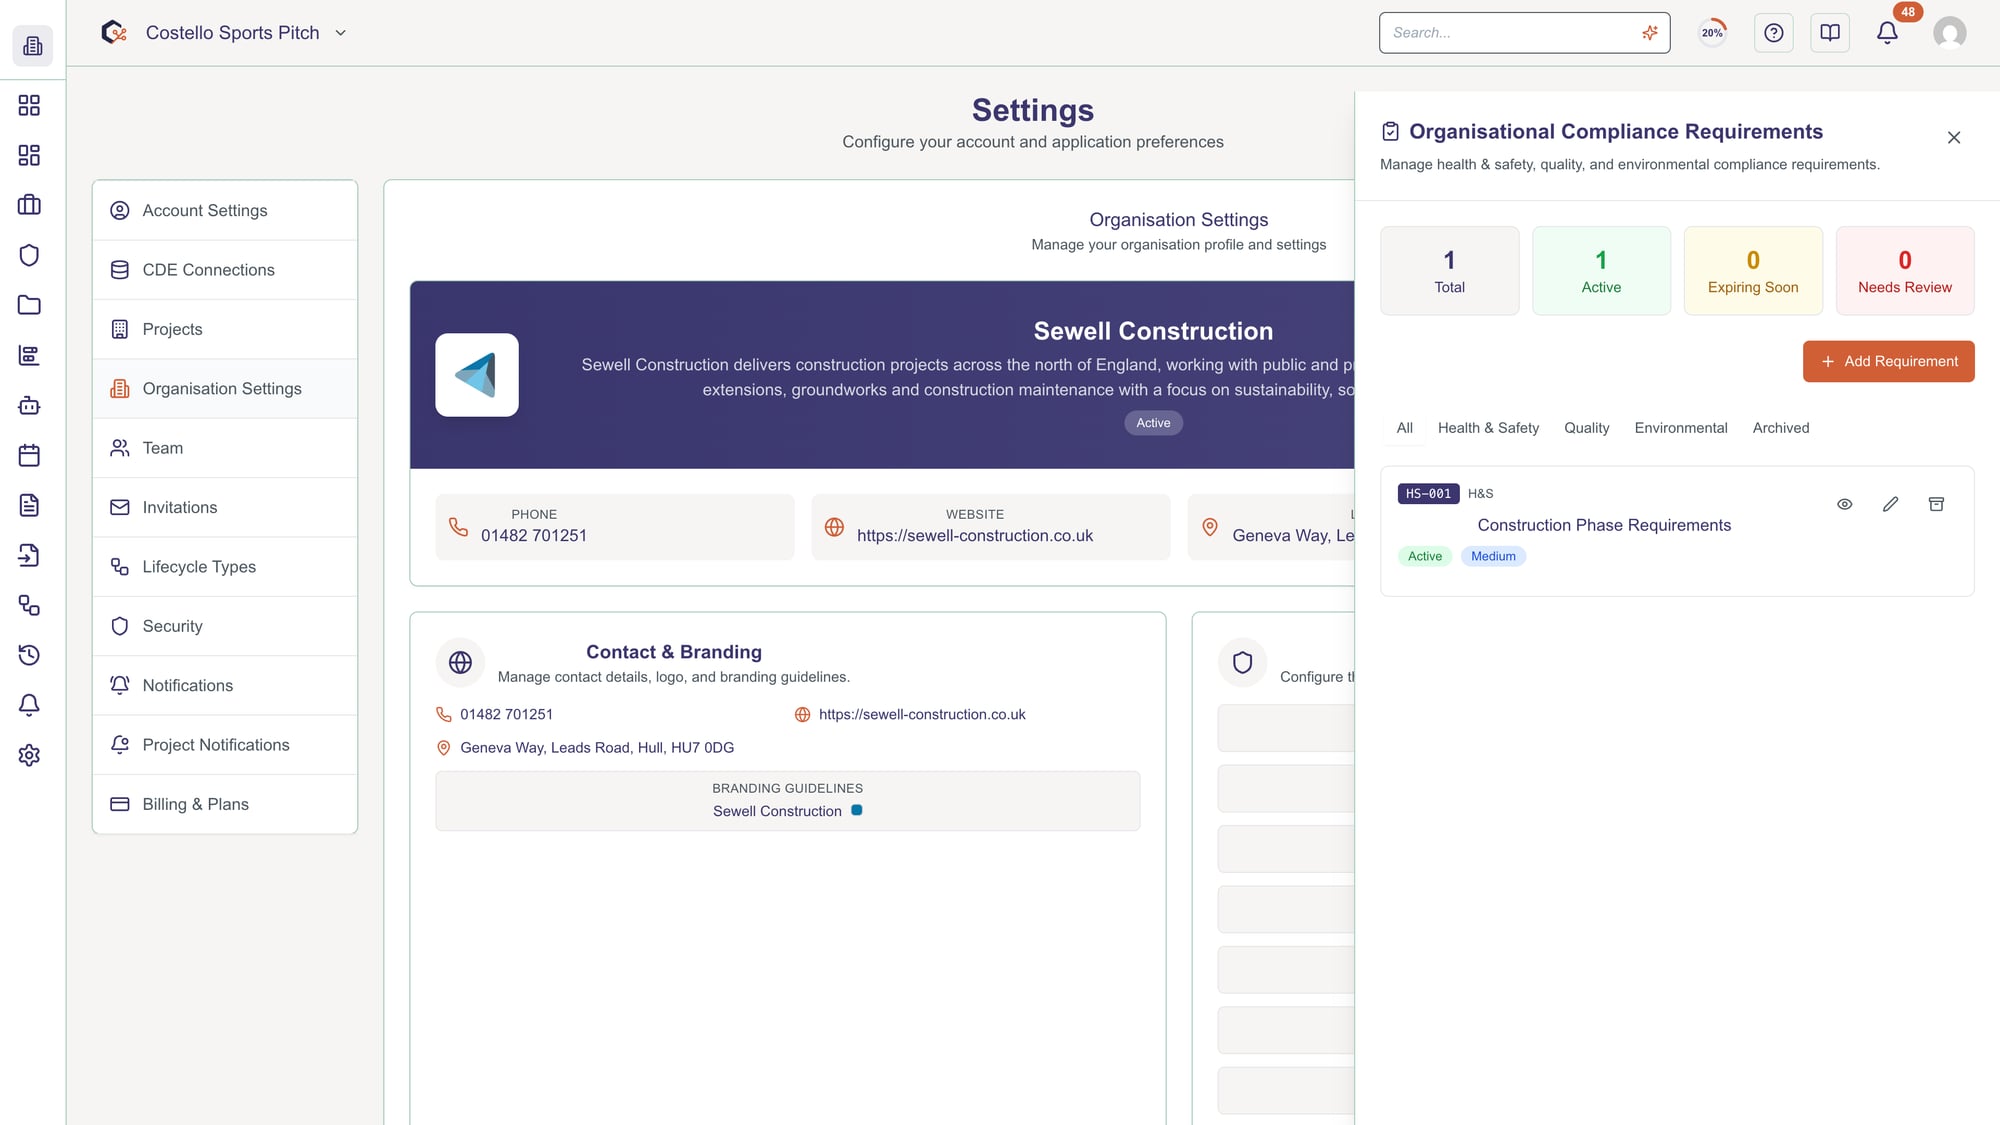
Review organisation-wide security controls and compliance requirements, then enable or disable options to meet your internal policies.

Step 7: Manage user roles and permissions
Use the roles section to add new roles, update existing ones and control which users can manage projects, reports and organisation-level settings.
Step 8: Connect external systems and integrations
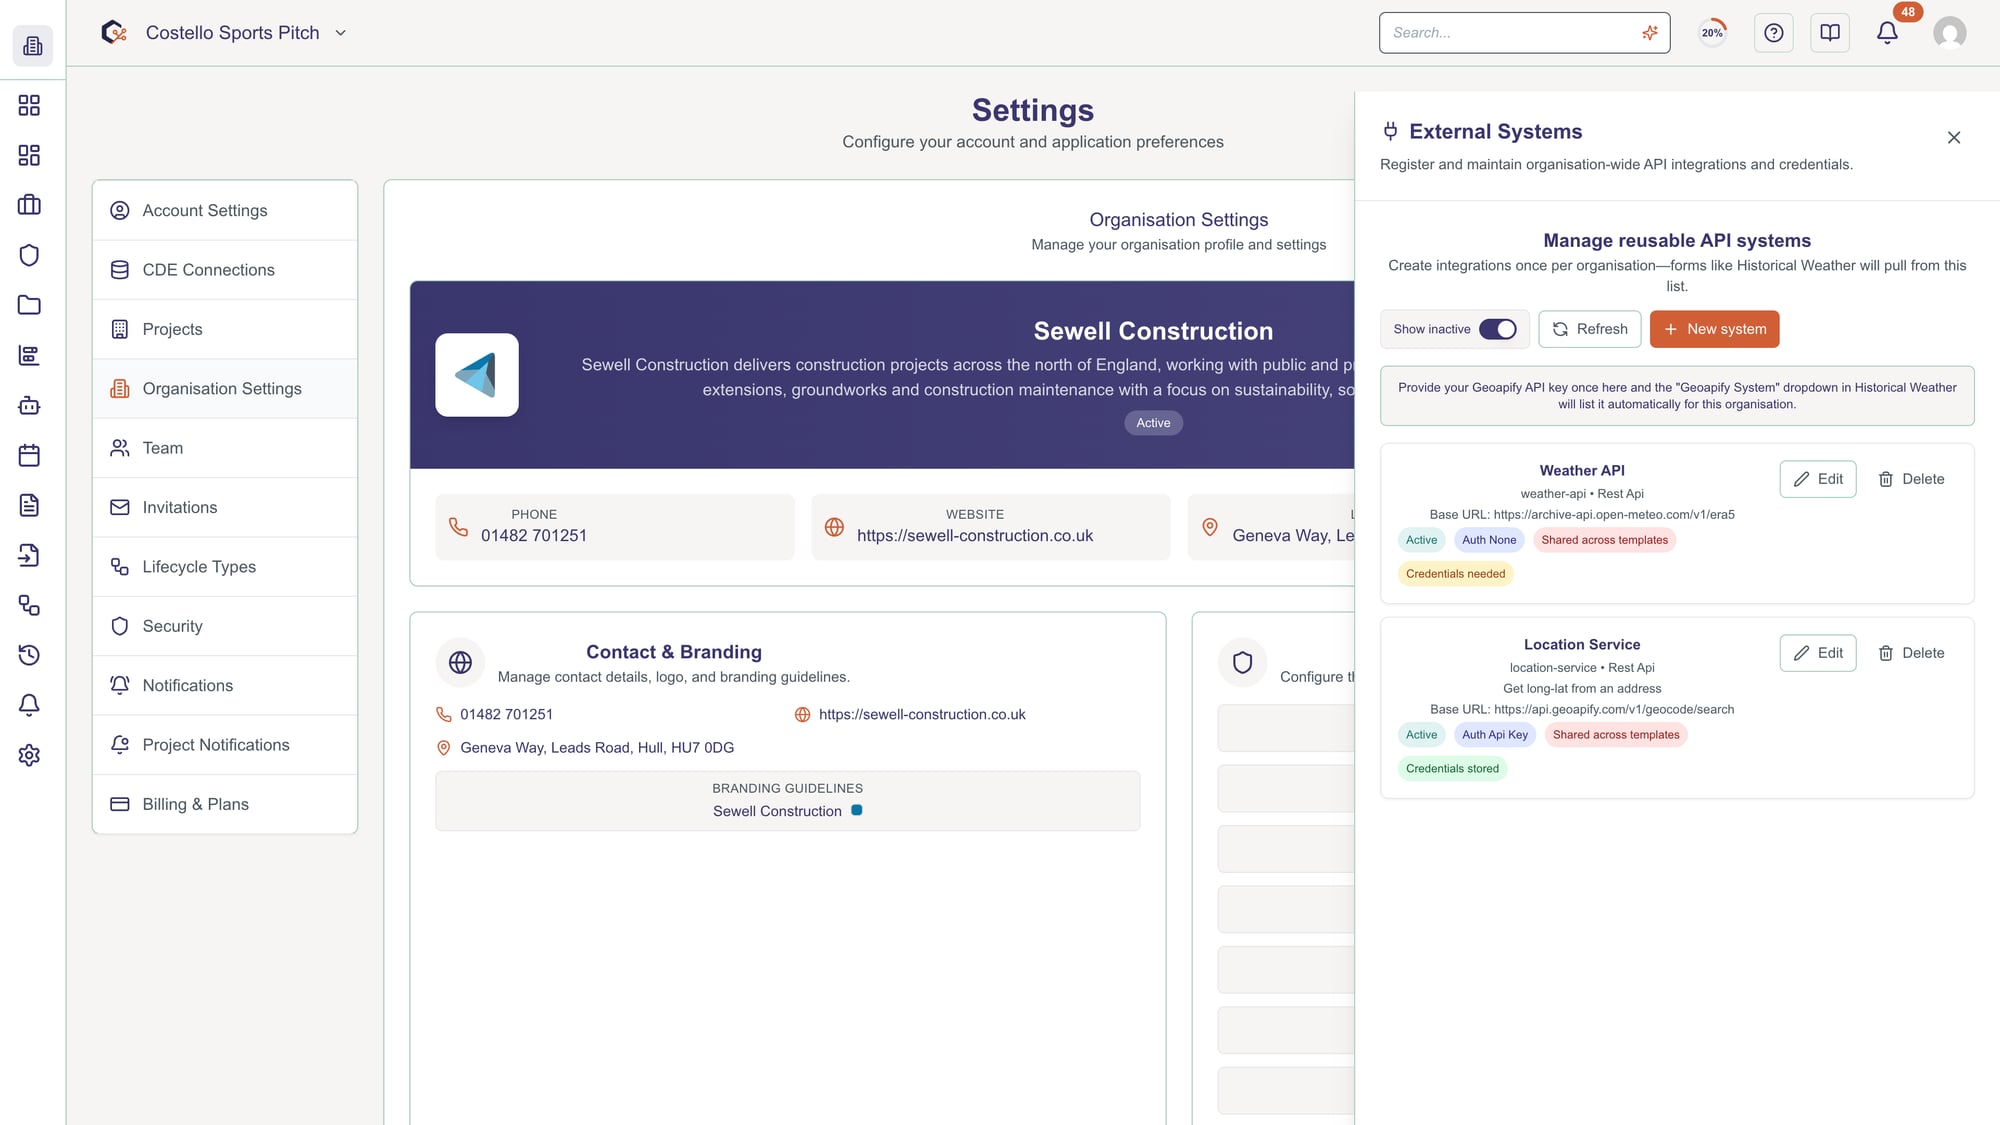
Open the integrations panel to connect, configure or remove links to external systems, using the connection gallery and configuration dialogs where needed.
Related Tasks
Last updated: 2026-06-27