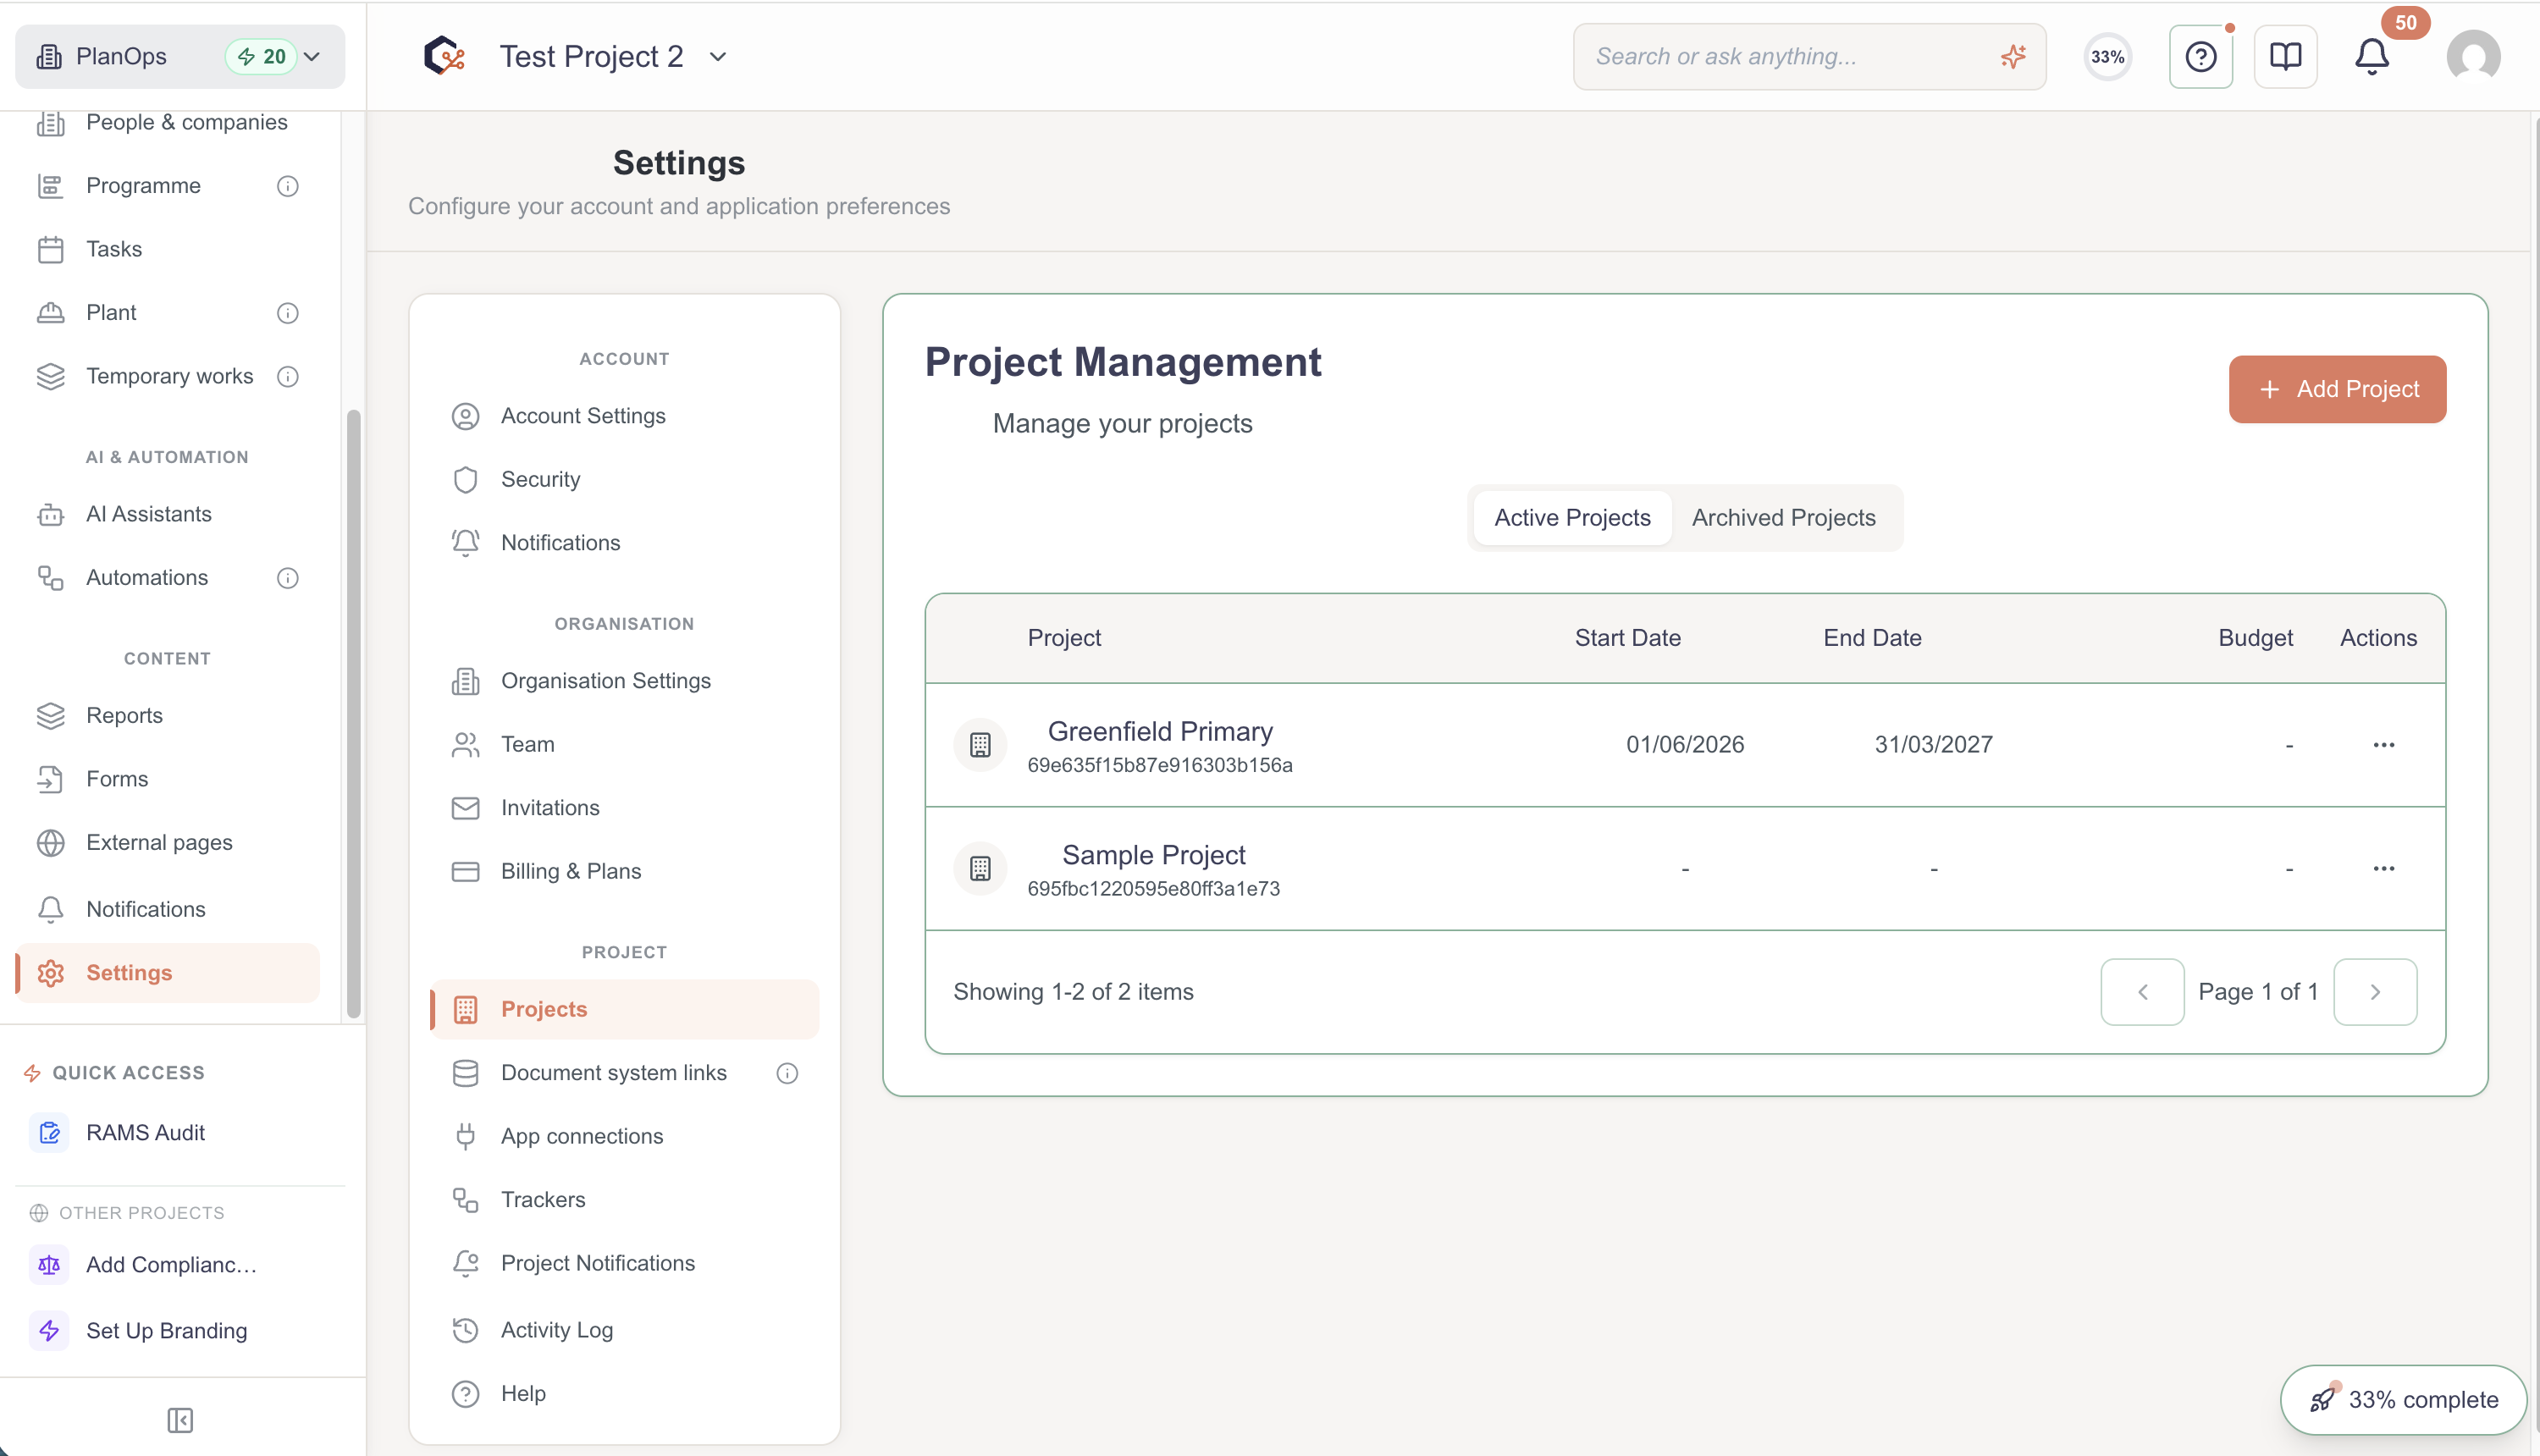
Add a new project
Create a new project, optionally using a predefined framework and guided setup to speed up configuration.
This guide is designed for project manager.
Steps
Step 1: Open the Add Project modal
From the application, open the Add Project modal (for example by clicking an “Add project” or “New project” button) to start creating a new project.
Step 2: Enter basic project details
In the modal, type a clear project name and set the project start and end dates; optionally enter the project value if your organisation tracks financial amounts for projects.

Step 3: Choose a project framework (optional)
Open the framework dropdown, review the available frameworks, and select one to pre-populate default settings for your new project; choose “None” if you do not want to use a framework.

Step 4: Refresh available frameworks (if needed)
If the list of frameworks seems out of date, use the refresh control in the modal to reload the latest frameworks from the server, then pick the one that best matches your project.

Step 5: Review the framework preview
After selecting a framework, wait briefly while its details load, then review the previewed settings and statistics so you understand what defaults will be applied to your new project.

Step 6: Choose whether to use guided setup
Use the guided setup switch to decide if you want the system to walk you through additional configuration steps after creation, or turn it off to create the project with only the selected defaults.

Step 7: Create or cancel the project
When you are satisfied with the details, click the Create button to add the project; if you change your mind, click Cancel to close the modal without saving anything.

Step 8: Skip project creation (if available)
If a Skip for now option is shown and you do not wish to create a project yet, click it to dismiss the modal and return to your previous view without creating a new project.

Related Tasks
Last updated: 2026-01-14T00:00:00.000Z