Manage CDE connections for your project
Connect your project to external Common Data Environments (CDEs), manage sync settings, and link to specific remote projects.
This guide is designed for project manager.
Steps
Step 1: Open CDE connection settings
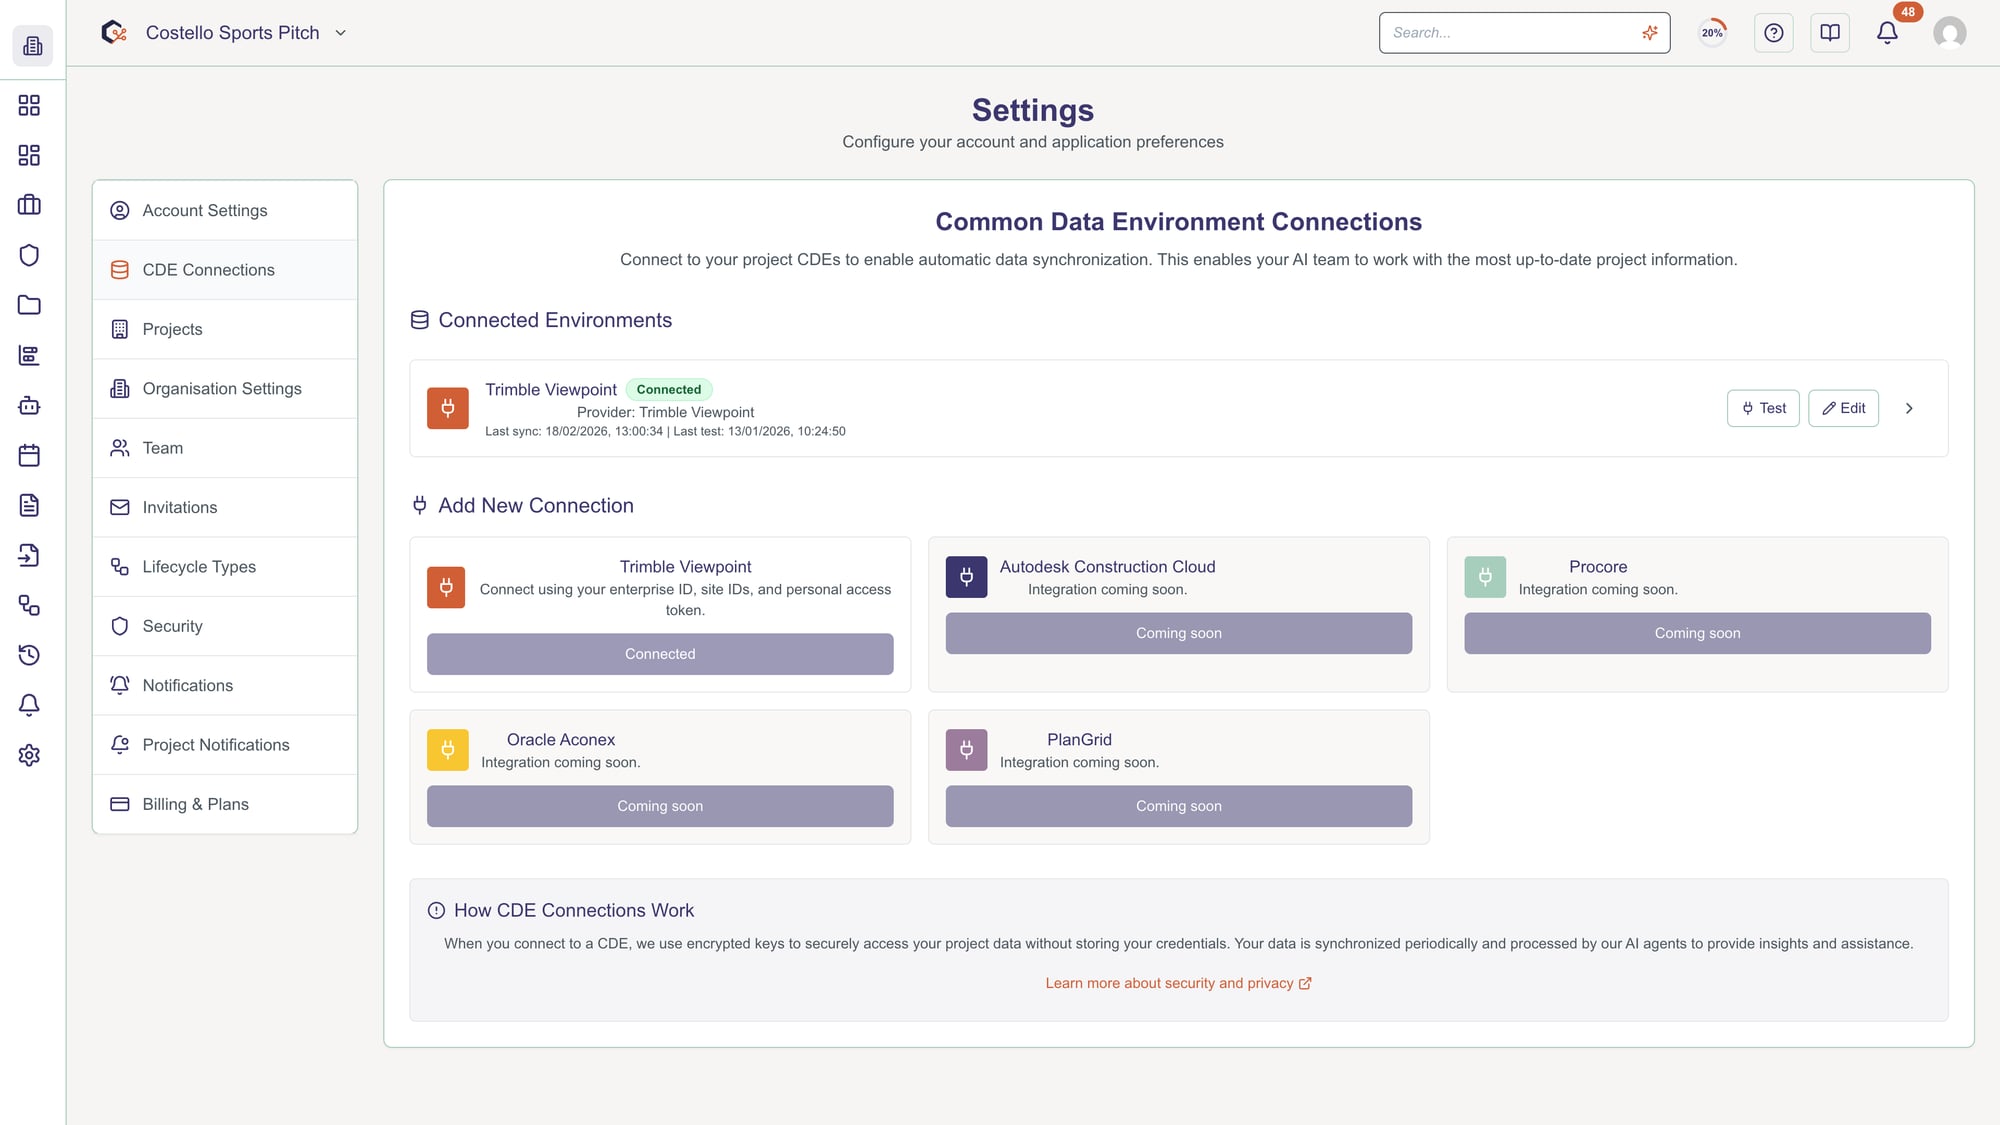
Navigate to the project settings area and open the CDE connection settings section to view existing integrations for the selected project.

Step 2: Review current CDE connection status
Check the current provider, connection status, and any sync mode or project linking information shown for the project.

Step 3: Start connecting a new CDE provider
Select the option to connect a CDE and open the connect dialog, then choose your preferred provider such as Trimble Viewpoint or Microsoft SharePoint.

Step 4: Enter provider credentials and connection details
In the connect dialog, complete the required fields for the chosen provider, including IDs, tokens, or client credentials, then confirm to create the connection.

Step 5: Choose CDE sync mode
Use the sync mode step to select how data should synchronise between the project and the CDE, then confirm your chosen sync behaviour.
Step 6: Browse and link a remote CDE project
Open the browse projects dialog, search or navigate the available remote projects from the connected CDE, and select the one to link to your project.

Step 7: Confirm the selected CDE project
Review the details of the chosen remote project in the selector dialog and confirm your selection to establish the project-level connection.

Step 8: Adjust sync frequency and options
If available, set how often the system should sync with the connected CDE and toggle any additional sync options displayed in the settings.

Step 9: Edit an existing CDE connection
Use the edit controls in the CDE connection panel to update credentials, change sync mode, or modify other connection details as needed.

Step 10: Disconnect a CDE from the project
Choose the disconnect option for a provider, review the confirmation dialog explaining the impact, and confirm to remove the CDE connection from the project.

Related Tasks
Last updated: 2026-06-24