Configure Your Account Profile
Update your user profile information including name, email, avatar, and contact details. Manage your personal preferences for theme and display settings.
This guide is designed for general user.
Steps
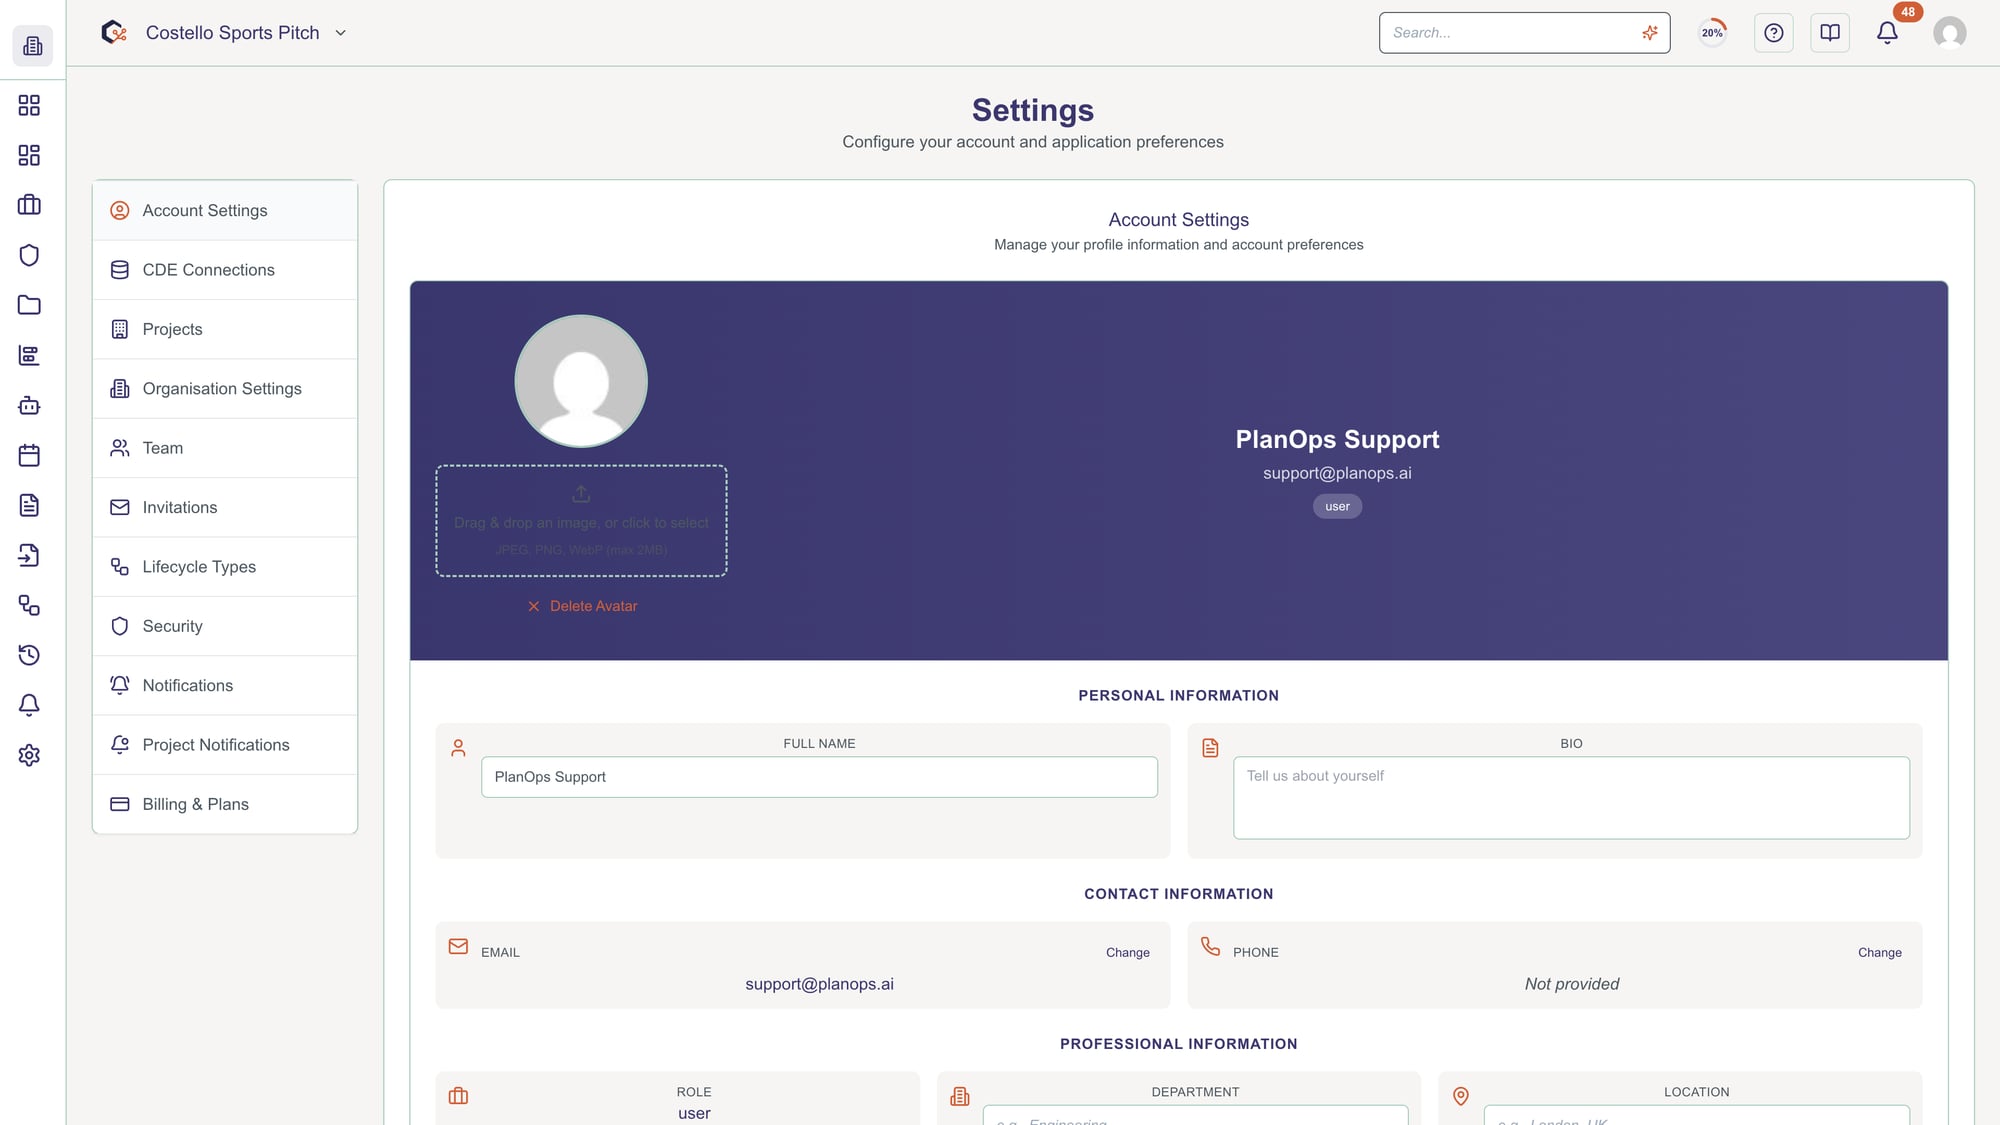
Step 1: Navigate to Account Settings
Click Settings in the sidebar, then select Account Settings from the left menu. This is where you manage all your personal profile information and preferences.
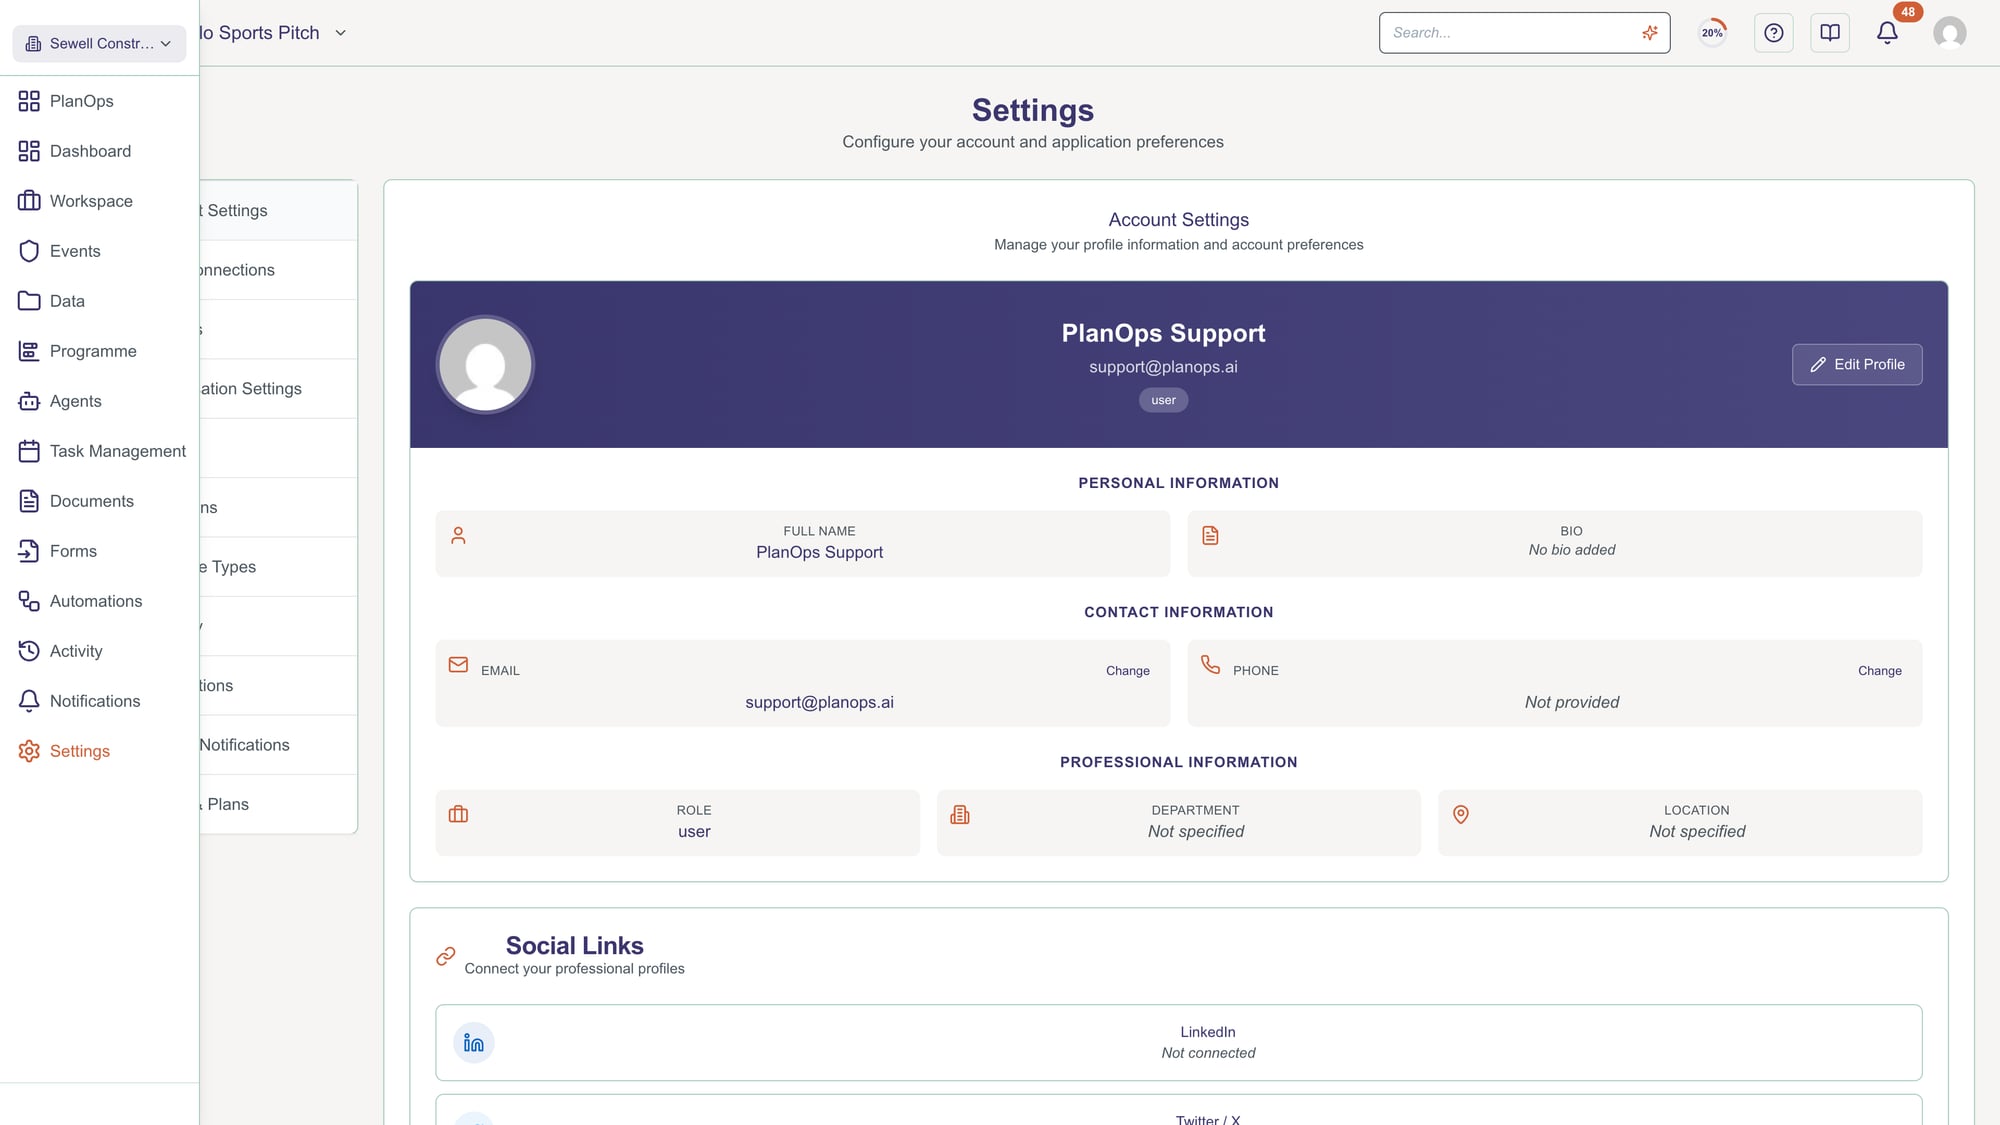
Step 2: Update profile information
In the Profile section, edit your basic information: full name, company, department, location, and bio. Click the pencil icon next to each field to edit. Your profile is visible to other team members.

Your name and email are required. Other fields are optional.
Step 3: Upload or change avatar
Click on your avatar image to upload a new profile picture. The system accepts JPG and PNG files. Your avatar is displayed next to your name in comments, activities, and team listings.

Maximum file size is 5MB. Images are automatically cropped to square.
Step 4: Configure contact information
Update your contact details including email and phone number. Email is managed through your authentication provider and may be restricted from editing for security reasons. Phone number is optional.
Step 5: Add social media links
Optionally add links to your LinkedIn profile, Twitter account, and personal website. These links appear on your profile and help team members connect with you across platforms.

Step 6: Configure display preferences
At the bottom of the settings, choose your theme preference (Light or Dark mode), preferred language, and timezone. These settings affect how the application displays for you personally.

Theme can also be toggled using the theme switch in the top navigation.
Step 7: Save changes
Click Save Changes to update your profile. You'll see a confirmation message. Changes are applied immediately and visible to other team members where applicable.

Video Tutorial
Related Tasks
Last updated: 2025-12-08