Manage team members and roles
Use the Team Settings page to invite new team members, adjust their roles and project access, and remove people from your organisation.
This guide is designed for project manager.
Steps
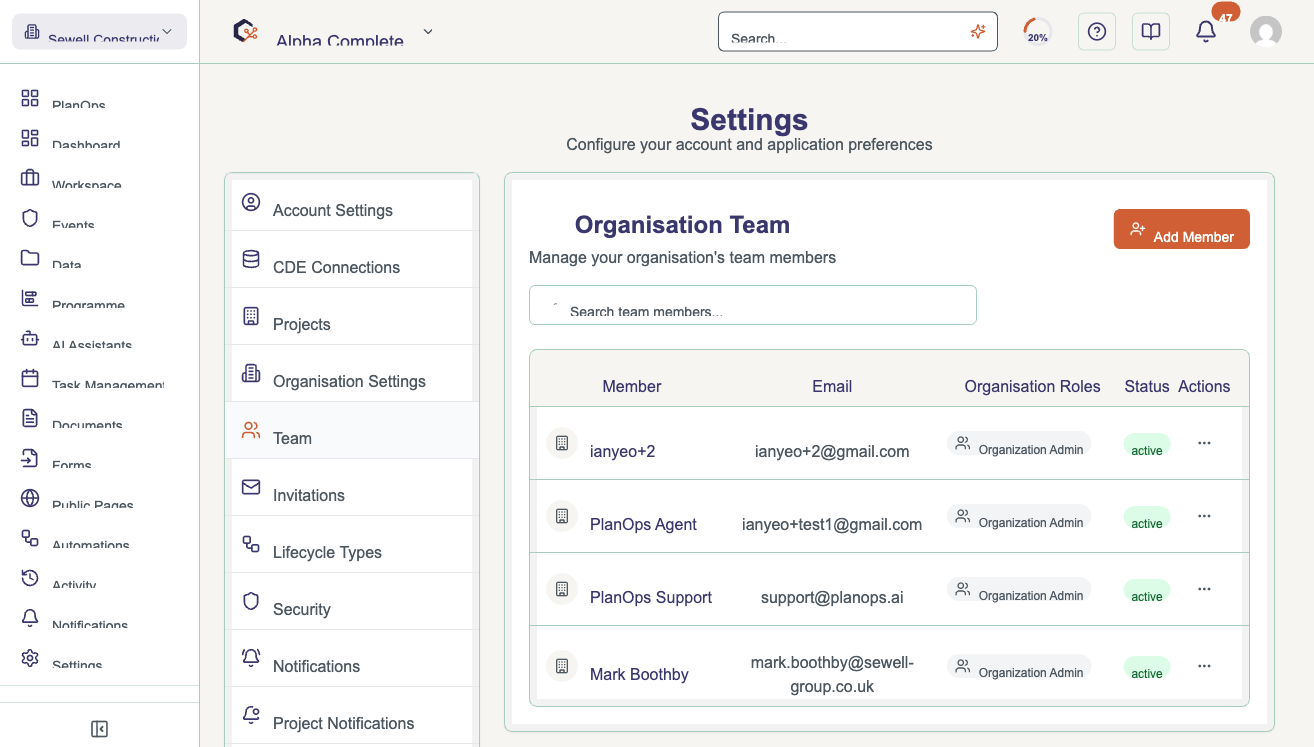
Step 1: Open the Team Settings page
Navigate to the Team Settings area from your project or organisation menu to view the list of current organisation members and their roles.
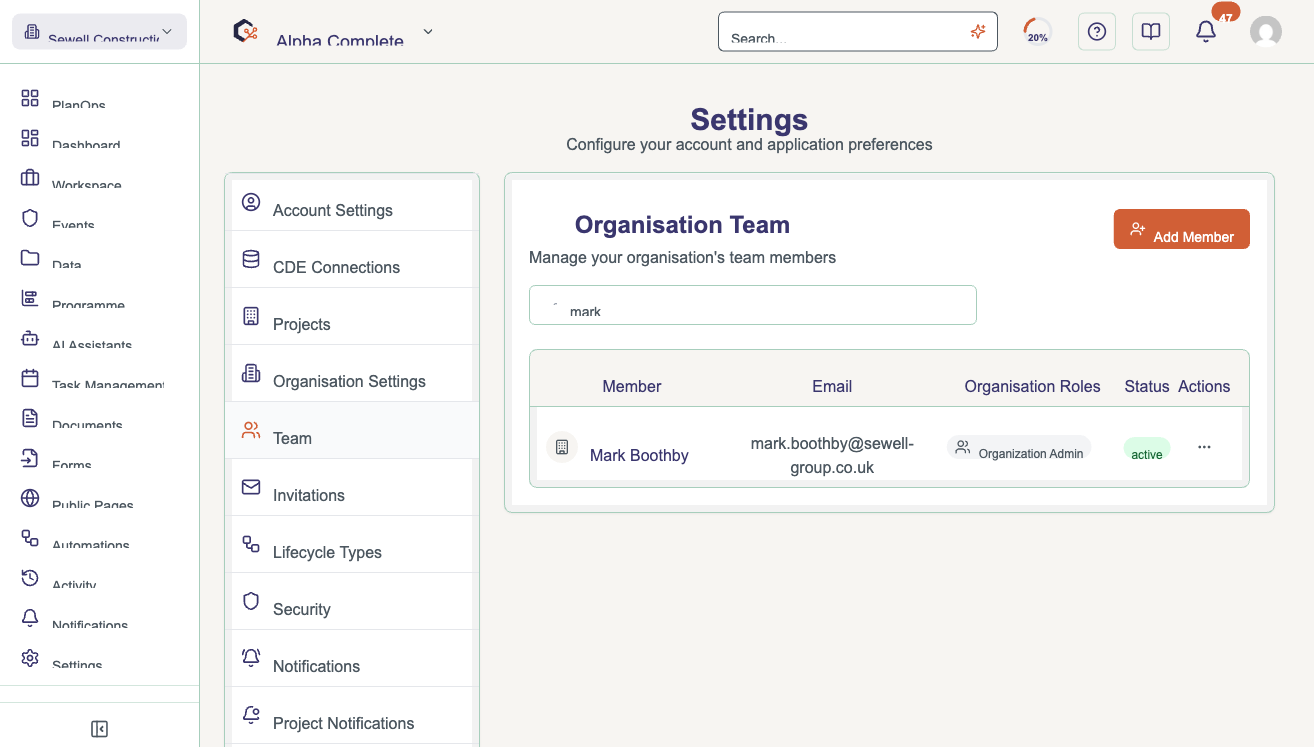
Step 2: Search for an existing team member
Use the search box at the top of the members list to type a name or email address and quickly locate a specific person in your organisation.
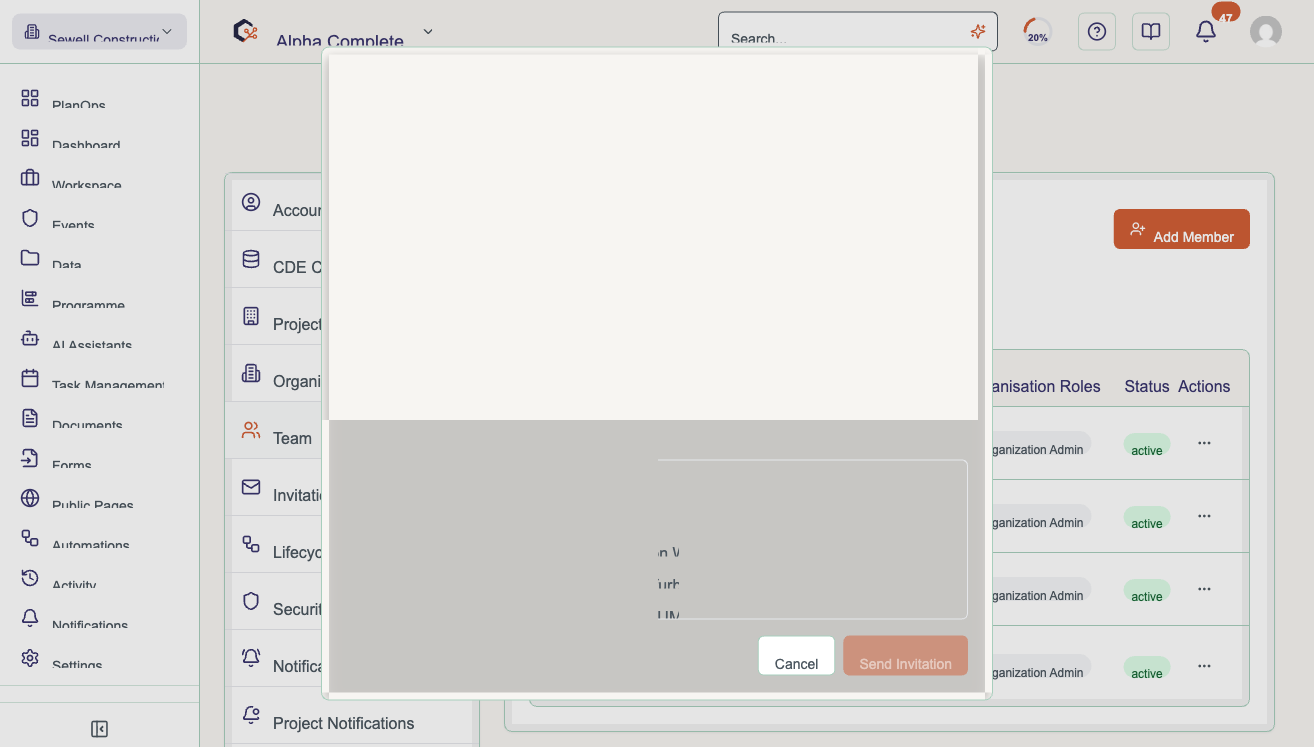
Step 3: Invite a new team member
Select the option to add a member to open the invite dialog, then enter the person’s name and email address to invite them to your organisation.

Step 4: Set roles and project access for a new member
In the invite dialog, choose one or more organisation roles for the new member and select the projects they should have access to before sending the invitation.
Step 5: Open the add member dialog directly via invite link
Share a link that includes the invite parameter so that, when opened, the Team Settings page automatically shows the add member dialog with an optional project pre-selected.

Step 6: Change roles and project access for an existing member
Use the actions menu next to a member in the list to open role settings, then update their organisation roles and project assignments as needed.
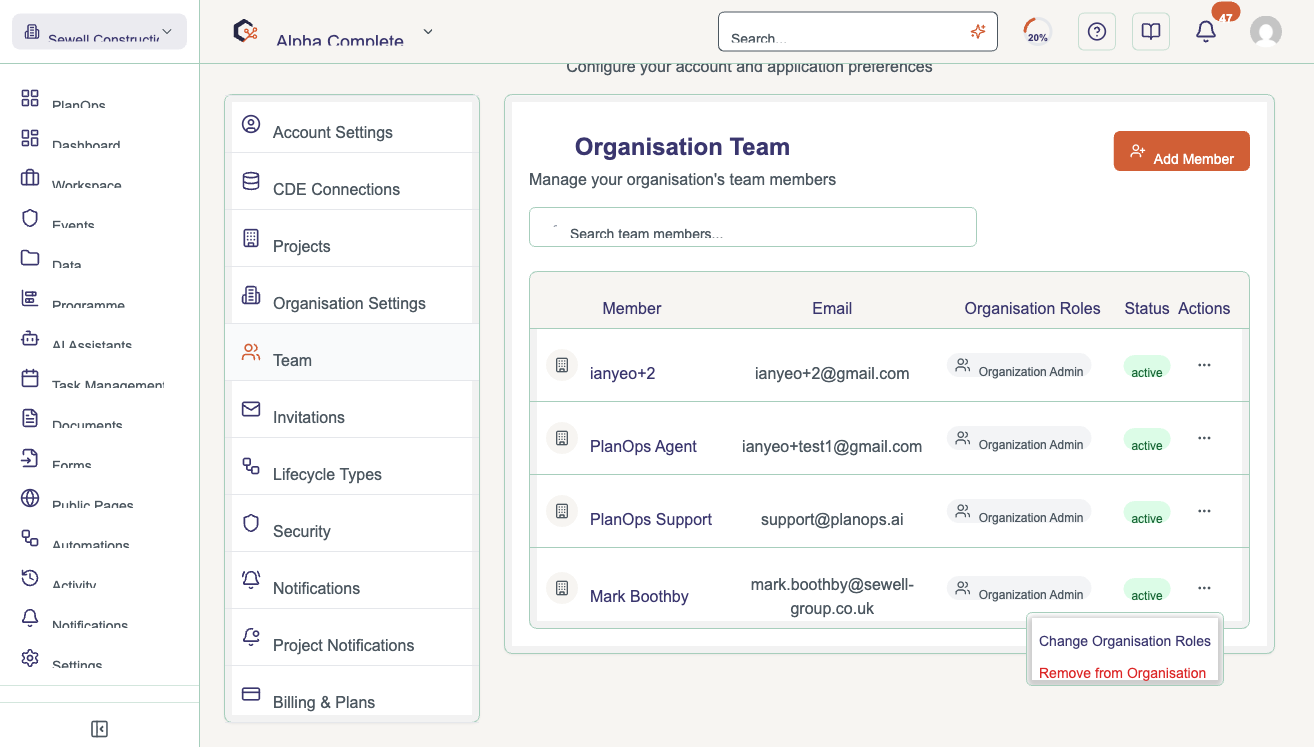
Step 7: Remove a member from the organisation
From the actions menu next to a member, choose the remove option, review the confirmation dialog, and confirm to revoke their access to the organisation and its projects.

Related Tasks
Last updated: 2026-02-04