Navigate your project workspace
Use the main application frame to switch between projects, access key sections like Dashboard, Calendar, Workspace, Agents, Reports, and Settings, and open contextual help and onboarding tools.
This guide is designed for project manager.
Steps
Step 1: Open the application and sign in
Open the web application in your browser and sign in using your organisation credentials via the Clerk sign-in screen; once authenticated, you will be redirected into the main application frame.
Step 2: Switch between organisations
Use the organisation switcher in the top navigation to change to a different organisation; once selected, the workspace reloads to show data and projects for the chosen organisation.

Step 3: Select a project
Open the project selector and choose the project you want to work on; the main content area updates to show the dashboard and tools for that specific project.

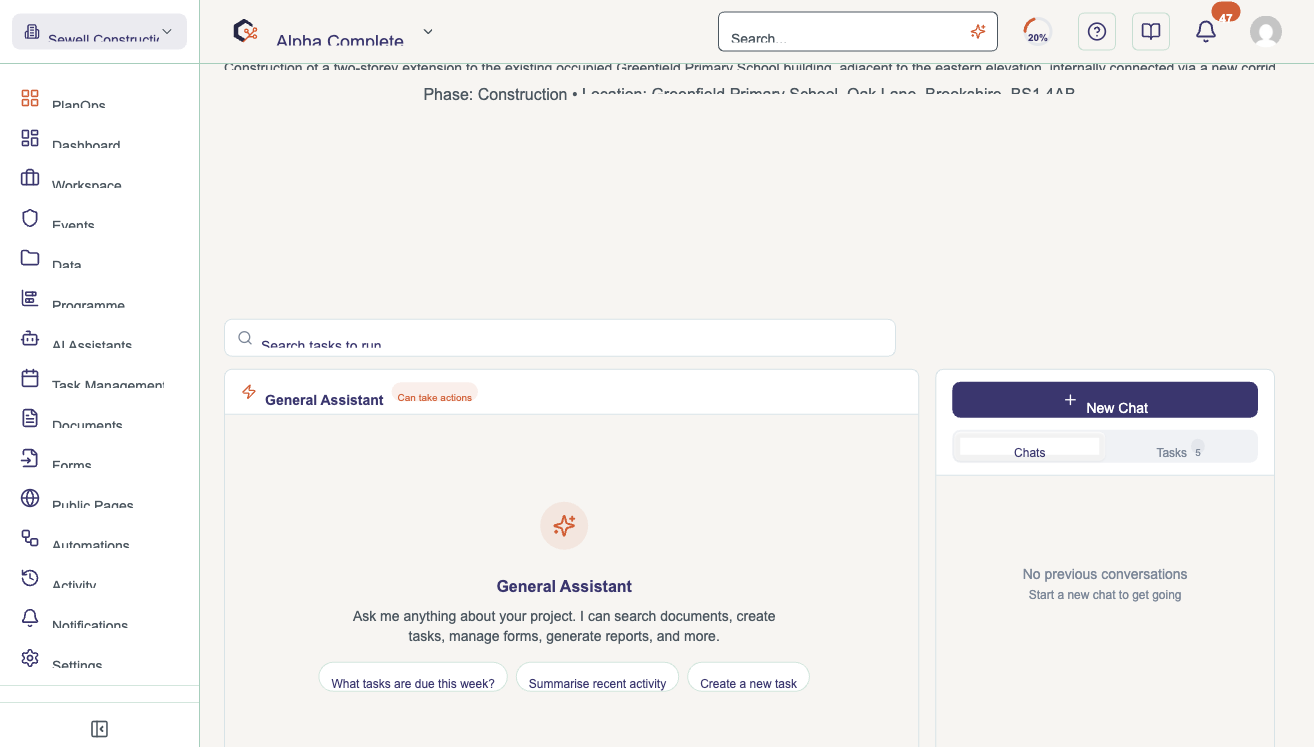
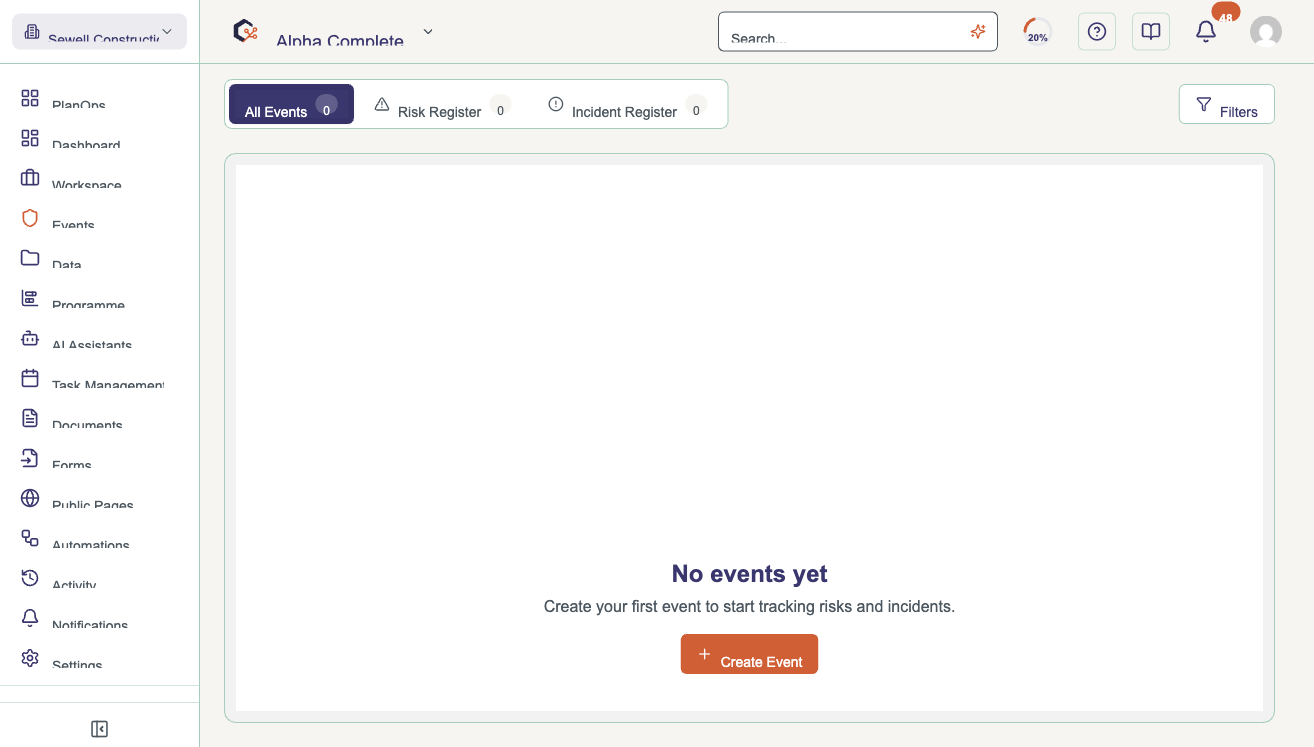
Step 4: Explore the dashboard
Click the Dashboard icon or link in the sidebar to view high-level information for the selected project, including widgets and panels provided by the FeatureFlaggedDashboard.

Step 5: View and manage project data
Navigate to the Project Data section from the sidebar to review structured project information and data panels provided by the ProjectDataSection.

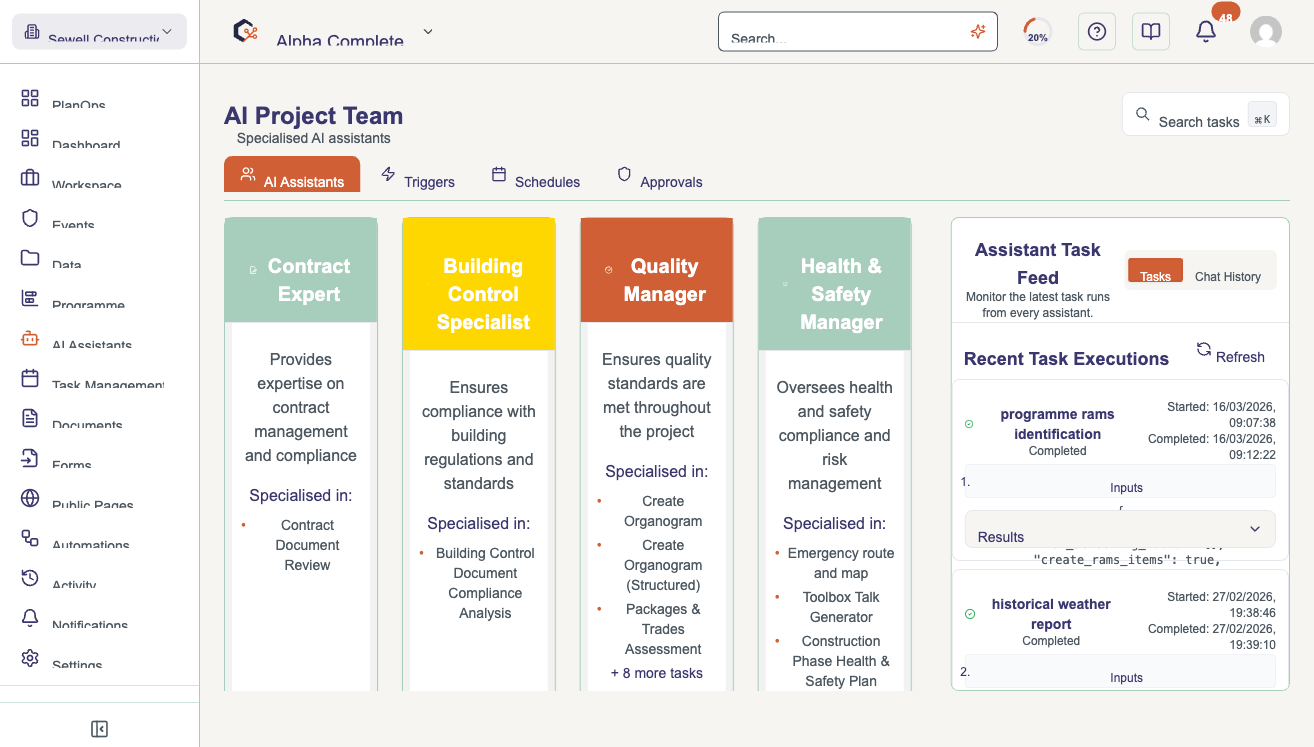
Step 6: Work with agents and automations
Open the Agents section from the sidebar to view and manage AI agents or automated workflows associated with your current project.
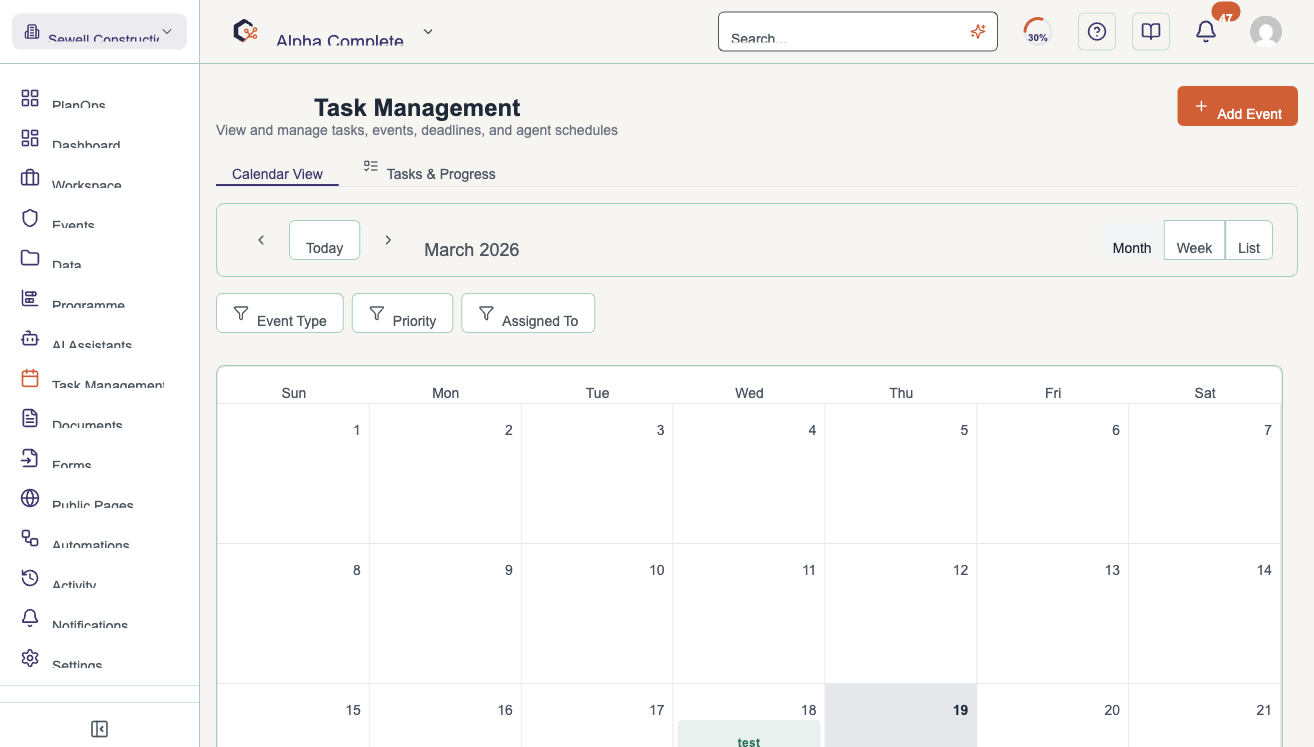
Step 7: Review your project calendar
Select Calendar in the sidebar to open CalendarView, where you can browse project-related events, deadlines, and scheduled activities over time.
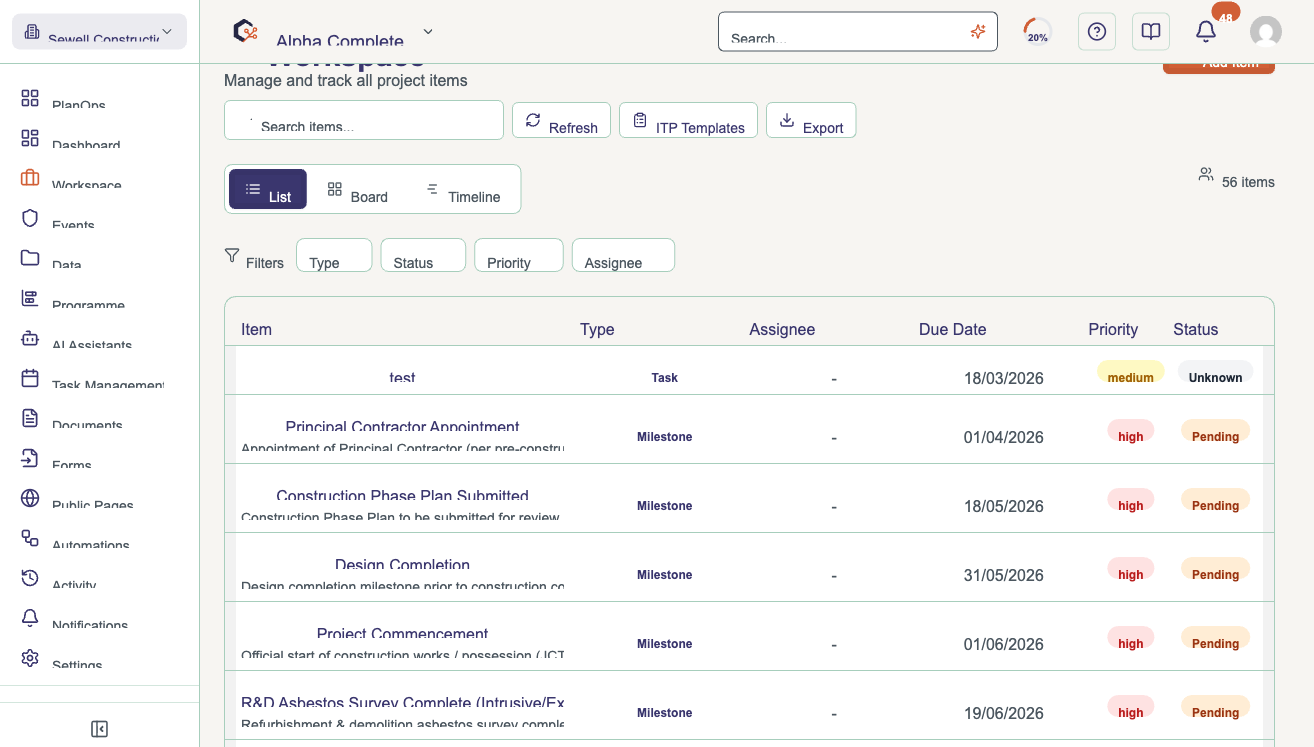
Step 8: Manage workspace items
Go to the Workspace section to browse, open details for individual items, or edit items using the WorkspaceItemDetail and WorkspaceItemEdit views.
Step 9: Track activity and notifications
Open the Activity Log to review recent actions and security activity, and use the Notifications section to read and manage alerts related to your projects.
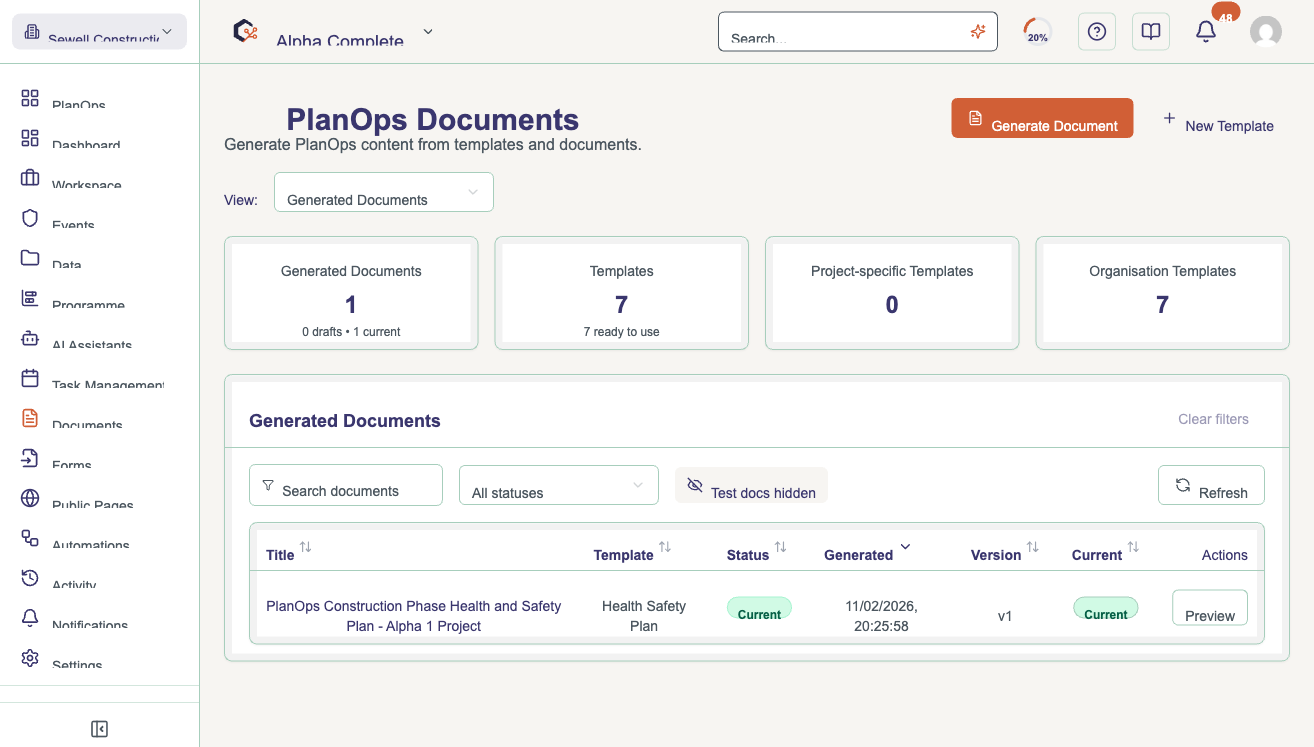
Step 10: Run and view reports and forms
Use the Reports and Forms sections from the sidebar to access reporting dashboards and manage project-related forms, including any shared public links.
Step 11: Update profile and organisation settings
Open the Settings section to adjust organisation-level configuration, manage licences, and update your personal profile via the provided settings panels.

Step 12: Use help, onboarding, and search
Open the help panel, onboarding checklist, or sidebar guide to get contextual guidance, and use the search modal to quickly find projects, items, or pages within the app.

Step 13: Sign out when finished
Use the avatar dropdown or sign-out control in the top navigation to securely log out of the application when you have finished your work.

Related Tasks
Last updated: 2026-01-14