Manage workspace items in a project
Use the workspace to view, filter, add, update and export project items in different layouts.
This guide is designed for project manager.
Steps
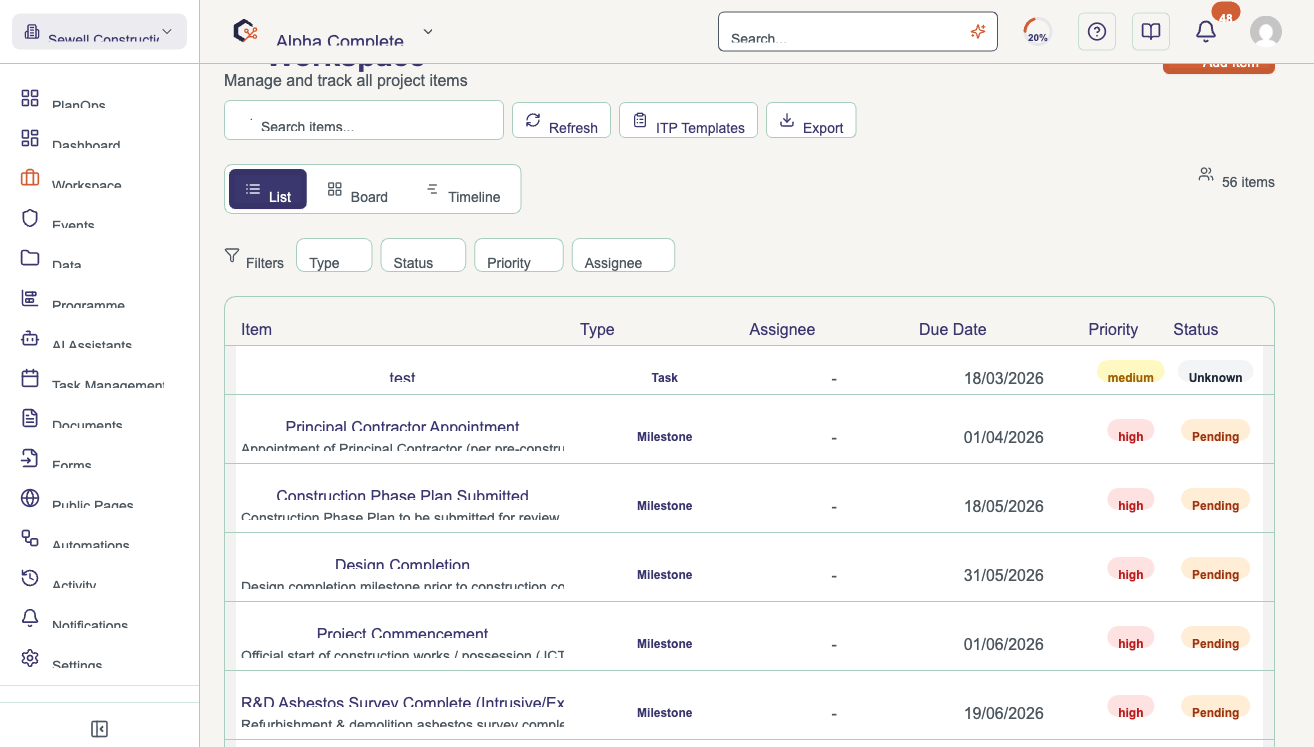
Step 1: Open the workspace for your project
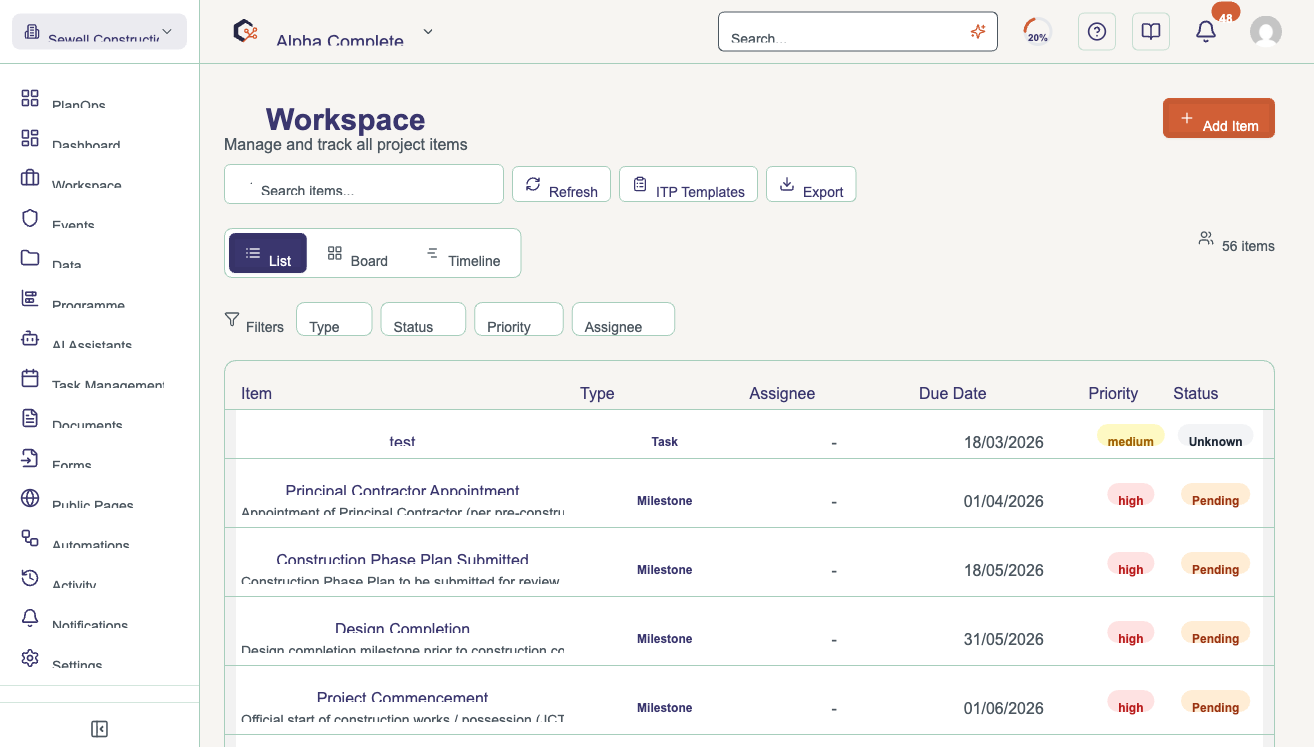
From your project, open the Workspace section to see all related items. The main view shows a toolbar at the top and your items listed below in the default layout.

Step 2: Search and filter workspace items
Use the search box and filter bar at the top to narrow down items by keyword, status, type, assignee or other available filters. The list updates instantly to match your chosen criteria.
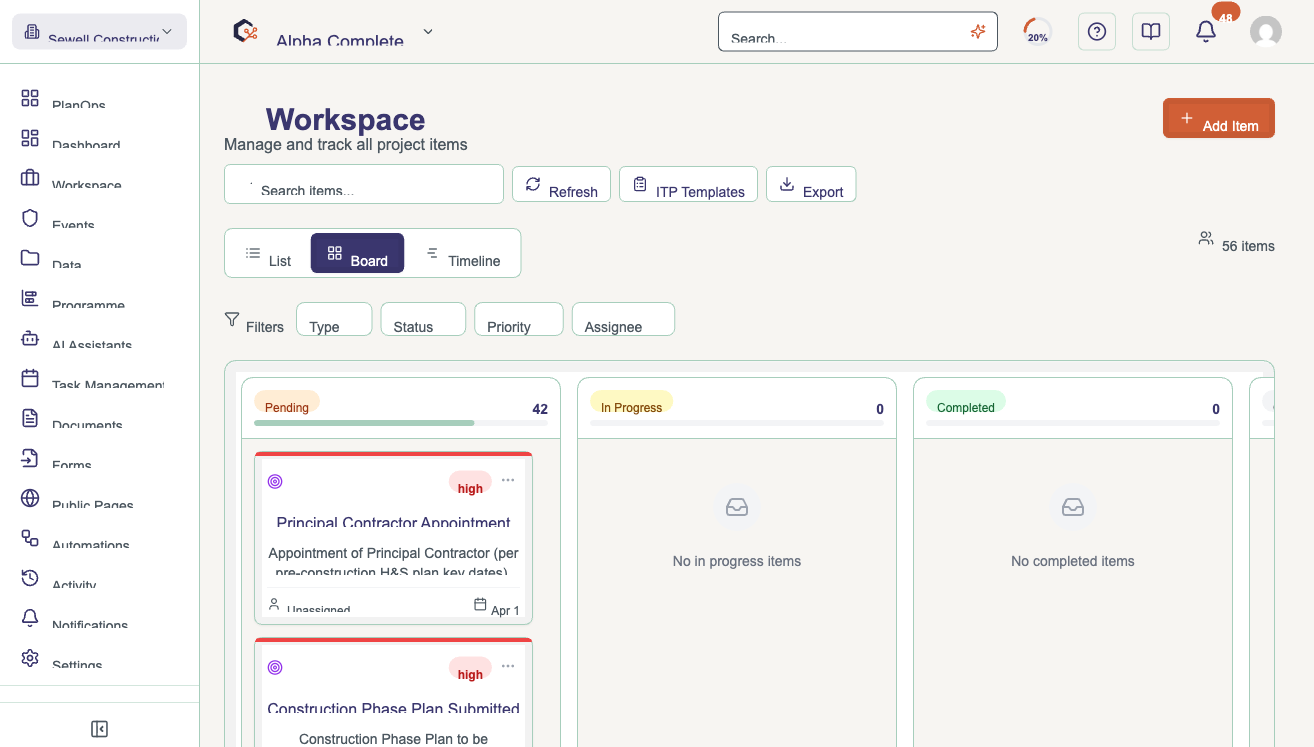
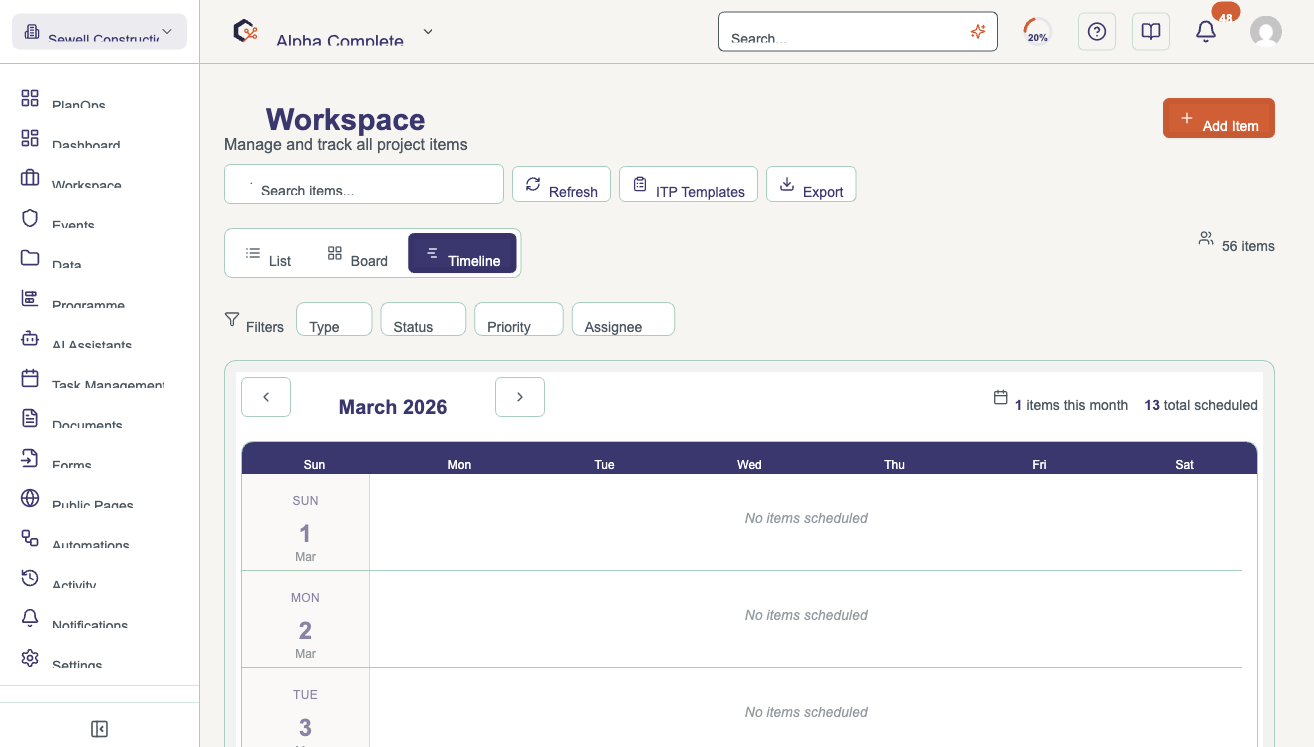
Step 3: Switch between list, board and timeline views
Use the view toggle buttons (list, board and timeline icons) to change how items are displayed. Choose the layout that best suits reviewing, planning or tracking your project work.

Step 4: Sort workspace items by key fields
In list view, click any column header such as Item, Type, Assignee, Due Date, Priority or Status to sort the table. Click again to reverse the sort direction.

Step 5: Add a new workspace item
Select the Add button to open the new item dialog. Choose whether to create a task, meeting, milestone or temporary works item, then complete the required details and confirm to add it to the workspace.

Step 6: Open and review item details
Click any workspace item in the list, board or timeline to open the details panel. Review its description, status, dates, assignee and other key fields in one place.
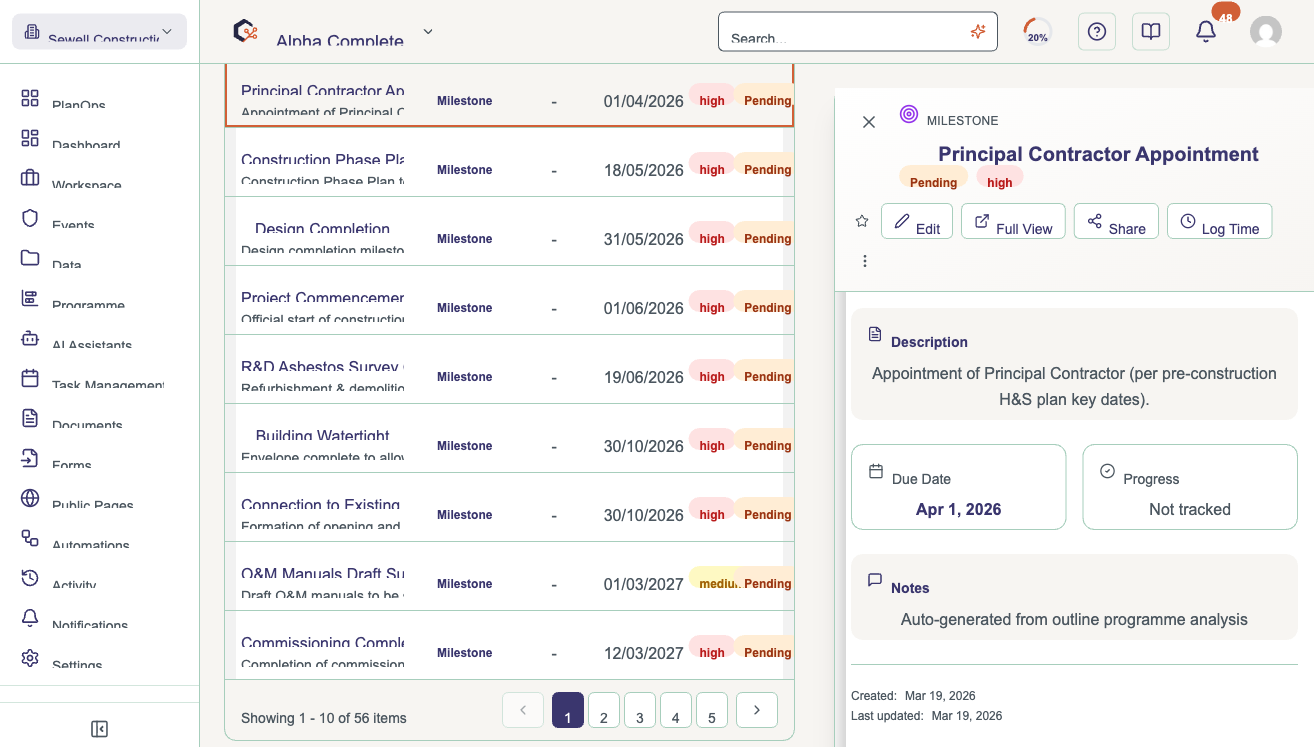
Step 7: Update item status and stage
From the item details panel or board view, change the status or move the item between lifecycle stages. The workspace immediately reflects the new state, helping the team track progress.
Step 8: Adjust assignment, priority and scheduling
Edit the assignee, priority and due dates for items, either within the details panel or using controls provided in each view. Use priorities and dates to keep work sequenced and visible to your team.
Step 9: Refresh the workspace view
Use the refresh button in the toolbar to reload items from the server. This ensures you are viewing the latest updates made by other team members.
Step 10: Export workspace items
Select the export button to open the Export workspace dialog. Choose the export format and scope, then generate a downloadable file containing the current workspace items for reporting or sharing.

Related Tasks
Last updated: 2026-03-08