Manage workspace items in a project
View, filter, and organise all workspace items for a selected project in list, board, or timeline views, and open item details or add new items.
This guide is designed for project manager.
Steps
Step 1: Open the project workspace
Navigate to the workspace section for the chosen project; the workspace items for that project are automatically loaded and displayed.
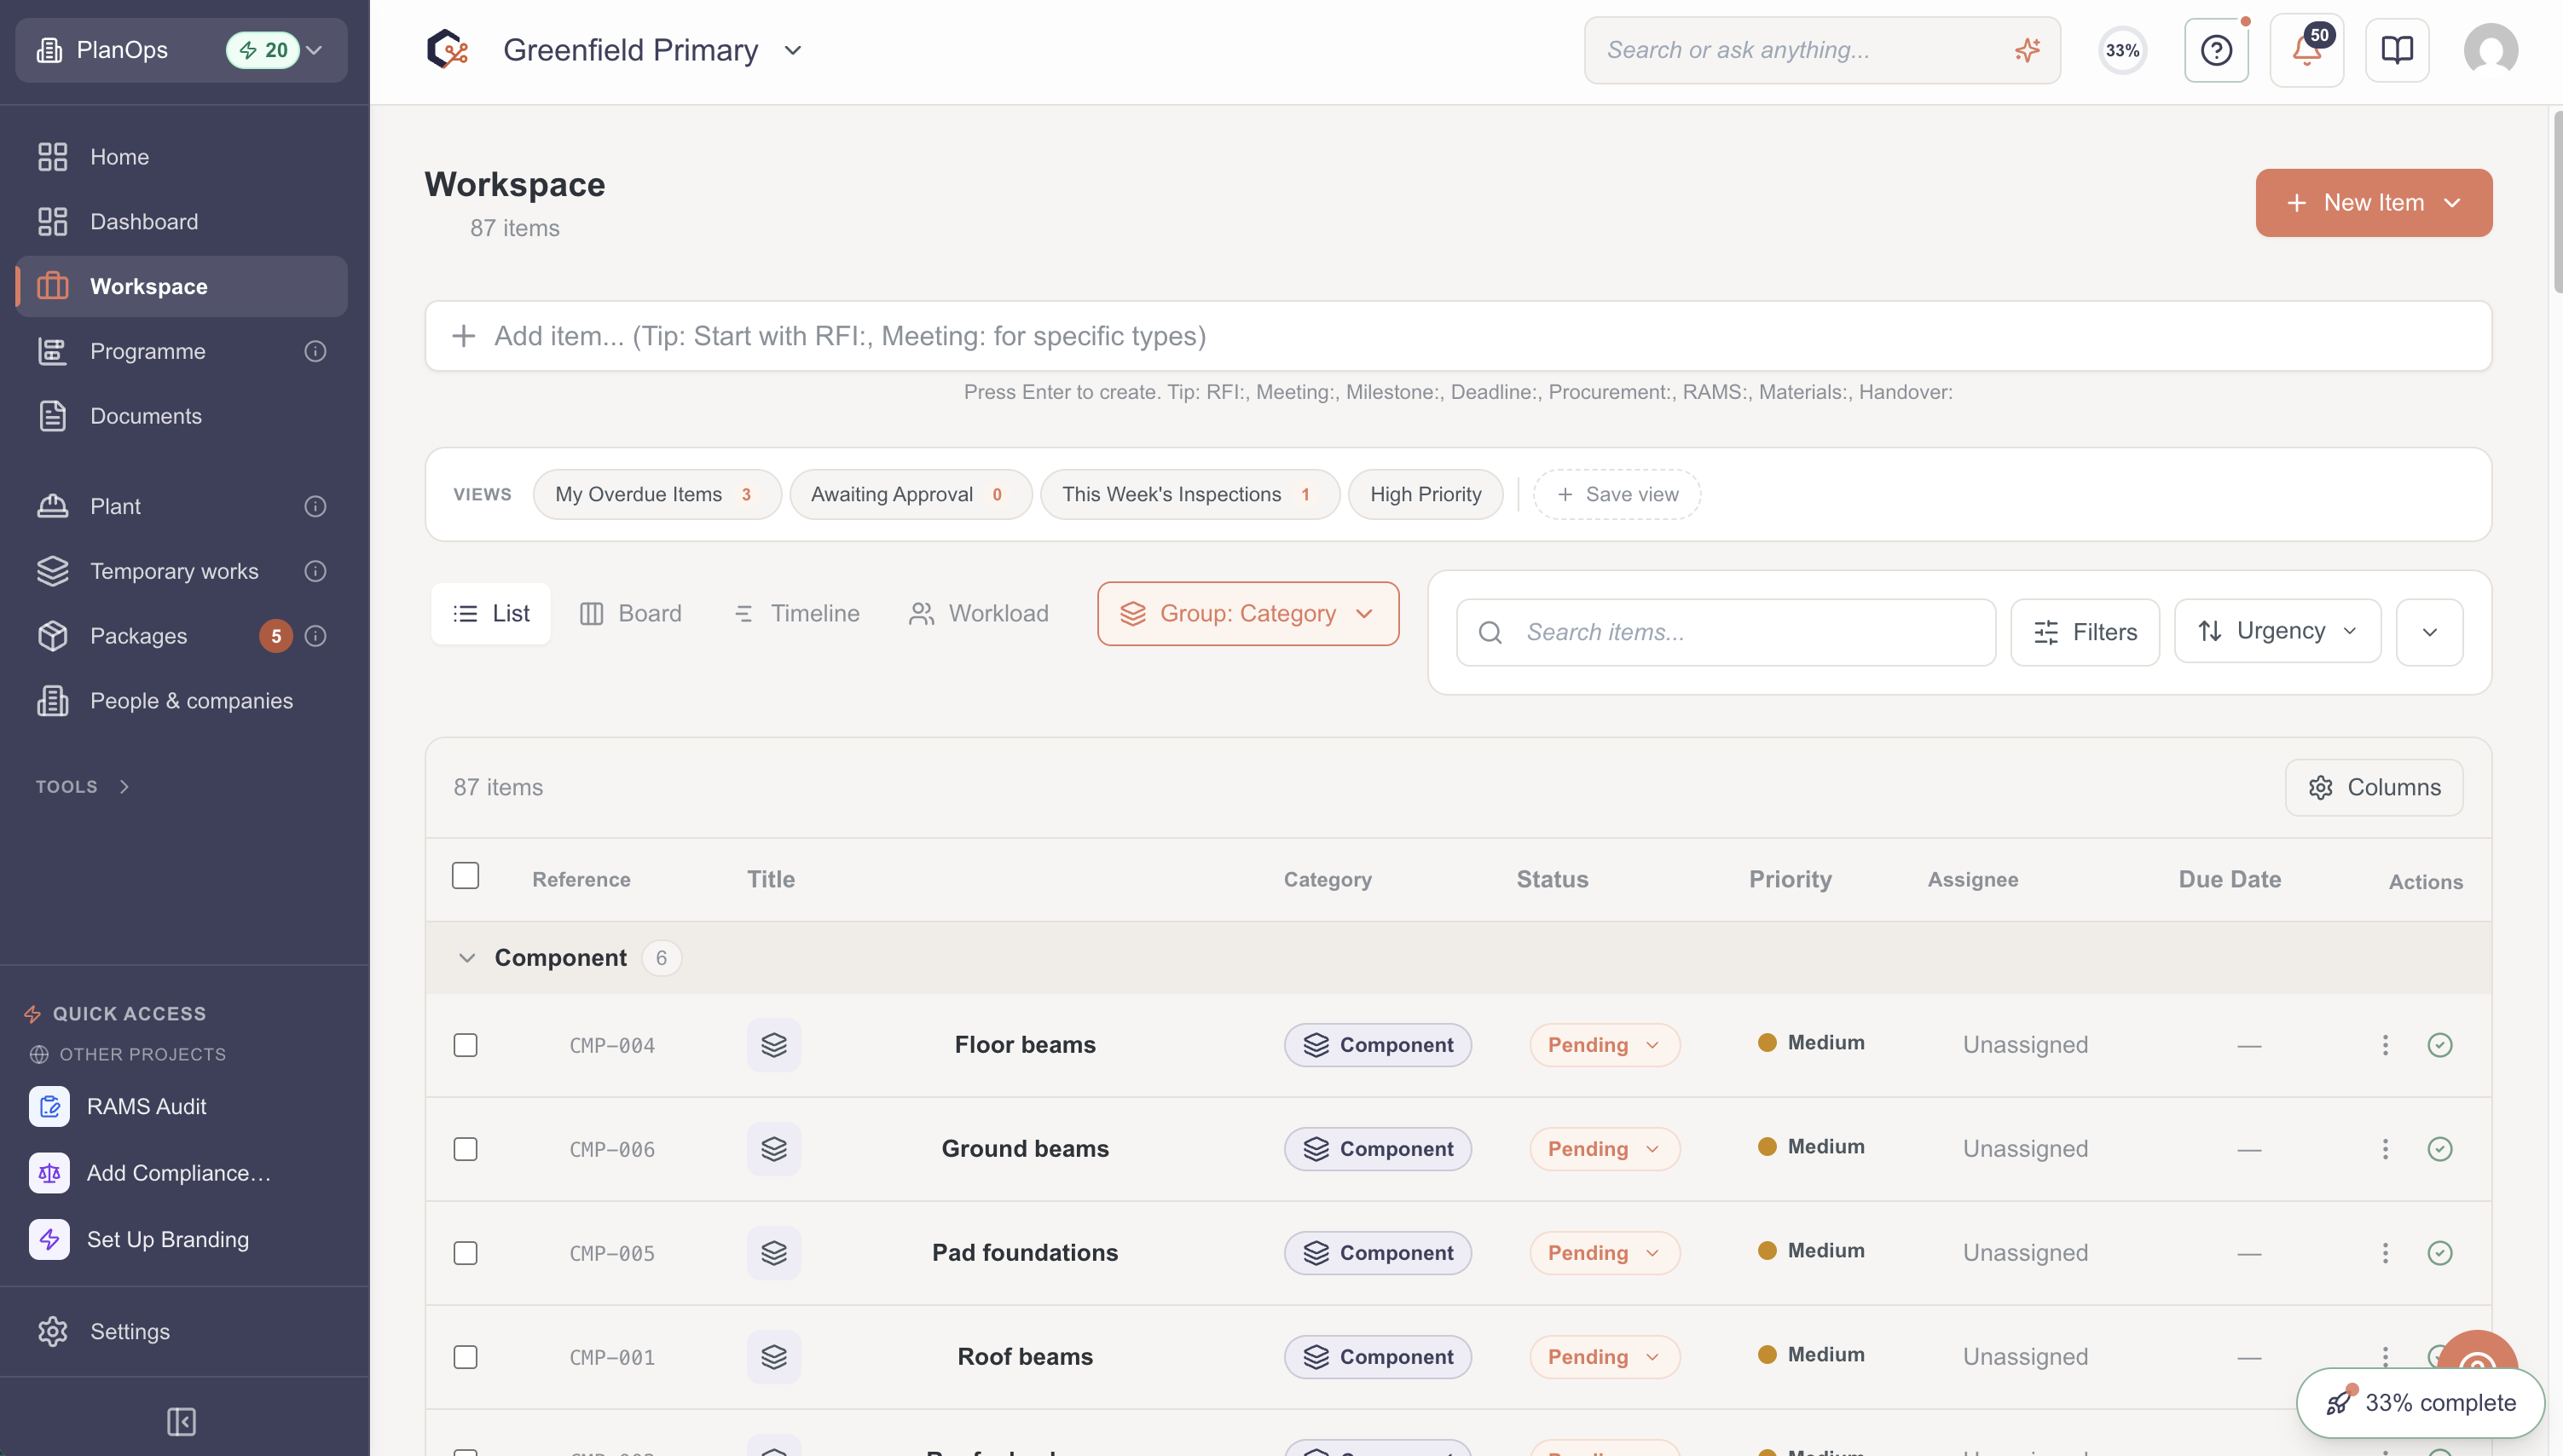
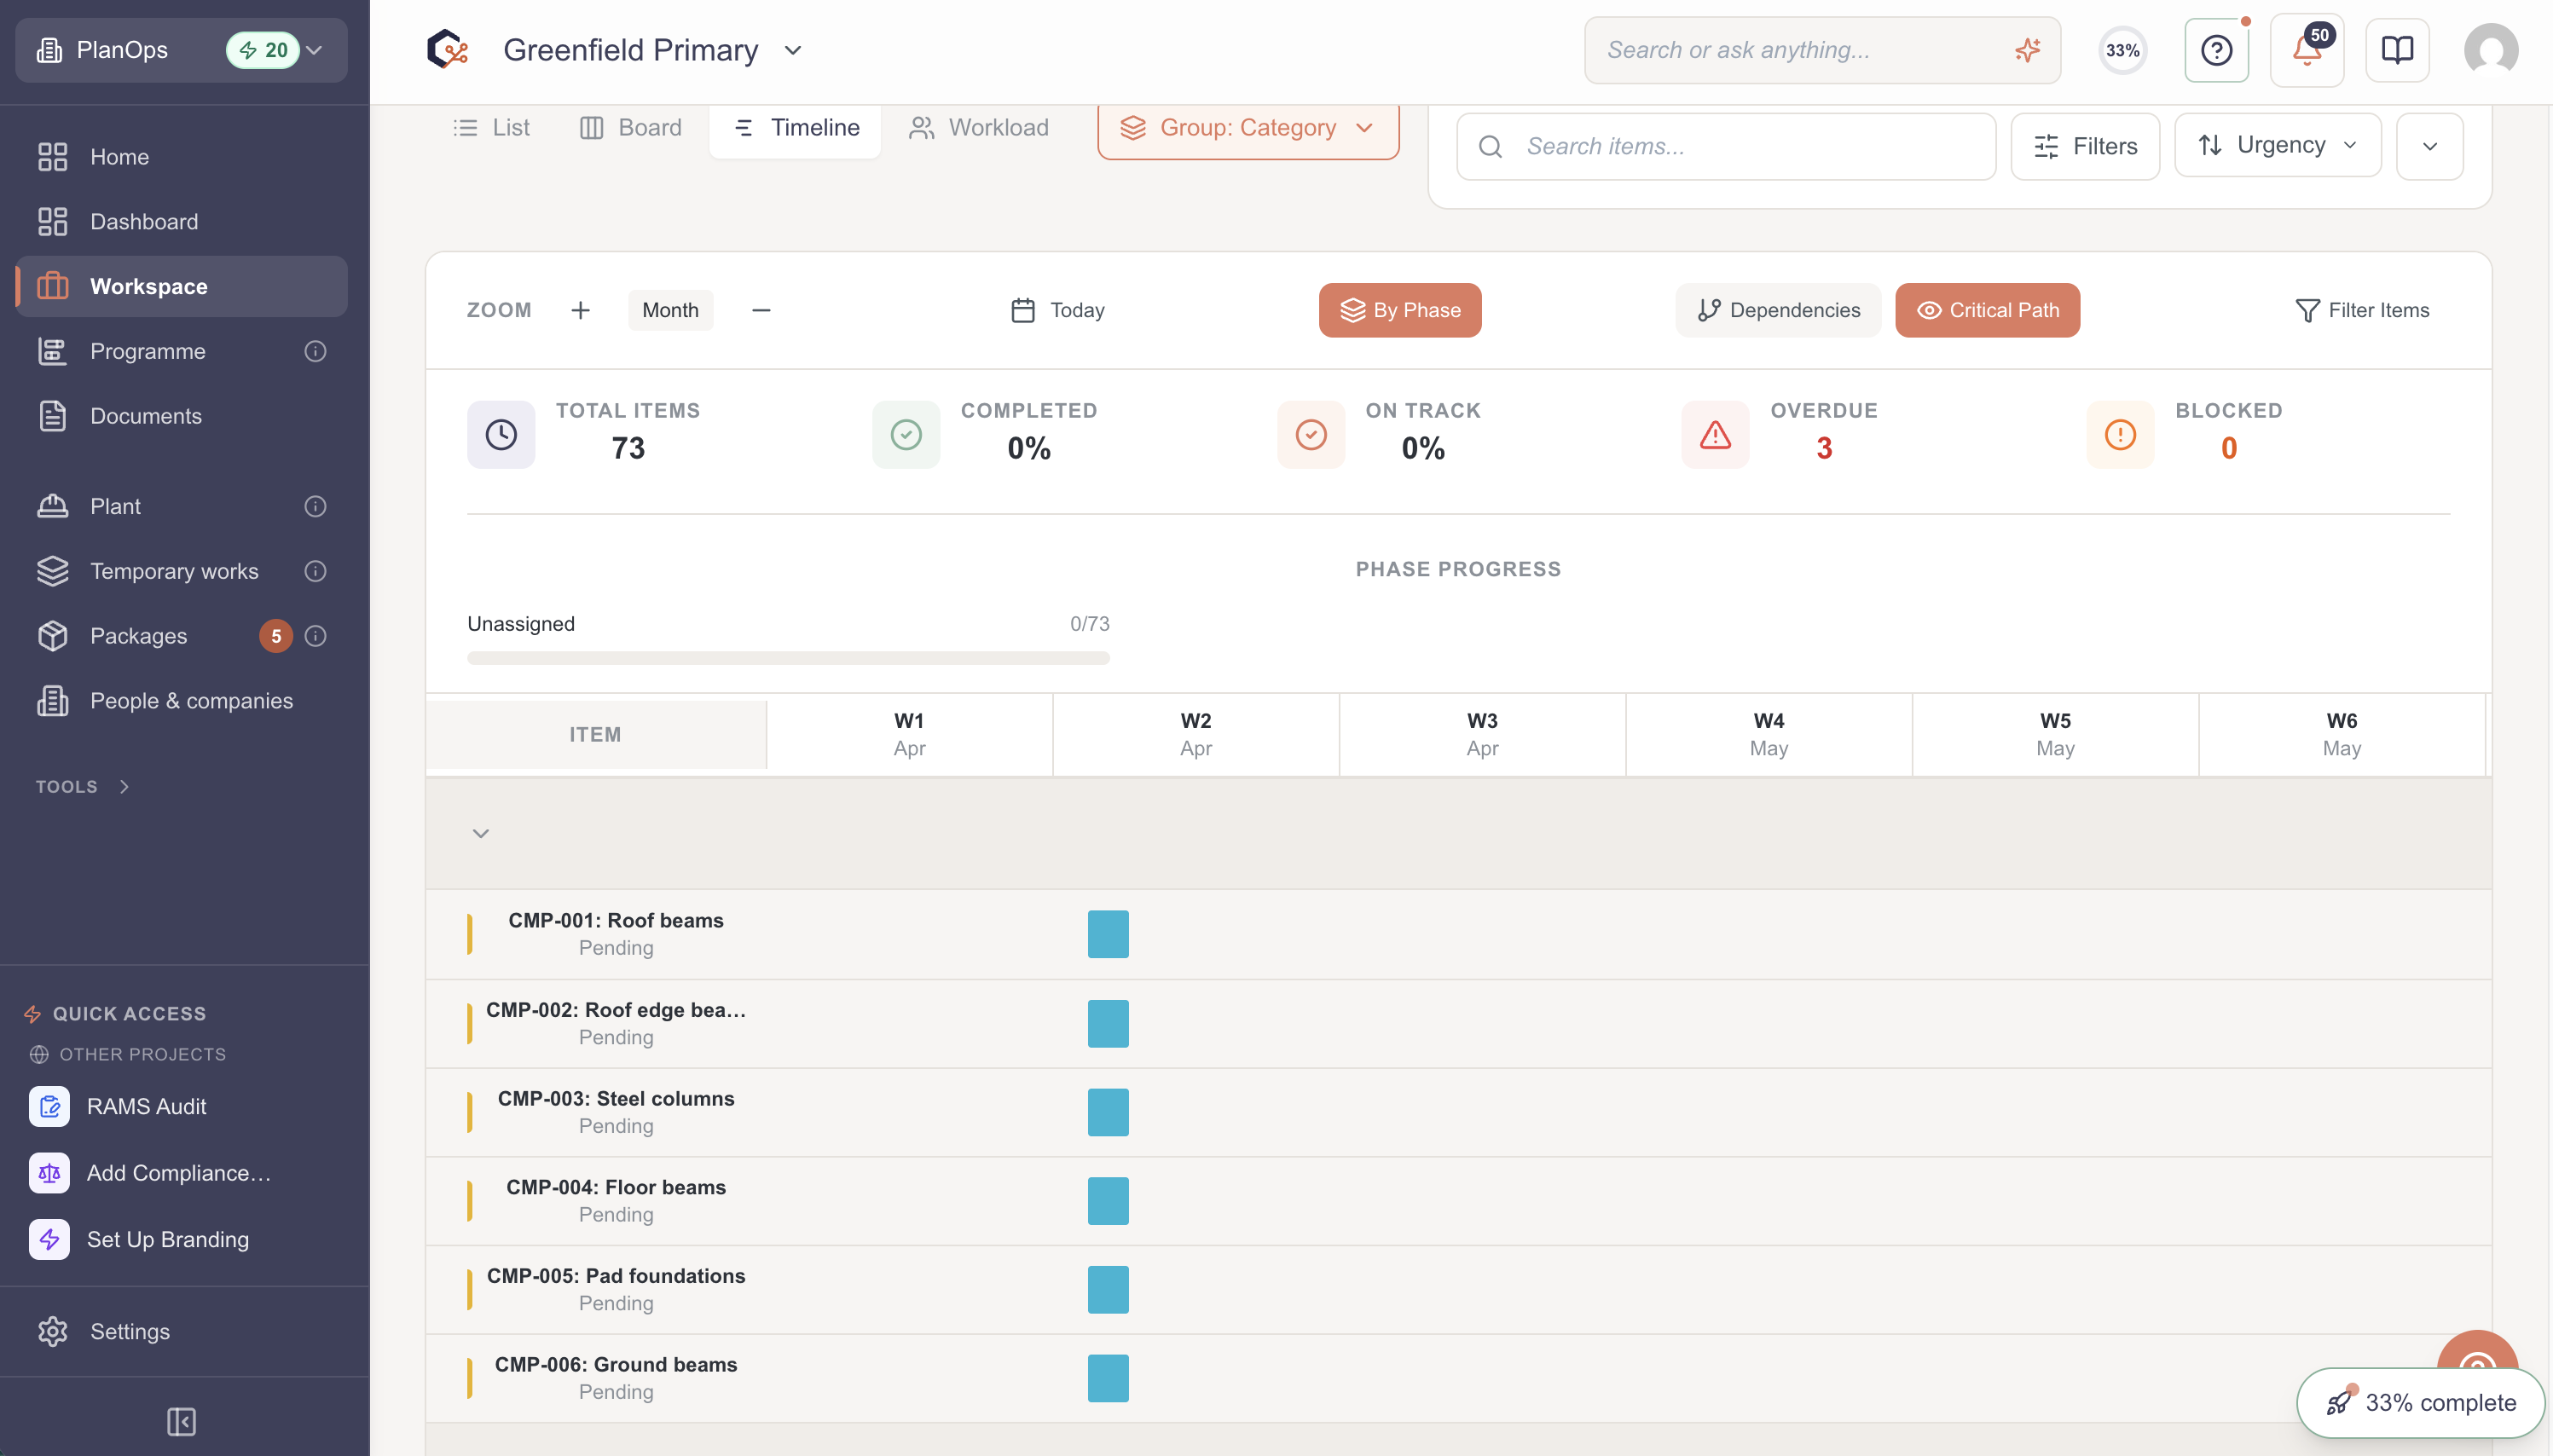
Step 2: Switch between list, board, and timeline views
Use the view controls (list, board, timeline icons) to change how items are displayed, so you can review them in a simple list, grouped board, or time-based timeline.
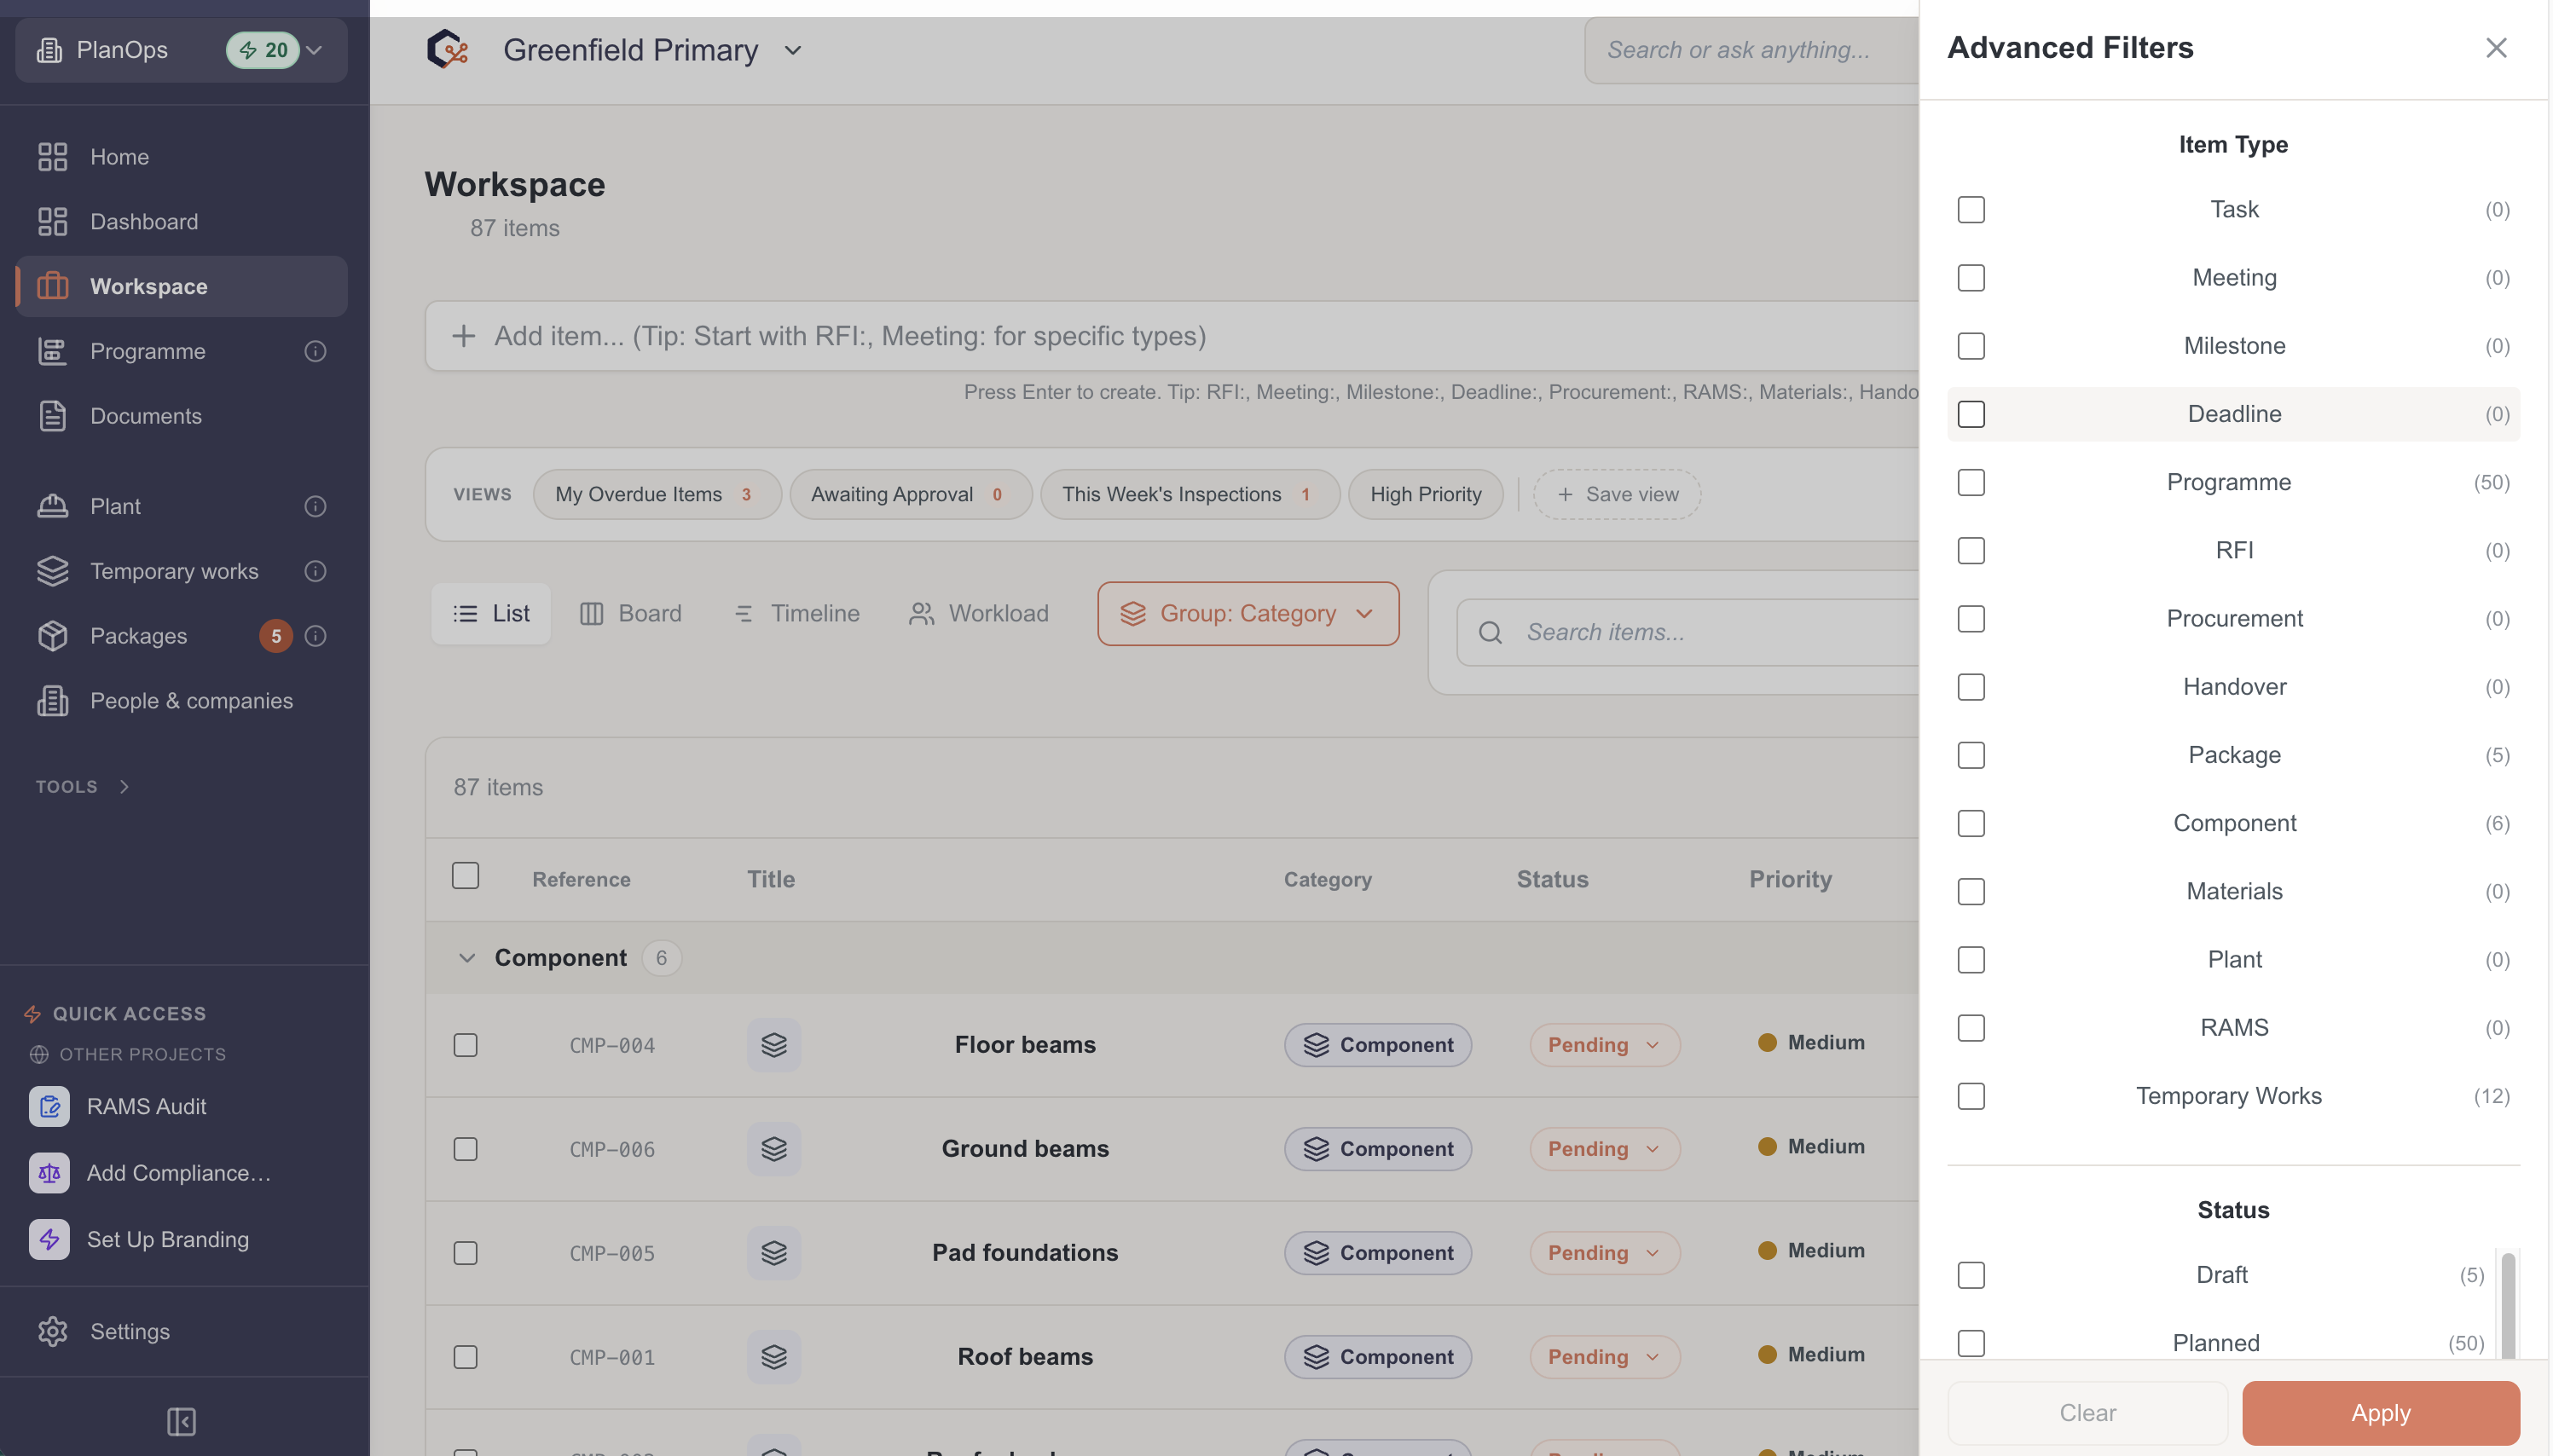
Step 3: Search and filter workspace items
Enter text in the search bar to quickly locate specific items, and open the filter dialog to refine items by category, assignee, status, or priority.
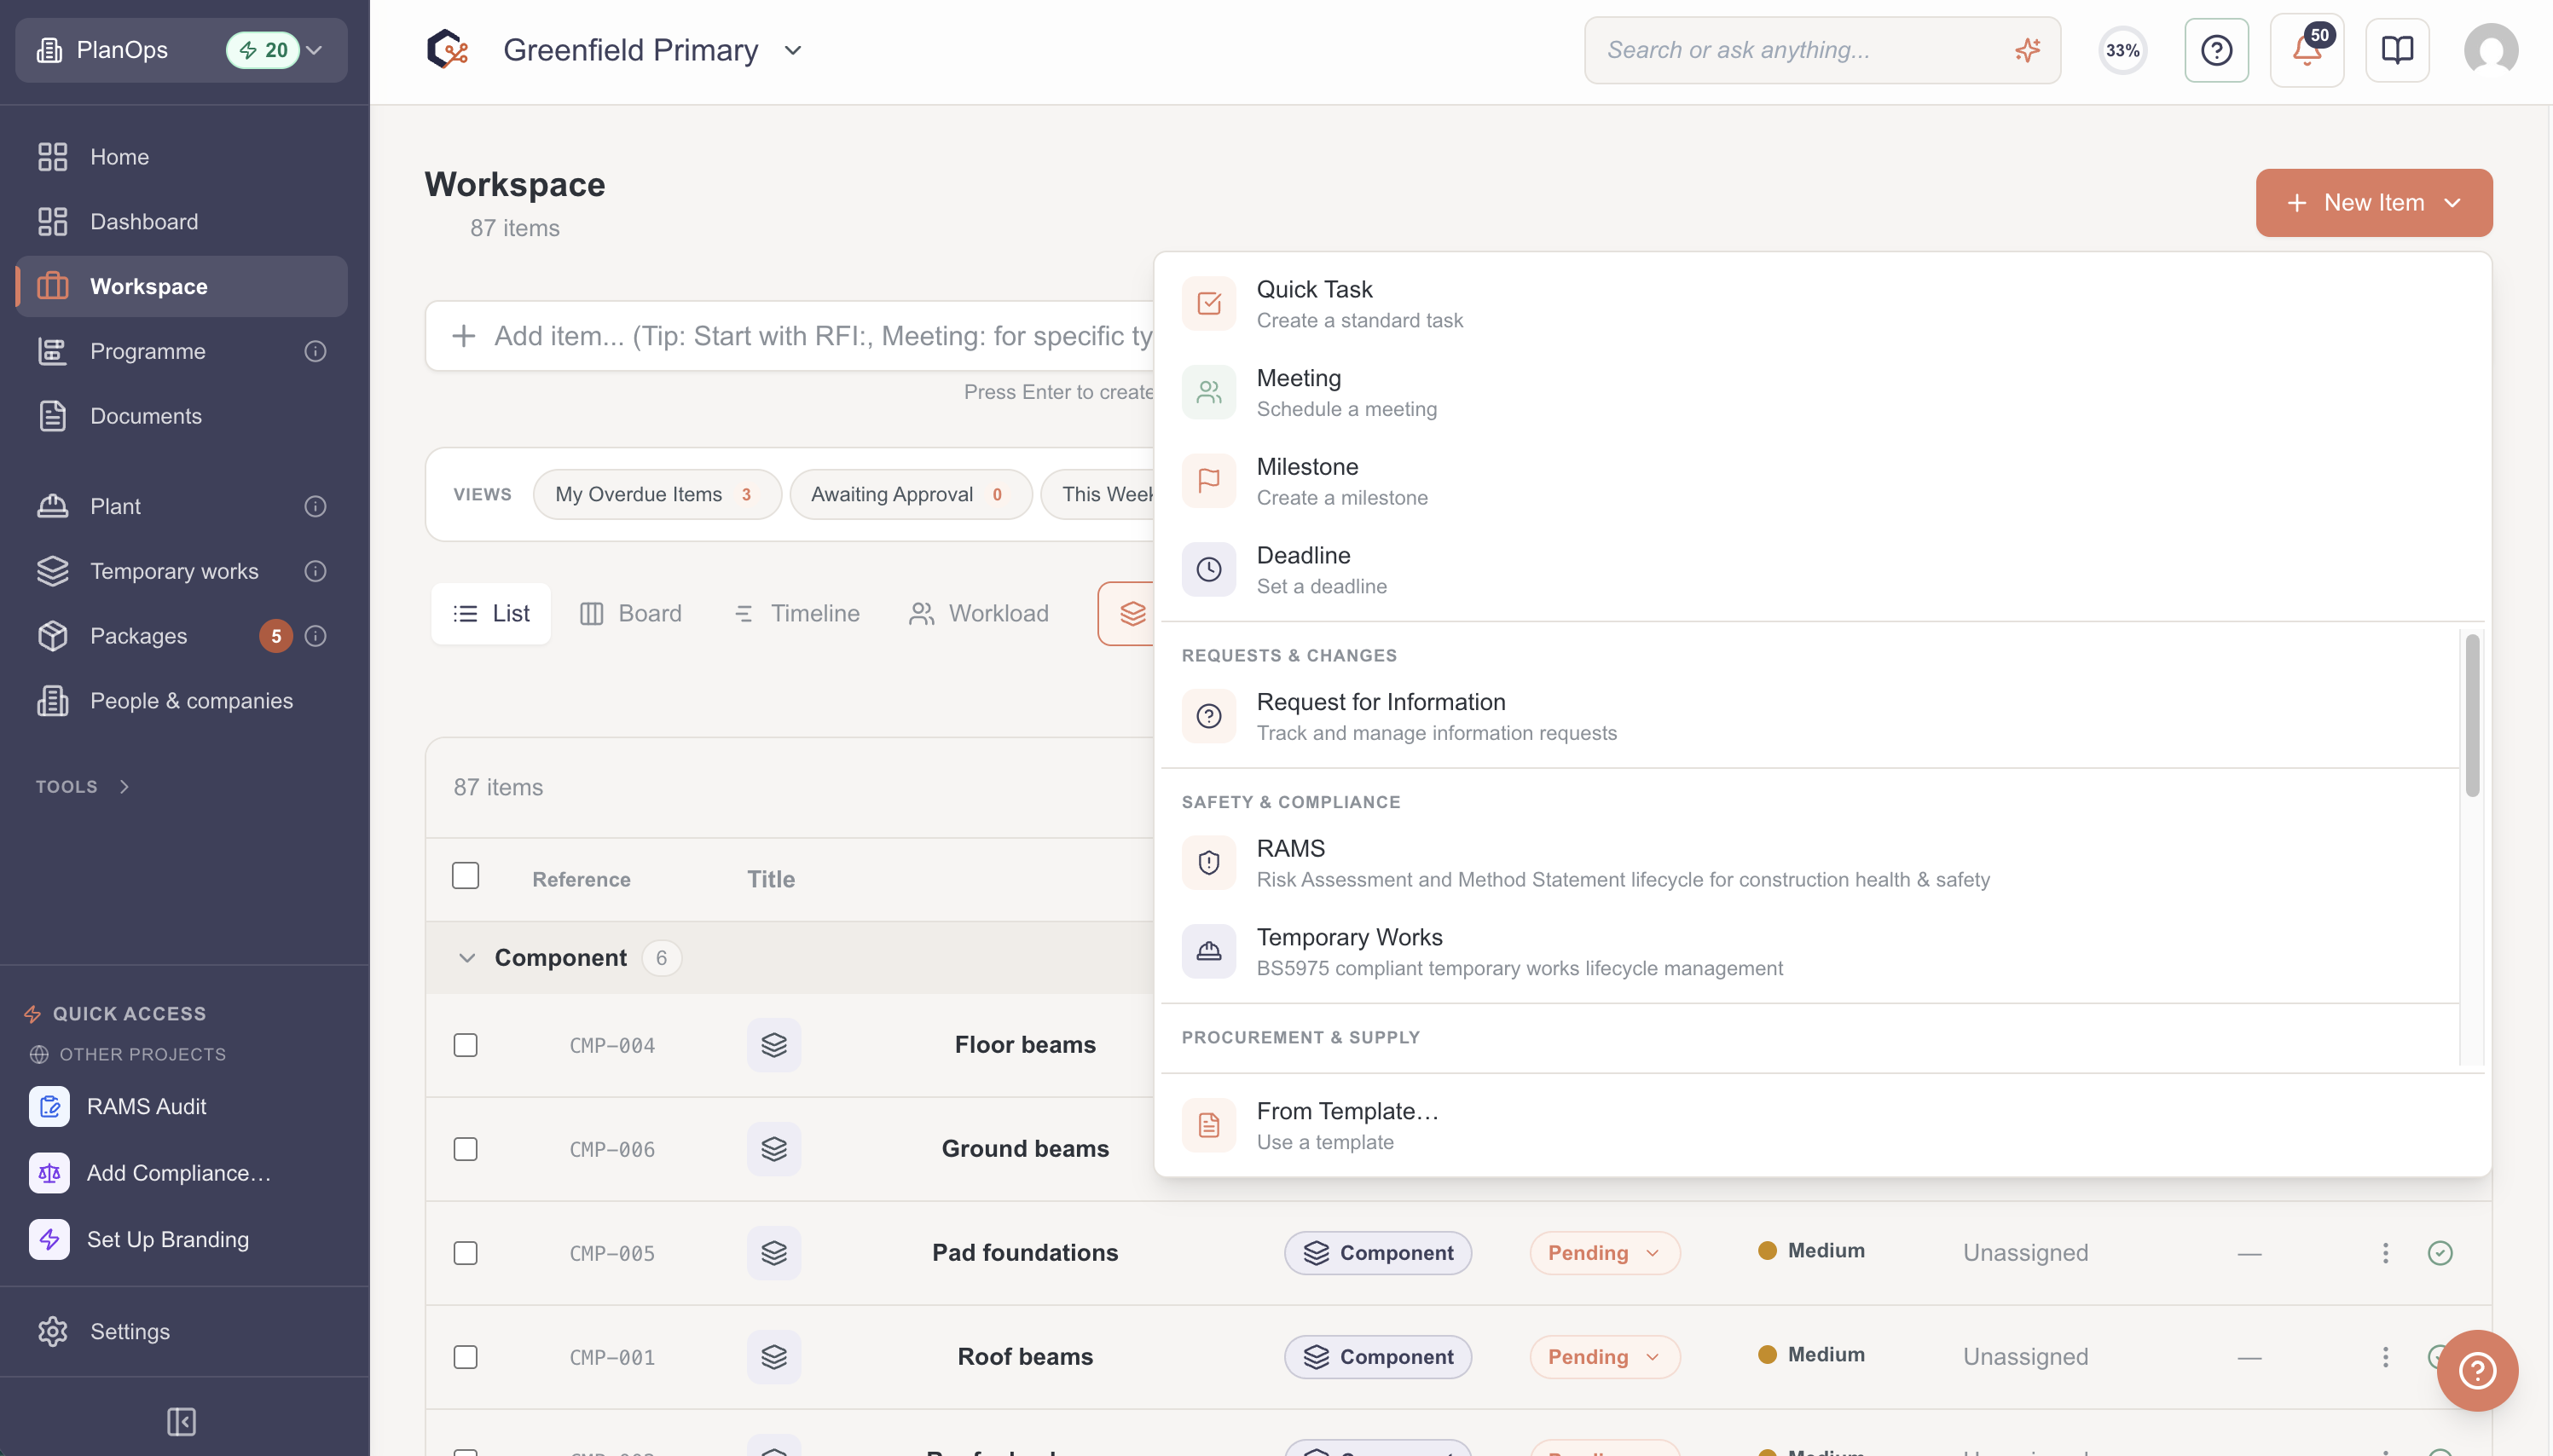
Step 4: Add a new workspace item
Select the add button to open the add-item dialog, then provide the necessary information to create a new task, meeting, or milestone in the workspace.
Step 5: Open an item to view details
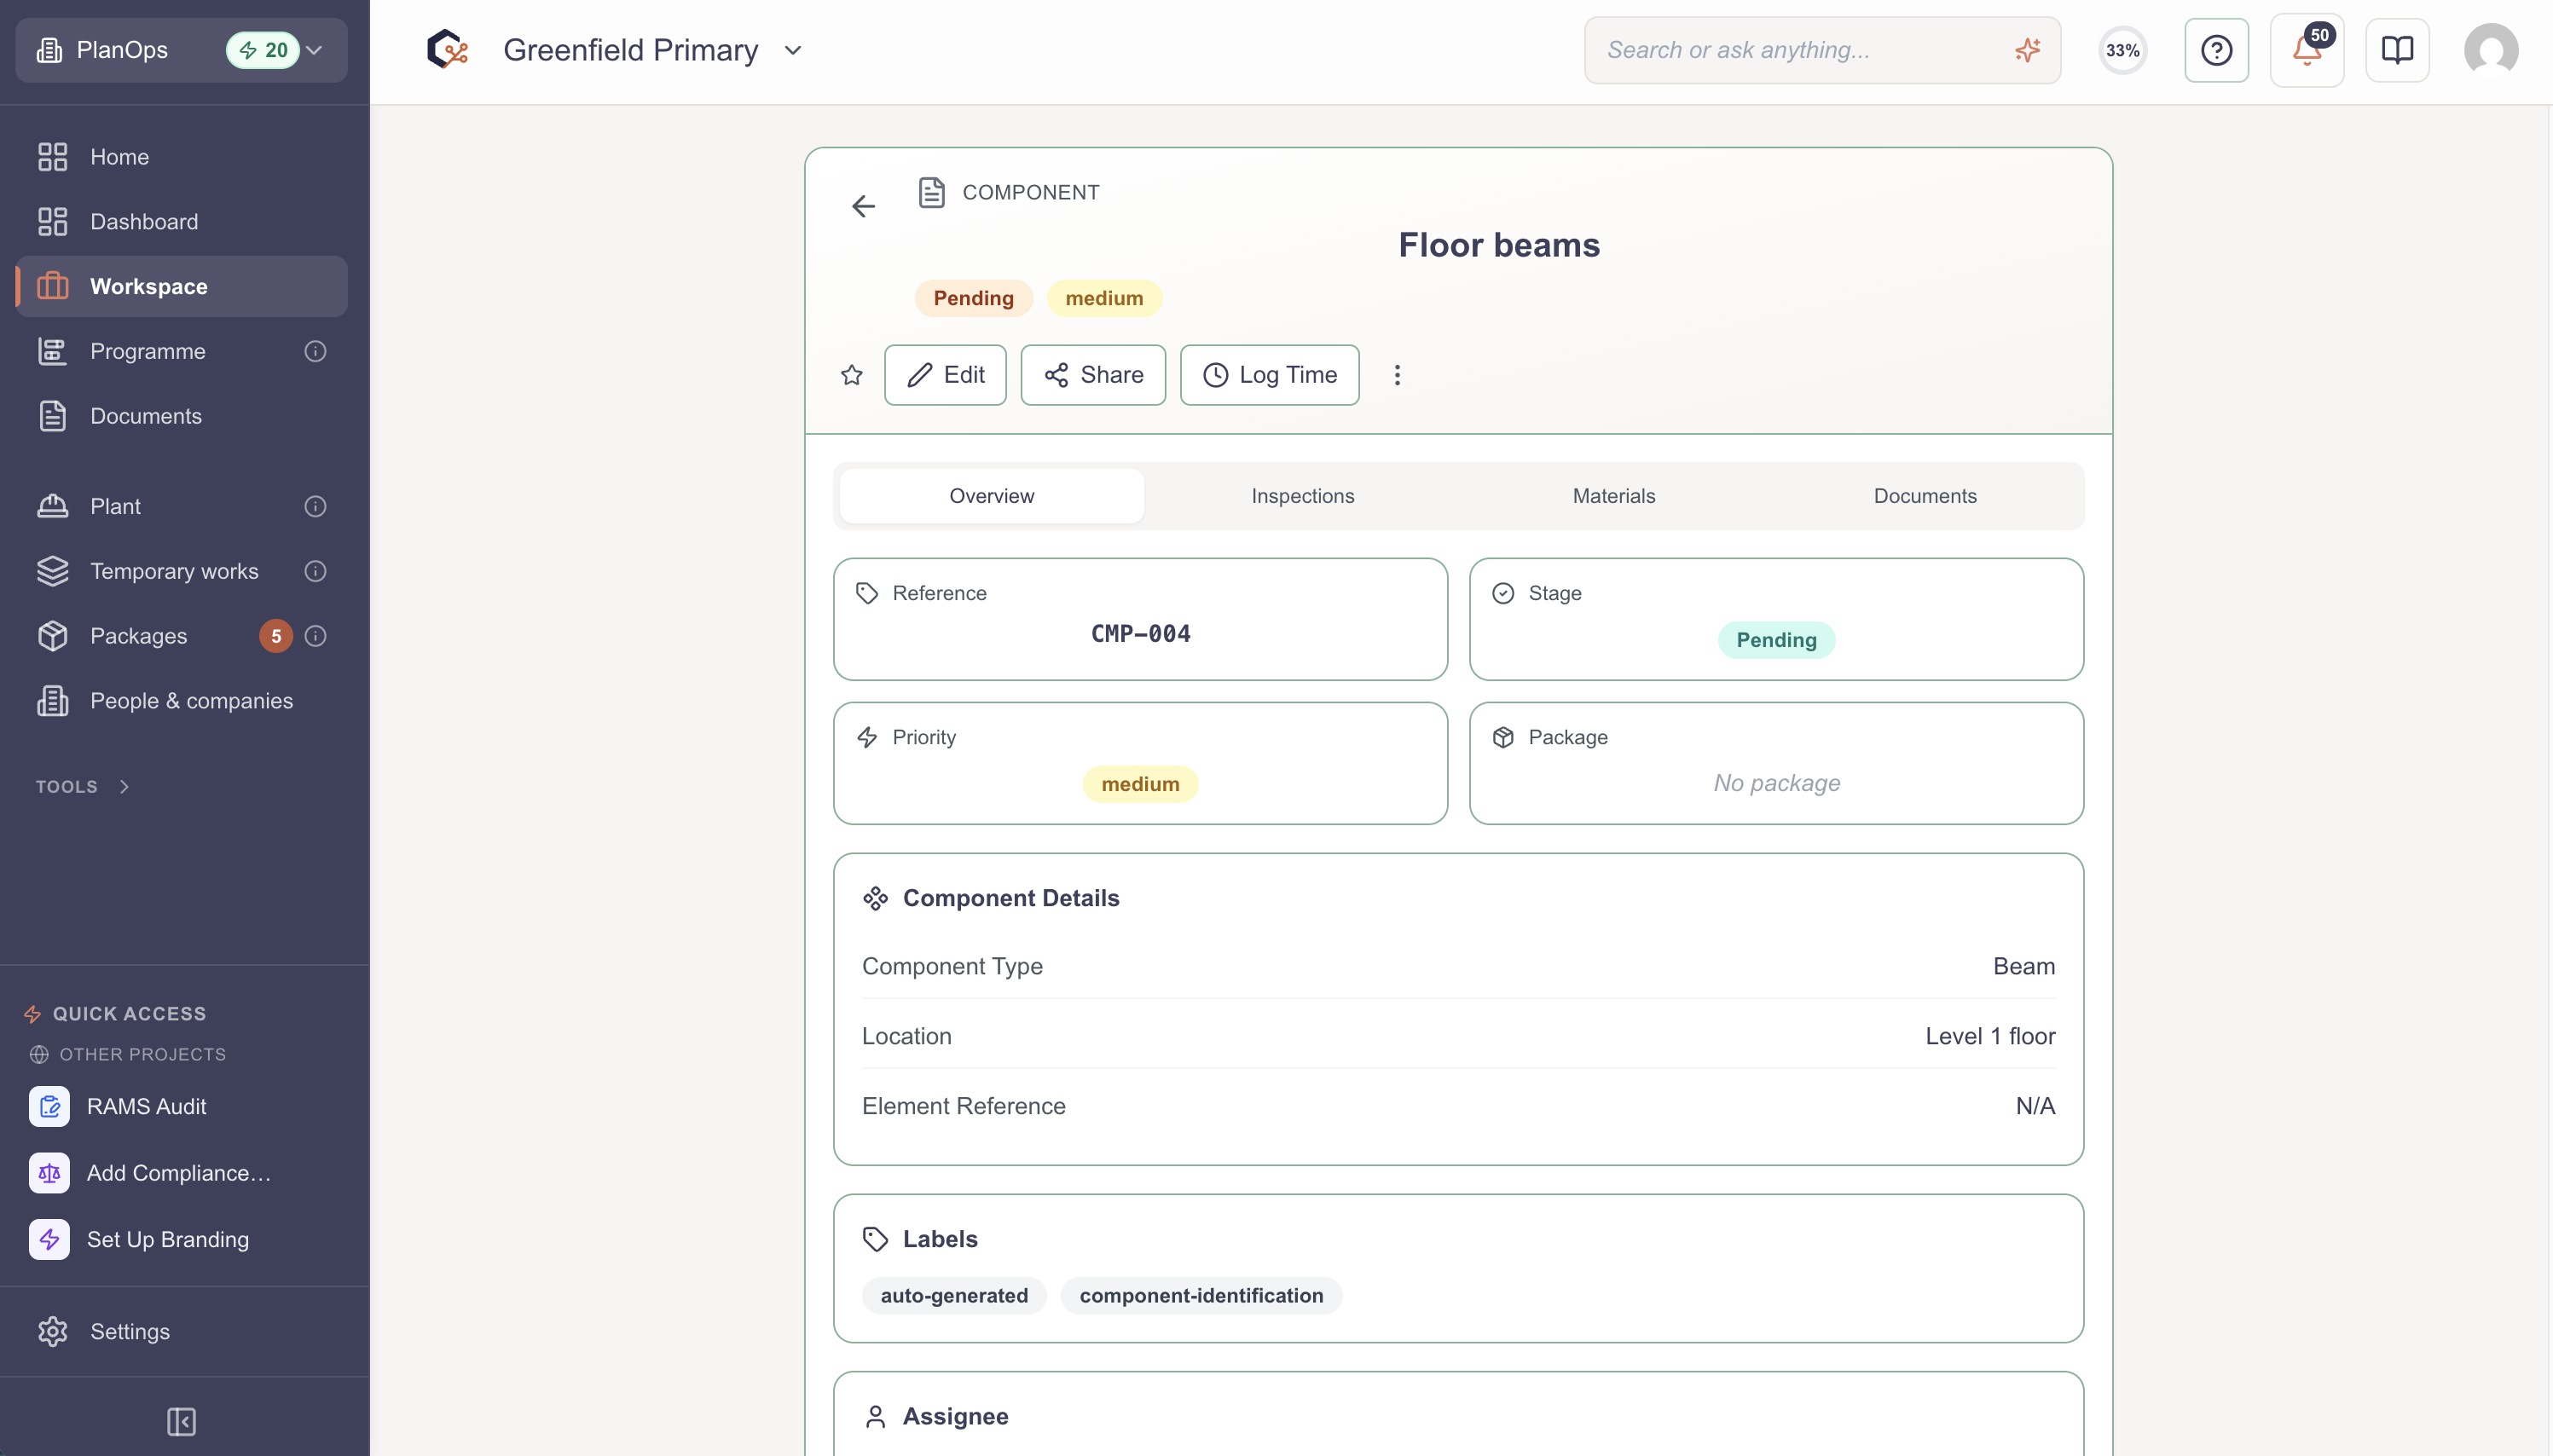
Click any workspace item in the current view to open its detail pane, where you can see more information about the item.
Step 6: Close dialogs and detail views
Press Escape or use the on-screen close controls to dismiss the add-item dialog, filter dialog, or item detail view without making changes.
Related Tasks
Last updated: 2025-12-08T00:00:00.000Z