Import programme tasks
Use this to import multiple programme tasks into a project at once, reviewing any validation issues before finalising the import.
This guide is designed for project manager.
Steps
Step 1: Export the programme from your programming application
From your programming application export the programme for your project. XML file exports will proide you with the best possible import format.
Step 2: Open the import programme tasks dialog
From your programme view, select the option to import programme tasks; the Import Programme Tasks dialog opens as a pop-up over your current page.

Step 3: Review the import requirements
Read the on-screen guidance. If using CSV or Excel additional guidance is provided to anable your file to be correctly formatted.
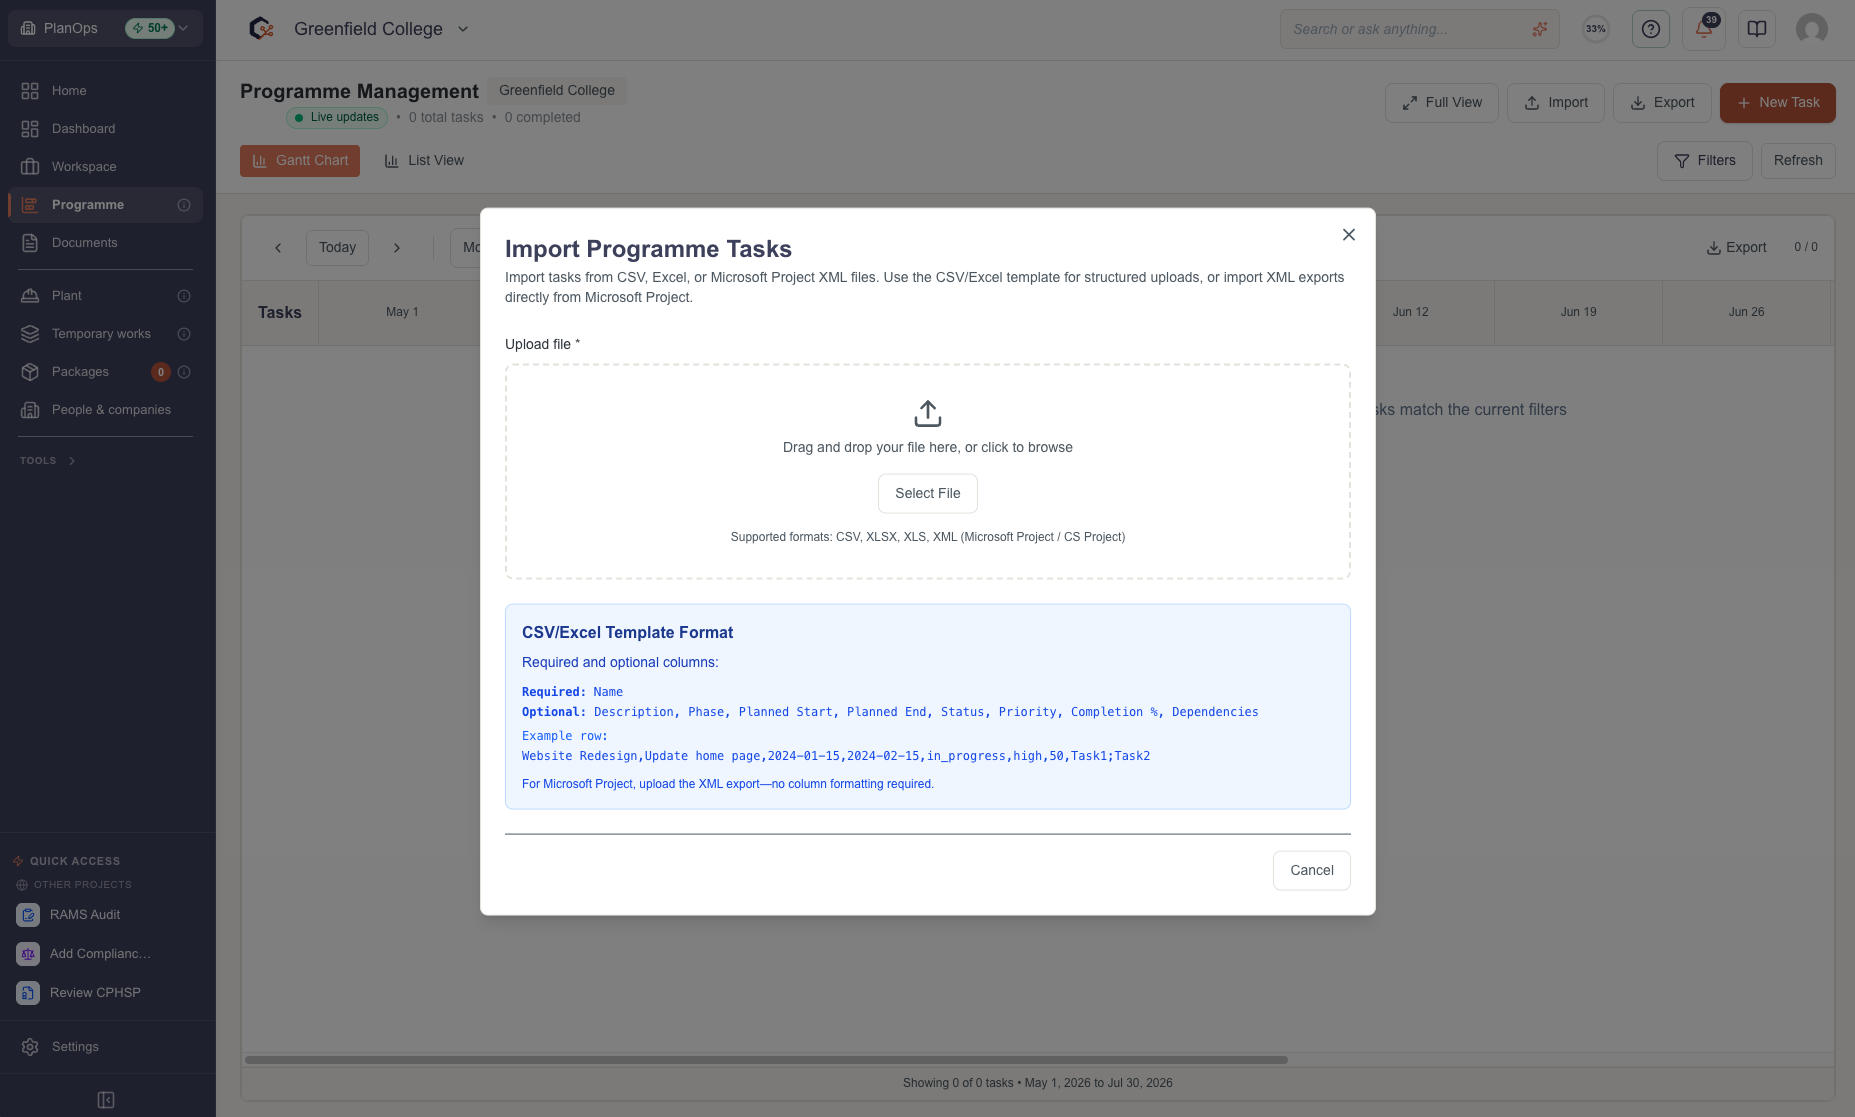
Step 4: Select or drag and drop your CSV file
Either click the upload area to browse and select a CSV file from your computer, or drag and drop the file onto the highlighted dropzone; the selected file name is shown in the dialog.
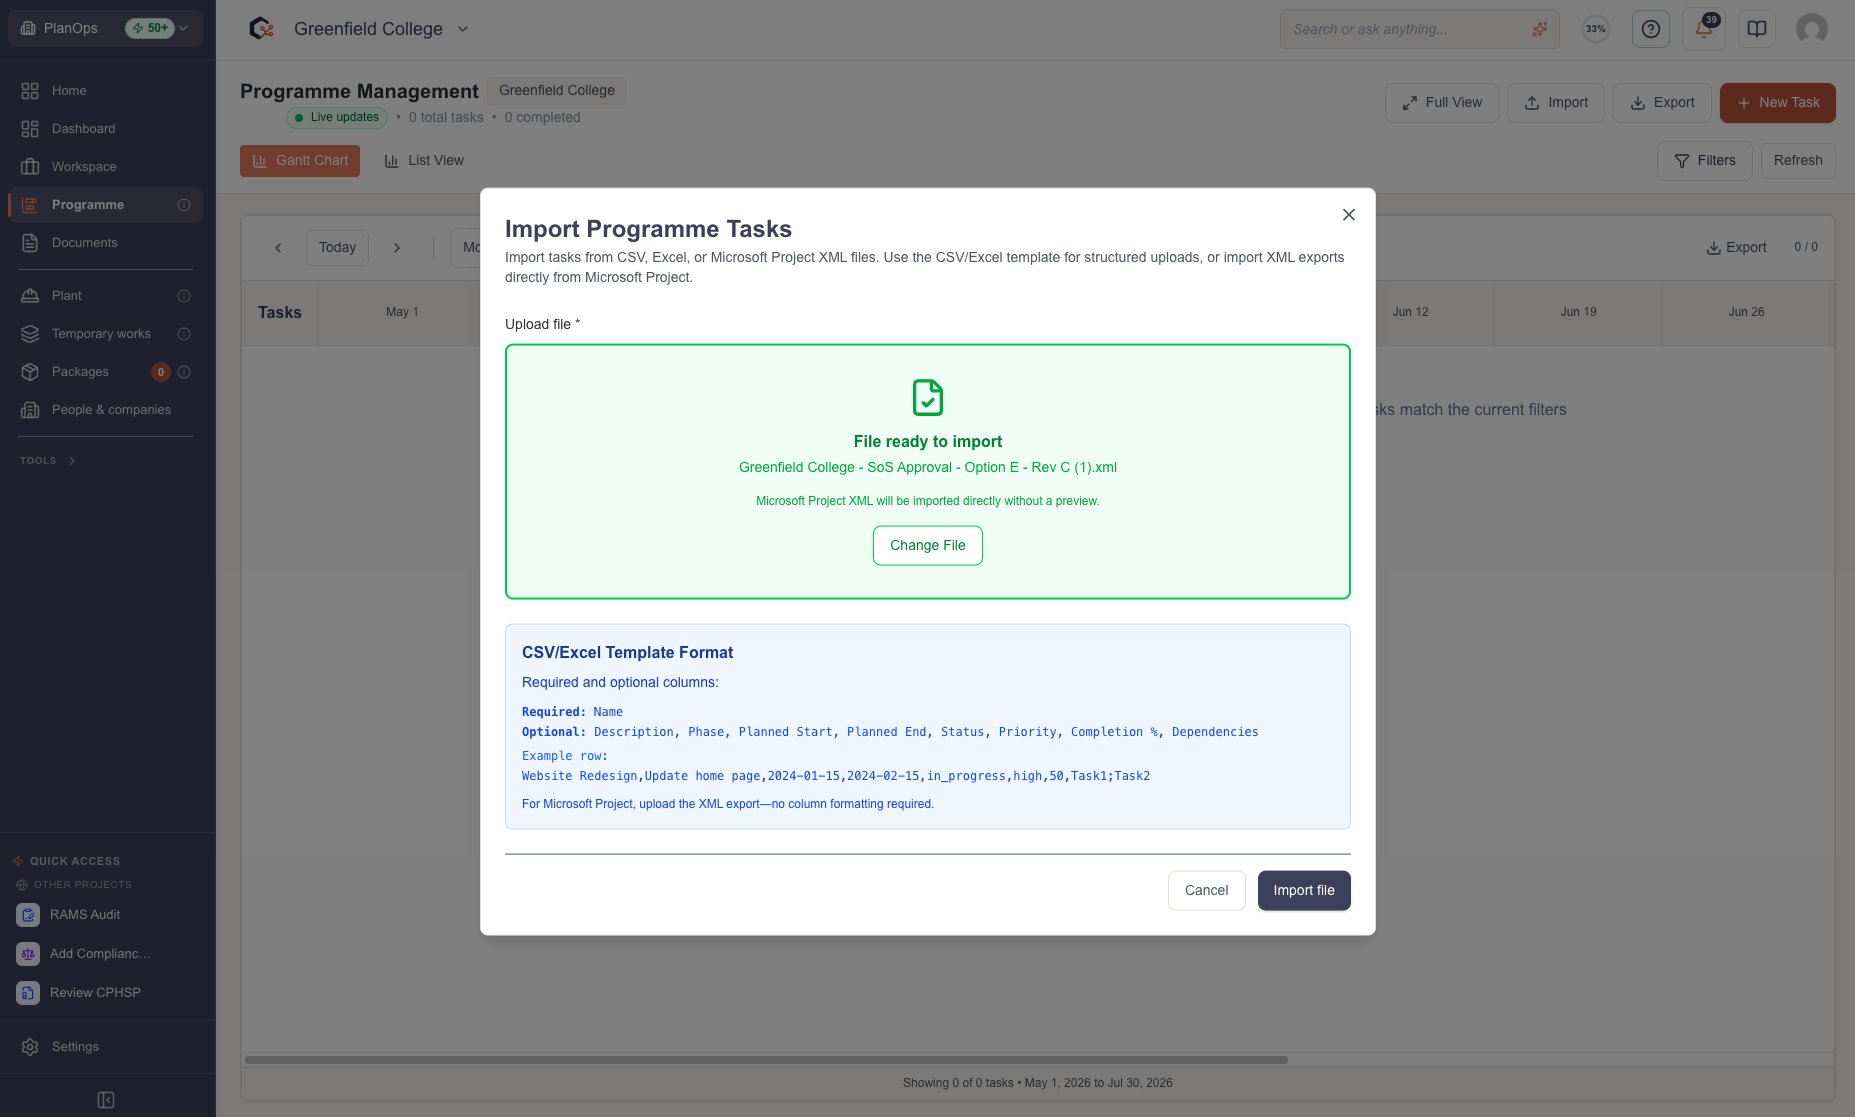
Step 5: Validate the imported rows
After the file is read, review the list of imported rows, checking any error messages shown against specific rows where required fields, dates, statuses or priorities are invalid or missing.
Step 6: Confirm and start the import
When you are satisfied with the preview and validation results, select the option to import.
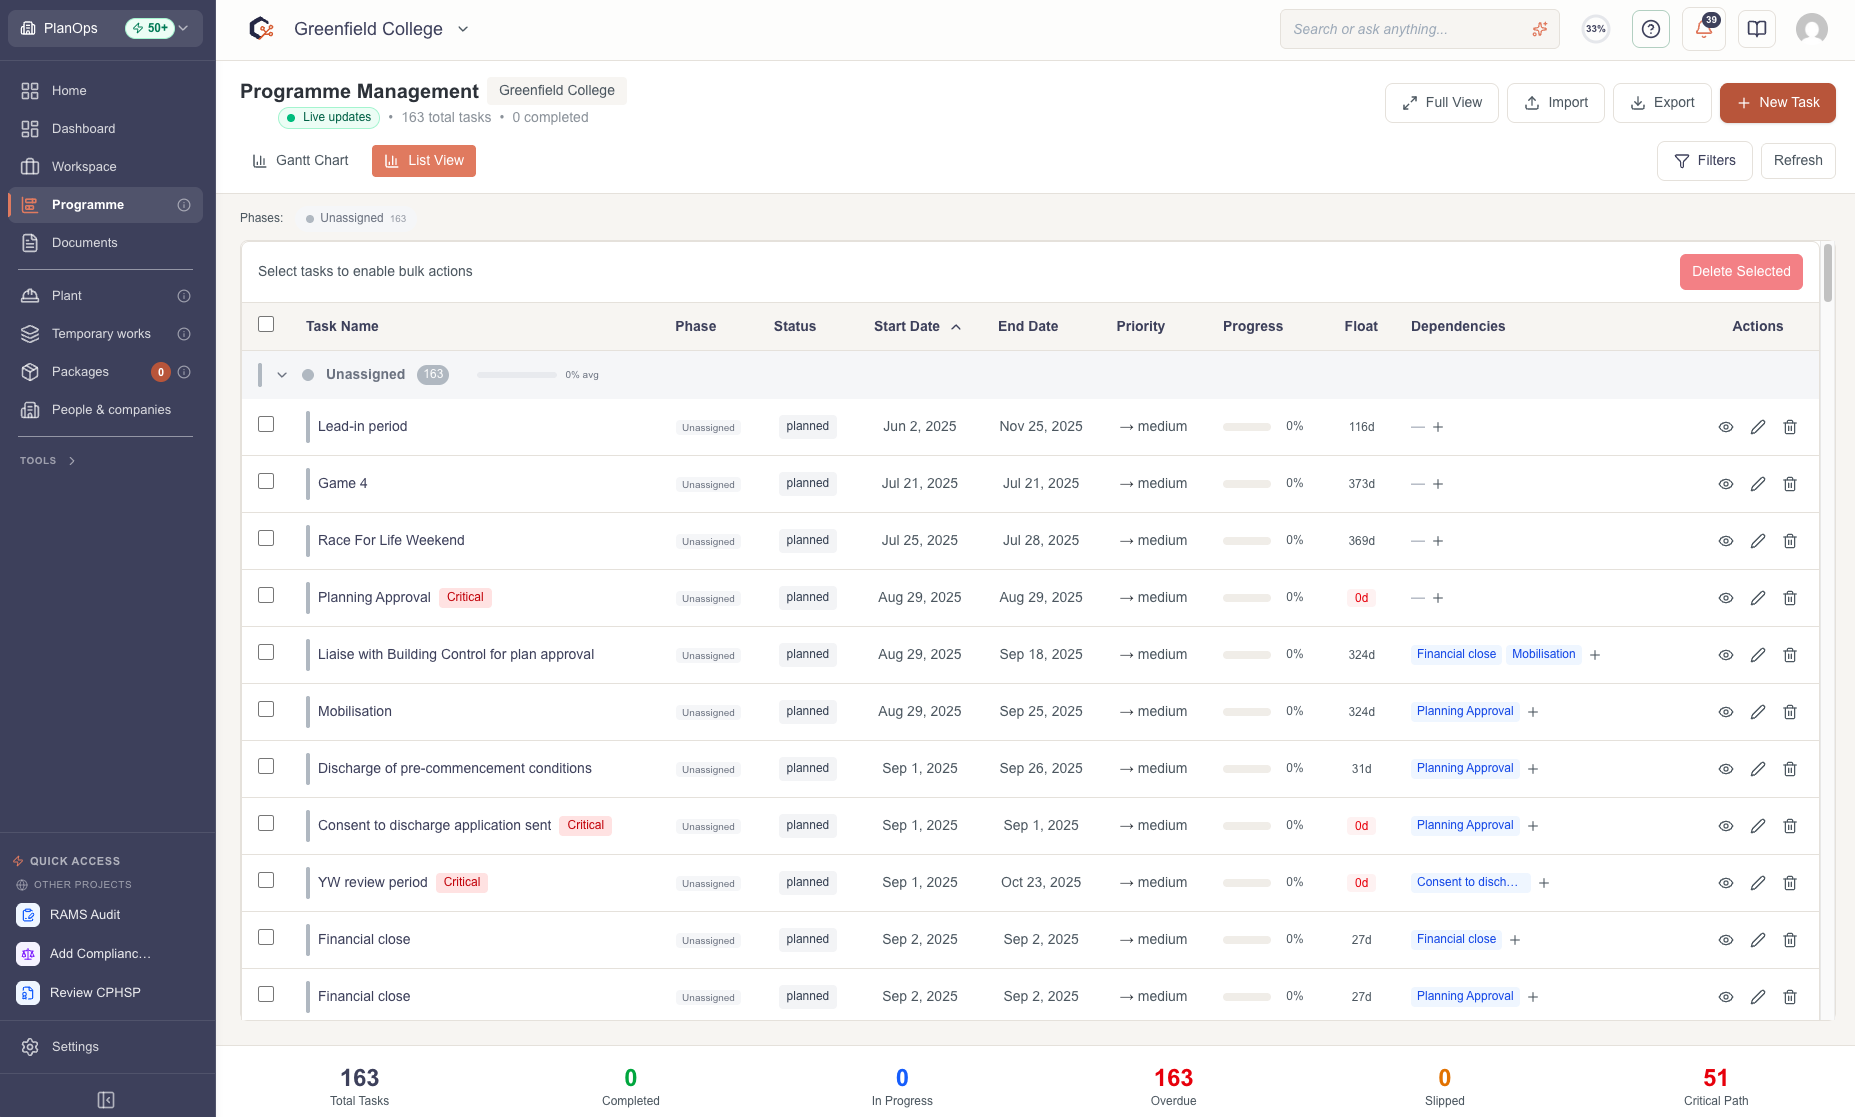
Step 7: Review imported programme
Once the import completes, check the number of tasks successfully imported and any remaining issues.
Related Tasks
Last updated: 2026-01-23T00:00:00.000Z